
Mechanic Guides
Coolant Refractometer Calibration: Check the Zero, Then Choose the Right Scale
Check coolant refractometer calibration and glycol scale selection. Preserve sample identity, reference checks, freeze-point units and the limits of the result.
Published · 4 min read
Quick answer
Follow the exact instrument manual for the reference check, identify the coolant and record the selected glycol scale. A freeze-point reading alone is not a coolant-condition verdict.
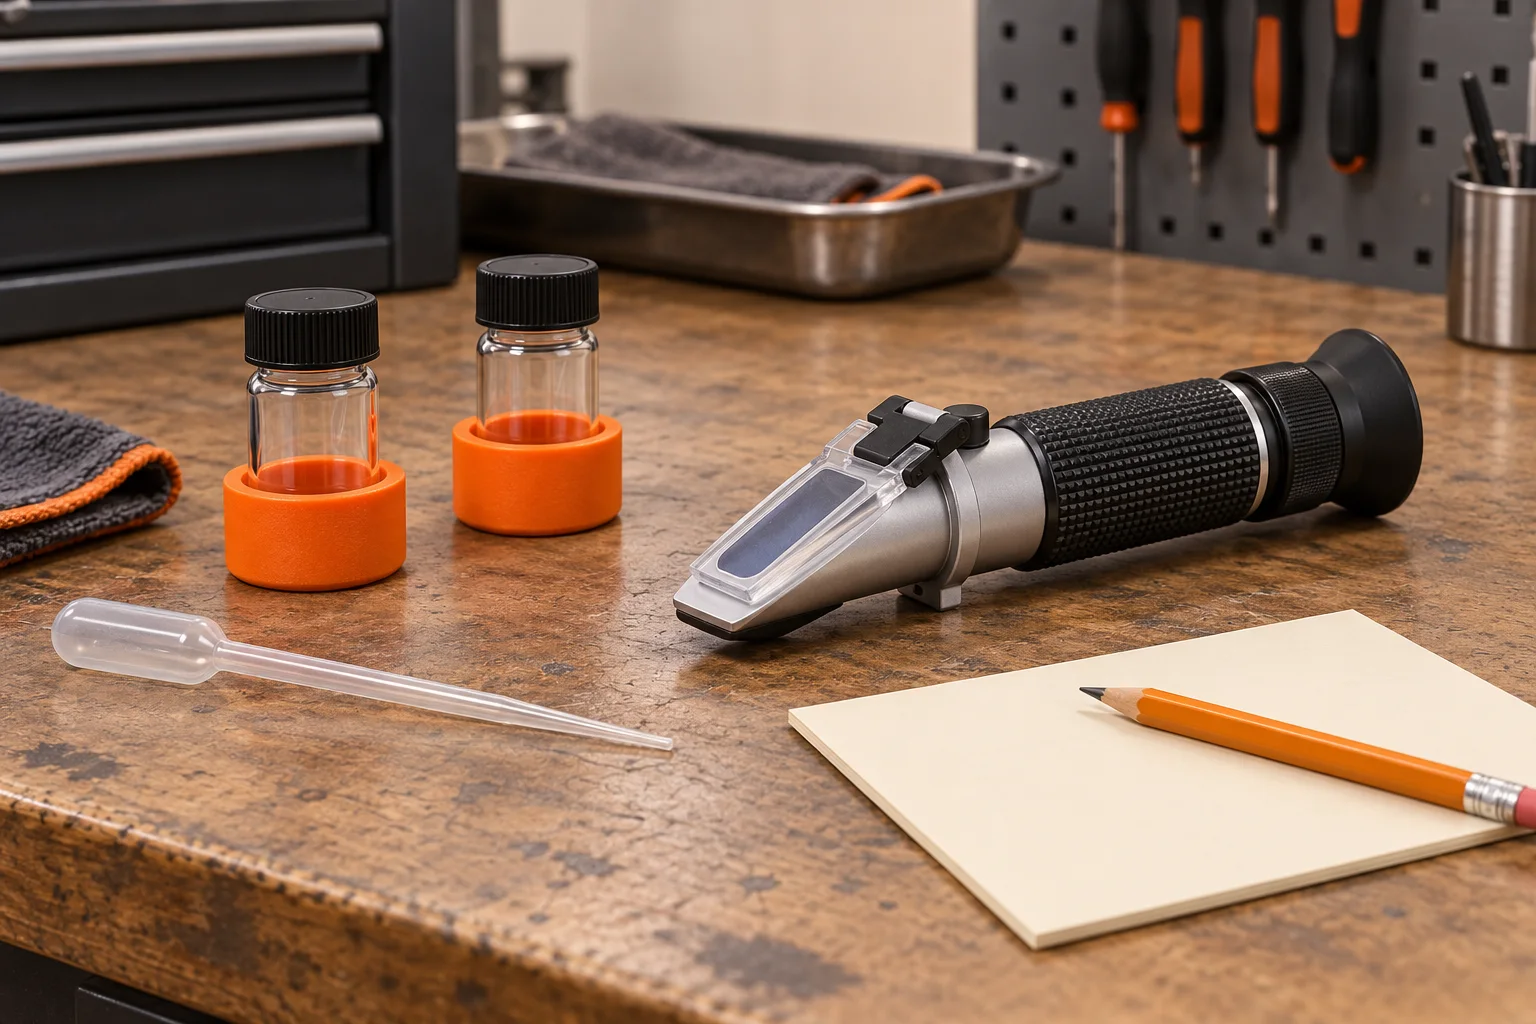
A coolant refractometer reading is useful only when the instrument check, sample identity and selected scale belong together. A clear boundary in the eyepiece does not repair a wrong scale selection or establish what fluid was put in the cooling system.
For a professional shop, start with a bounded question: what does this instrument report for this identified sample on its supported scale? Keep that answer separate from coolant suitability, service condition and any corrective action.
Use the manual for the instrument in your hand
Calibration directions are model-specific. Chevron's coolant test-kit instructions describe a distilled-water check with the optical boundary at 32 F, or 0 C, on the kit's freeze-point baseline. Its adjustment directions apply to that kit.
Houghton's Reichert DC70 product data identifies distilled water as the calibration liquid and lists separate ethylene-glycol and propylene-glycol scales. Those examples support checking the actual manual; they do not establish one universal adjustment procedure.
Before using the instrument, record its model, manual and required calibration conditions. Follow the manual for prism preparation, liquid, temperature conditions, adjustment and cleaning. If the required instructions are unavailable, mark the measurement pending instead of improvising a zero routine.
Make the zero check part of the result
An original shop record can keep four fields together: required reference liquid, expected reference indication, observed indication and whether the check passed under the manual's conditions.
If adjustment is required, preserve the before and after observations. If the boundary remains unclear or the reference check is unresolved, do not label the next sample reading verified. Record the problem and the next instrument check.
This is a documentation practice, not a calibration certificate. It does not establish traceable accuracy or remove the need for the instrument's specified service and checks.
Select the scale before interpreting the sample
The TPI 395 product page describes a refractometer supporting ethylene-glycol and propylene-glycol fluids, with the optical boundary indicating coolant freeze point. A tool can present more than one scale; the chosen label and units belong in the result.
Identify the coolant from reliable product and vehicle information. Do not infer its chemistry from its color or from a convenient-looking boundary. If the sample's identity is unknown, retain that uncertainty and resolve it before making a product-specific interpretation.
A reading reported as freeze point is not automatically a percentage concentration. Use only a conversion or interpretation supported by the instrument and the identified coolant manufacturer's guidance. Do not apply a generic dilution calculation to an unidentified sample.
Keep sample provenance with the reading
Before sampling, follow the applicable vehicle procedure and coolant safety instructions. Do not open a hot, pressurized system. This article does not specify a sampling location, access method or corrective mixture.
The original worksheet asks for sample source, vehicle identification, known product, sample time and any uncertainty about what the sample represents. That makes the result more useful when a technician reviews it later.
For example, a bottle whose origin is unclear should remain "sample identity unresolved" even if the optical line is easy to read. A result cannot acquire a better provenance simply because it has a precise-looking number.
Report only what the observation supports
Consider an invented job-card entry: "Reference check accepted under instrument manual; identified ethylene-glycol sample; ethylene-glycol freeze-point scale; observed boundary recorded in F." It deliberately leaves out a service verdict until the applicable requirements are available.
Do not turn that record into "coolant is good" without the additional evidence that such a claim needs. A freeze-point result alone does not establish the correct vehicle coolant specification, additive condition or an approved service interval. Keep those questions separate.
Chevron's guide includes guidance specifically for DELO ELC or XLC. A product-specific range or calculator must stay attached to that product; this article does not transfer it to other coolants.
A worksheet for the sample-to-result chain
Use these fields for a repeatable handoff:
- Vehicle and sample identity, known coolant product and remaining uncertainty.
- Instrument model, manual, reference liquid and required conditions.
- Reference observation, adjustment if required and completed check result.
- Selected glycol scale, output type, units and original sample observation.
- Applicable product or vehicle requirement, source and comparison status.
- What the result establishes, what remains unresolved and the next authorized check.
If a sample is retested, retain both entries with the reason for the repeat. If a requirement is missing, write "comparison pending." Those are more useful records than a confident verdict with no supporting reference.
See STEP's diagnostic methodology and editorial policy. Shops interested in STEP Diagnostics can request Early Access. This guide offers a working record format; it does not promise that STEP identifies coolant, calibrates a tool or determines a repair.