
Mechanic Guides
Infrared Thermometers on Shiny Metal: Validate the Surface Before Comparing Temperatures
Validate infrared thermometer readings on shiny metal before comparing automotive surface temperatures. Check emissivity, target area and record unresolved limits.
Published · 4 min read
Quick answer
A shiny-surface infrared reading needs validation before comparison. Confirm the surface, emissivity setting and measurement spot; retain unresolved limitations in the job record.
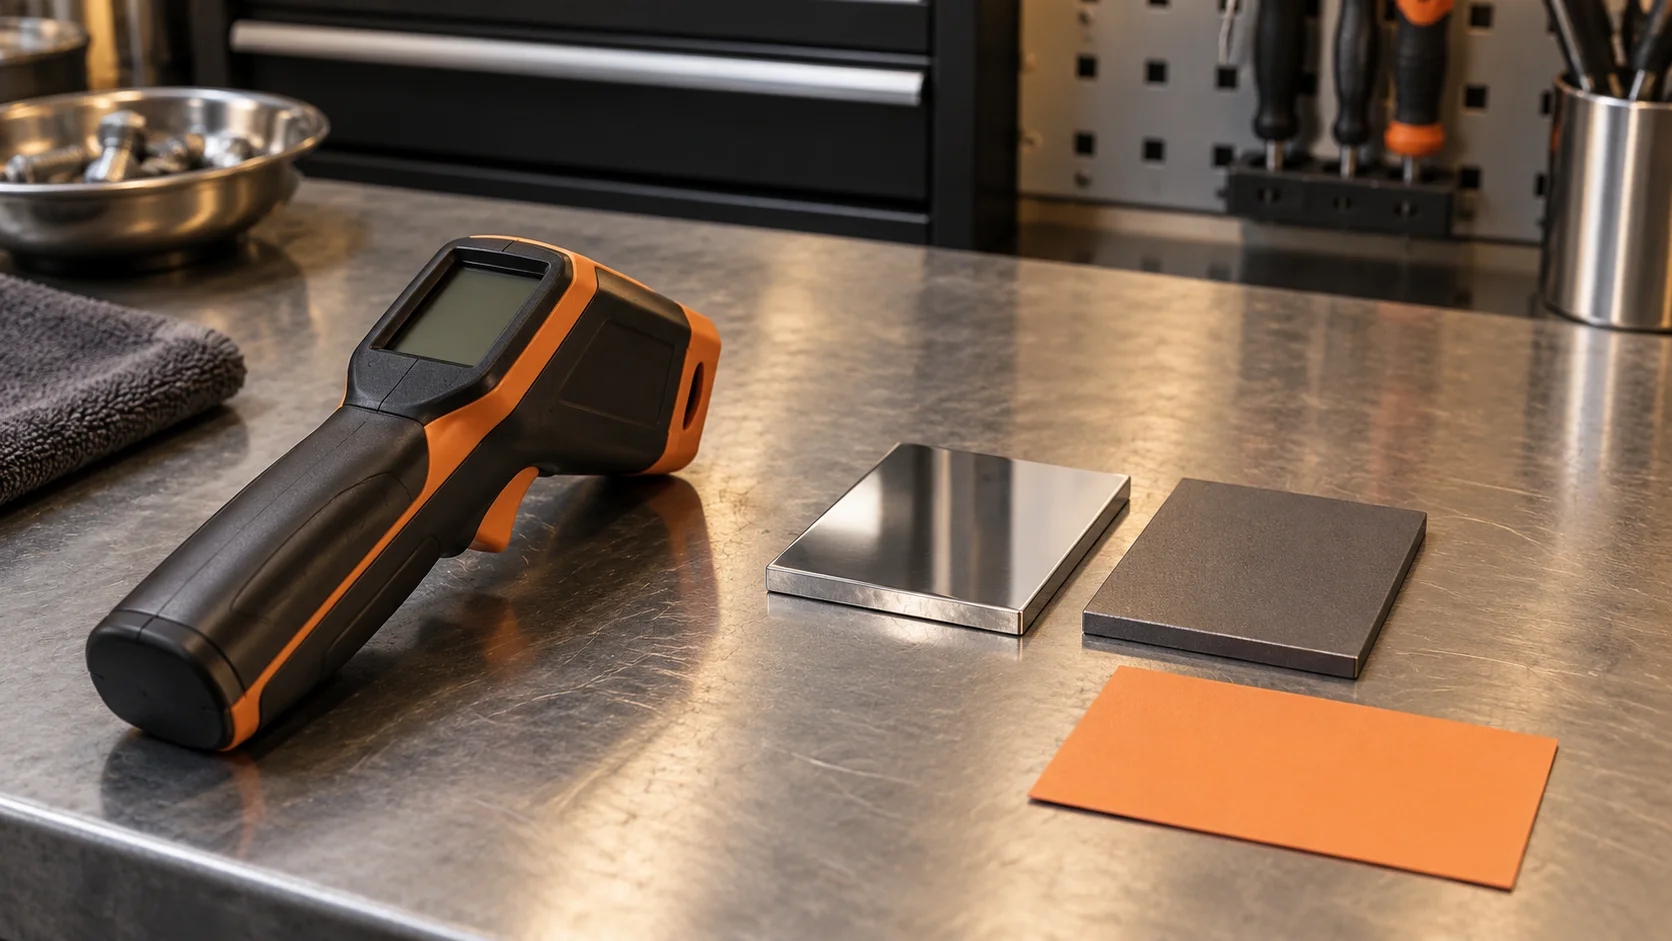
A temperature difference can be useful evidence only when both readings describe comparable targets. In a repair bay, an infrared thermometer pointed at bright metal may produce a convincing number without supporting the conclusion written on the job record. Before calling one component hotter or colder, check what the instrument actually measured.
This guide helps mechanics validate an infrared surface reading. It is not a cooling-system, brake or exhaust diagnosis, and it supplies no universal temperature limit. Follow the vehicle procedure and instrument instructions for the inspection you are performing.
The surface is part of the measurement
An infrared thermometer estimates surface temperature from radiation reaching its sensor. Emissivity describes how effectively a surface emits that radiation. A polished surface can reflect radiation from its surroundings, so its displayed temperature may differ substantially from a reading on a more emissive finish.
Treat a shiny-metal reading as needing validation, not as automatically low by a predictable amount. Do not add a fixed correction or select an emissivity value merely because it makes the display agree with an expected result. The material name alone does not describe every surface finish.
Check the area, not just the aiming mark
The measurement spot has an area. Its size depends on the instrument's optics and distance from the target; the laser is an aiming aid rather than proof that only the tiny marked point is being measured. If the target does not fill the measurement area, surrounding surfaces can influence the result.
Use the model's spot-size diagram and instructions to choose a safe position. Record the distance and exact target location. Keep the view unobstructed. Repeating a reading from the same position is useful, but repeatability does not remove a surface or target-size error.
Build a comparable observation
Start with the service question: which surfaces need comparison, under what operating condition, and what conclusion could that comparison support? Write that down before looking for a dramatic temperature difference.
Then identify the target's finish and the thermometer's emissivity setting, if adjustable. Where the instrument instructions permit a suitable matte reference treatment, check its temperature rating, compatibility and size before applying it. It must not damage the part or interfere with its operation. Do not improvise a coating on a hot, moving or safety-critical component.
If a safe, applicable reference surface or contact measurement is unavailable, retain the infrared reading as provisional. A different instrument or an approved vehicle test may be needed. The worksheet should make that limitation visible to the next technician.
A fictional comparison that stays provisional
Imagine a technician records one reading on a shiny housing and another on a painted nearby surface. The second number is higher. The note initially says, “Housing runs cooler.” That conclusion skips the difference between the measurement surfaces.
A more useful handoff says: “Two surface readings recorded at the listed locations. Finishes differ. Shiny-surface reading has not been validated; temperature difference remains provisional. Recheck with a comparable approved measurement method before using it to assess component behavior.”
This fictional example establishes no fault and no repair. Its purpose is to keep a measurement limitation from becoming a diagnosis. The job may still require vehicle-specific operating conditions, limits and follow-up tests.
Keep enough detail to repeat the check
Use the download as a surface-temperature record rather than a pass/fail chart. Save:
- The service question and operating condition.
- The instrument model, setting and measurement units.
- The exact target location, finish and viewing distance.
- How the target filled the measurement spot.
- Any approved reference treatment or comparison method.
- The recorded results and unresolved limitations.
- The next evidence needed before a component decision.
A photo can identify the location, but label it as a location record rather than thermal evidence when it is an ordinary photograph. Keep the original readings alongside the conclusion, as in a diagnostic report.
Clear records help an independent shop continue a case without treating a polished-surface display as a verified component temperature. Explore STEP Diagnostics and request Early Access to follow its development for professional diagnostic work.