
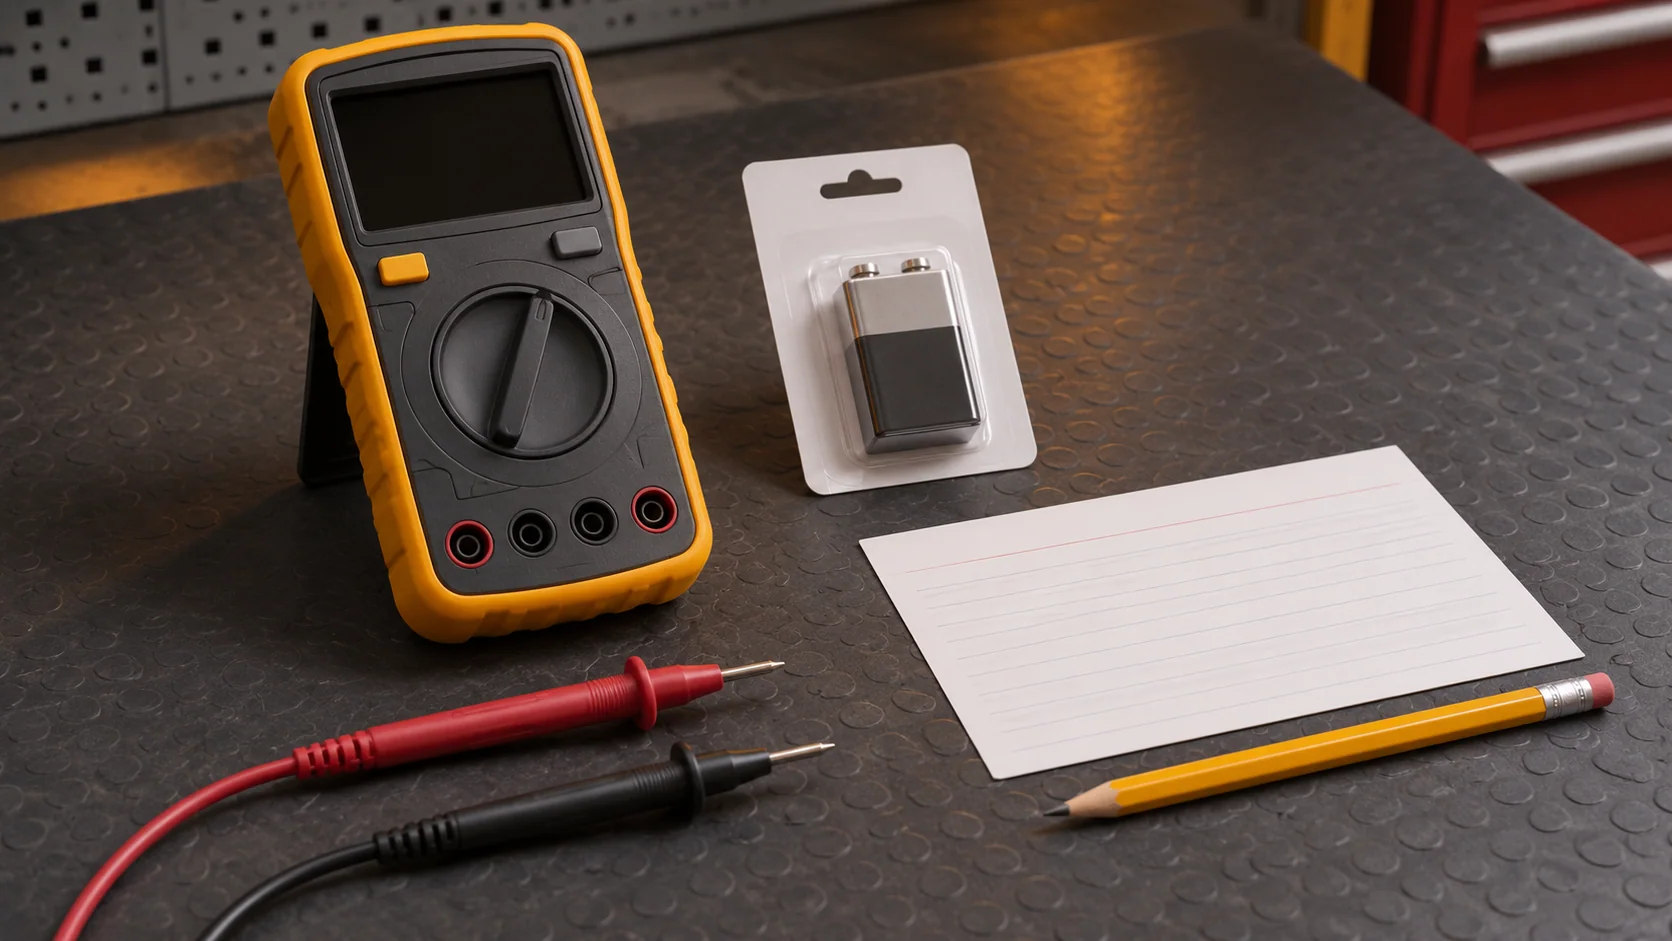
Identify the exact warning
Write down the meter model, the displayed symbol or message, the selected function and when the warning was noticed. Keep a photo if it can be taken safely after ending the measurement. A note that says only “low battery” leaves the next technician uncertain whether it describes the tool or the vehicle.
For a specific example, the Fluke 175, 177 and 179 Users Manual, printed page 5, identifies the battery symbol as a replacement warning and the bAtt message as requiring immediate replacement. Read the instructions for the actual instrument rather than borrowing another model's warning behavior.
Pause the decision and keep the old record
Flag readings taken while the warning was visible as requiring review and repetition with a suitable instrument. If the onset is unknown, record that uncertainty and identify which earlier results supported a repair decision. Do not silently delete them or mark every earlier result wrong.
A low-battery warning supplies no numerical correction for a saved voltage. It also does not establish whether an uncertain reading would be high, low or unchanged. The useful next action is a controlled repeat, rather than adjusting the old value to fit an expected result.
Restore meter readiness
End the measurement using the applicable safe-work procedure. Turn the meter off and follow its battery replacement instructions. Fluke's 175/177/179 Safety Information requires removing probes, leads and accessories before opening the battery door, and securing the door before operation. It also requires replacing low batteries to prevent incorrect measurements. This summary is not the complete safety procedure for another instrument.
After replacement, perform the checks specified for that meter. The same Fluke safety sheet calls for a known-voltage check before use and prohibits using a damaged or incorrectly operating meter. Record the check source, function, result and acceptance basis. A familiar vehicle reading with no established reference is a weak substitute for an identified check.
If the warning remains or the required check fails, keep that meter out of the decision and follow its service instructions. A fresh battery or a successful operational check does not, by itself, establish formal calibration status across every function and range.
Repeat the vehicle test with its context
Reconnect only after confirming the correct terminals, function, range, accessories and vehicle procedure. Preserve the original measurement locations and operating condition when they can be safely reproduced.
- Identify the old record and the new record separately.
- Record the meter used, warning status and readiness check.
- Retain the function, units, measurement points and relevant vehicle state.
- Write down any changed load, temperature, timing or connection.
- Compare the new result with the applicable vehicle specification and test conditions.
If the vehicle condition changed, describe the repeat as a new observation under that condition. A different value after battery replacement alone does not isolate the reason for the difference when other variables also changed.
Give the next technician a clear handoff
A useful handoff says which readings remain under review, what restored meter readiness, what was repeated and what decision the new evidence supports. The downloadable warning and repeat record keeps those fields together. It is an original shop aid, not a calibration certificate or vehicle pass/fail standard.
For AC measurements, also retain the measurement mode described in our AC versus AC+DC true-RMS guide. A cleared battery warning does not resolve a separate mode-selection question.
Clear evidence handoffs matter in electrical and network diagnosis. Request STEP access to discuss your shop's diagnostic workflow and availability for your work. This article does not claim that STEP checks, calibrates or controls a multimeter.