
Mechanic Guides
Torque Wrench Crowfoot Correction: Record the Geometry Before Setting the Tool
Document torque wrench crowfoot effective length, calculate an illustrative corrected setting and preserve the original fastener requirement in a shop worksheet.
Published · 4 min read
Quick answer
Record the fastener requirement, tool-specific effective length and signed adapter change separately. Calculate only when the manufacturer geometry assumptions apply.
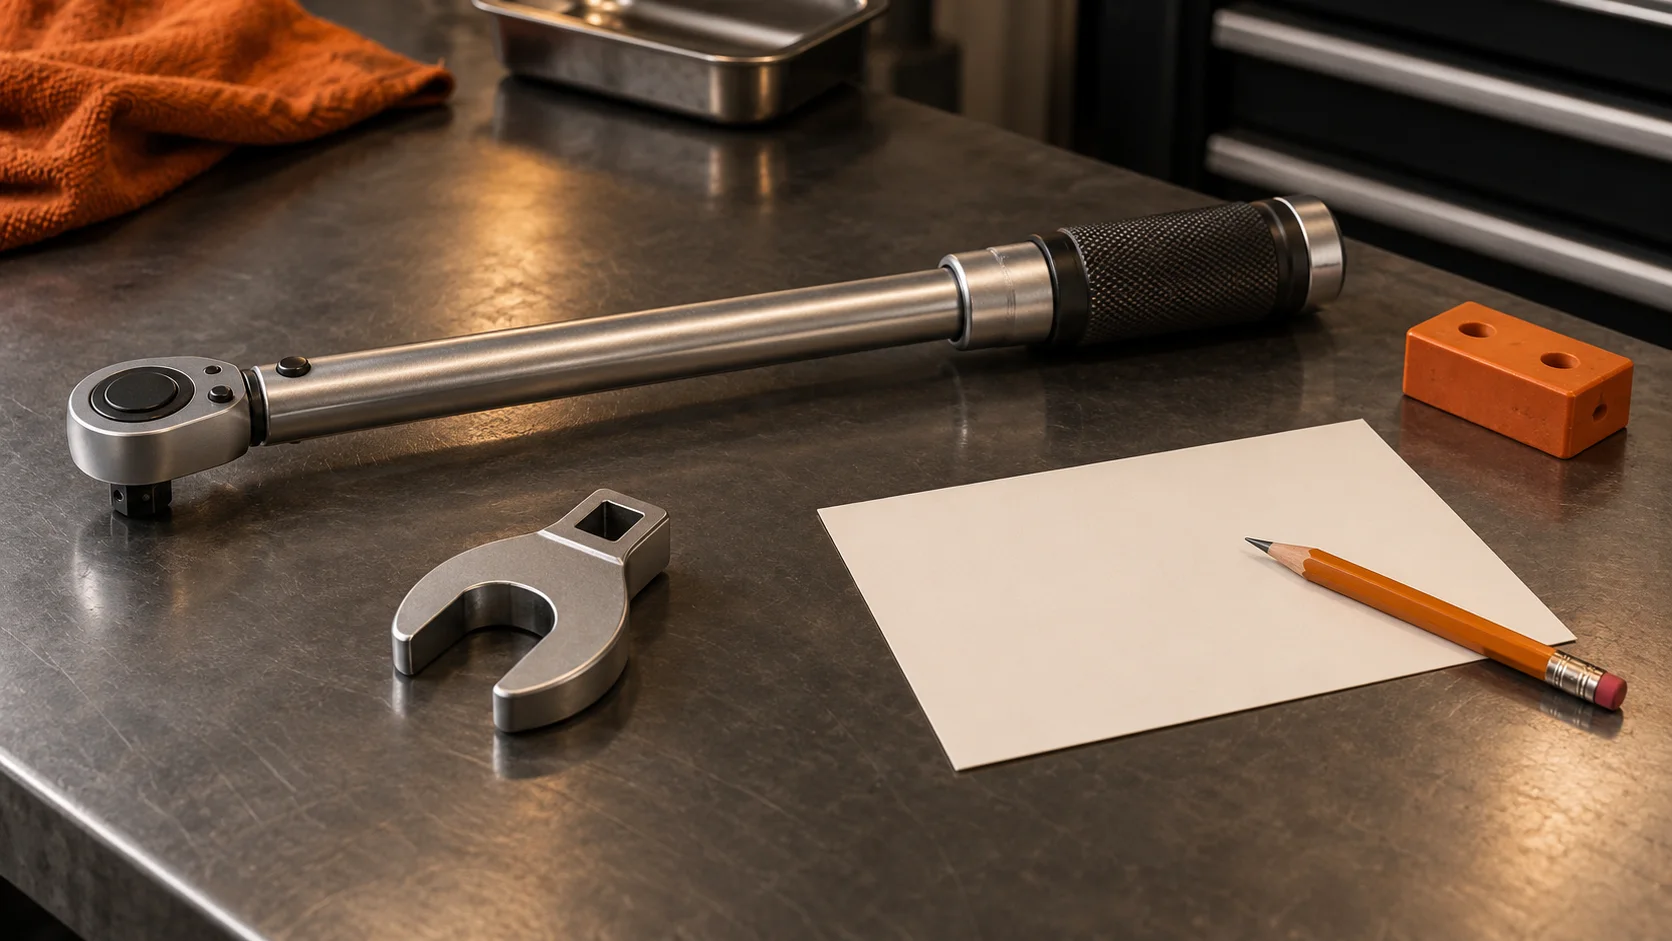
A torque value on the repair procedure and a value dialed into the wrench can differ when an adapter changes the effective lever length. For an independent shop, the useful record contains both values and the reason for the difference. Saving only the dial setting leaves the next technician unable to reconstruct the work.
This guide provides a calculation and handoff worksheet. It supplies no vehicle fastener specification and does not replace the applicable service procedure or the exact tool manual.
Start with the fastener requirement
Identify the actual fastener and current procedure before doing arithmetic. Keep its torque units, sequence, stages and any additional requirements with the job. An adapter calculation answers a geometry question; it does not establish which tightening procedure the vehicle needs.
Use two clearly named fields: required fastener torque and corrected wrench setting. Do not overwrite the first with the second. If the specification or tool instructions are unresolved, leave the calculation open rather than recording an apparently final setting.
Measure the change in effective length
TEKTON's crowfoot guidance uses the effective wrench length L and the change C measured parallel to the wrench body. C is positive when the adapter extends that length and negative when it shortens it. A perpendicular arrangement with no added effective length needs no leverage correction under that geometry.
The stated formula assumes a straight head and handle, with any flex head unengaged. Determine the correct handle reference from your tool manufacturer. Do not use overall tool length or the adapter's physical length without checking the defined measurement endpoints.
For the stated geometry, corrected setting = required fastener torque multiplied by L / (L + C). Keep L and C in the same length units. Retain a sketch or photograph of the arrangement so another technician can check what those inputs mean.
Fictional example: keep both numbers
An invented planning example uses a required fastener torque of 60 N m, an effective wrench length of 300 mm and an inline added length of 50 mm. The calculation is 60 multiplied by 300 / 350, giving approximately 51.43 N m as the wrench setting.
None of those values belongs to a vehicle procedure. The example demonstrates bookkeeping: the fastener requirement remains 60 N m, while the calculated tool setting is a separate entry. Tool range, available increments and permitted technique still require verification in the actual manual; this example does not authorize a rounding choice.
If the recorded adapter position changes, revisit the inputs. A calculation saved for one arrangement is not evidence for a different arrangement, even if the same tools appear in both photographs.
Review the tool setup as well as the calculation
The TEKTON micrometer wrench manual identifies a handle grip reference, prohibits handle extensions and instructs the user to stop at the click. Those instructions illustrate why a correct equation cannot replace correct operation. Follow the instructions for the wrench actually used.
Before treating the worksheet as ready, review:
- The exact procedure and torque units for the identified fastener.
- Tool model, applicable range and manual reference.
- Defined endpoints for L and signed change C.
- Adapter position and whether the formula assumptions hold.
- Original requirement, calculation and selected tool setting.
- Any unresolved technique, setting increment or tool condition issue.
Make the handoff reconstructable
An original shop note might say: "The inline adapter changes effective length. The worksheet preserves the fastener requirement and calculated wrench setting; the arrangement must be checked before use." This explains the calculation without claiming that tightening has already been completed.
Download the geometry worksheet above and attach it to the diagnostic report. Keep preparation, completed work and verification results in separate entries. STEP is in Early Access. Request early access to discuss how your shop wants to retain sources, checks and technician handoffs. This article does not imply automatic torque calculation or tool integration by STEP.