What this code means
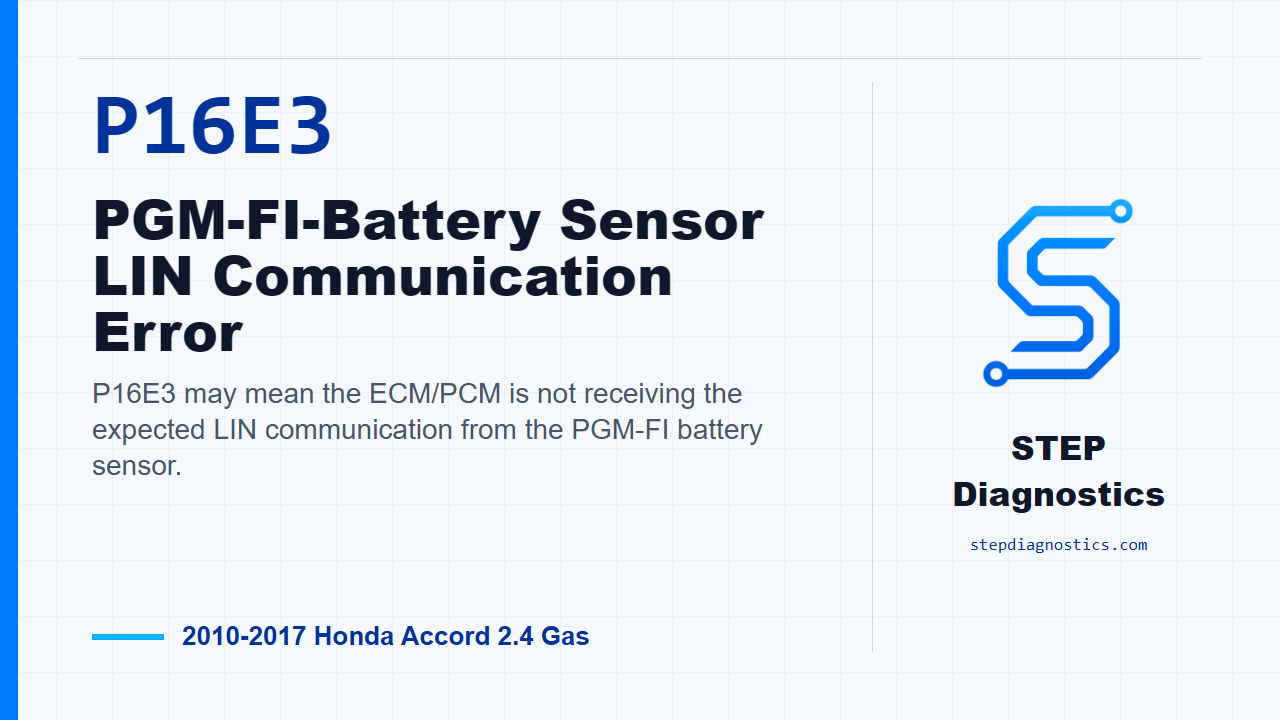
P16E3 may mean the ECM/PCM is not receiving the expected LIN communication from the PGM-FI battery sensor.
What the vehicle may do
- The vehicle may show charging-system or battery-management warnings.
- The vehicle can have little or no noticeable drivability change.
- Electrical system behavior may be inconsistent if the battery sensor information is not reliable.
Possible fault areas
- Possible battery sensor issue.
- Possible sensor power feed or fuse-side circuit issue.
- Possible LIN communication wire issue.
- Possible gauge control module side communication issue.
- Possible loose terminals or poor connector contact.
Diagnostic path
Open and context
On this 2010 to 2017 Honda Accord with the 2.4 gas engine, P16E3 is a PGM-FI battery sensor LIN communication error. In plain language, the ECM/PCM may not be seeing the battery sensor communication it expects. The vehicle may have charging-system related warnings, battery-management issues, or no obvious drivability symptom at all. Broadly, this can involve the battery sensor, its power feed, the LIN communication line, the gauge control module side of the circuit, or poor terminal fit. Before testing, save all freeze data and any on-board snapshot. Also check for loose terminals at the battery sensor on the battery negative terminal, and start with the basic system checks.
Confirm the fault first
Start by verifying that P16E3 is actually active. Turn the ignition switch to ON (II), or press the engine start/stop button to select ON mode. Clear the DTC with the HDS, then wait about 60 seconds. After that, check for Pending or Confirmed DTCs with the HDS. If P16E3 comes back, the failure is duplicated and you move into circuit testing. If it does not come back, treat it as an intermittent fault for now. The system is OK at this time, so focus on poor connections or loose terminals at the battery sensor and the gauge control module.
Check battery sensor power supply
Next, check the battery sensor power feed. Turn the ignition switch to LOCK (0), or select OFF mode with the engine start/stop button. Disconnect the battery sensor 3P connector. Measure voltage between battery sensor 3P connector No. 2, the RED wire, and body ground. This is the +B HORN circuit check. If battery voltage is present, continue to the LIN circuit check. If battery voltage is not present, skip ahead to the fuse and power-feed side of the diagnosis.
Check the LIN line voltage
With the battery sensor still disconnected, turn the ignition switch to ON (II), or select ON mode. Measure voltage between battery sensor 3P connector No. 3, the LT BLU wire, and body ground. This is the LIN (BATT SENSOR) circuit. The decision point here is 0 V. If the line is at 0 V, continue with the short-to-ground check. If it is not at 0 V, replace the battery sensor, then verify the repair and confirm the code stays gone.
Check the LIN line for a short
For the shorted wire check, turn the ignition switch to LOCK (0), or select OFF mode. Disconnect gauge control module connector A, the 32P connector. Then check for continuity between battery sensor 3P connector No. 3, the LT BLU wire, and body ground. If there is continuity, repair a short in the LIN (BATT SENSOR) wire between the battery sensor and the gauge control module, then verify the repair. If there is no continuity, the LIN wire is not shorted, so move to the open-circuit check.
Check the LIN line for an open
Now check for an open in the LIN circuit. With the ignition still at LOCK (0) or OFF mode and the battery sensor still disconnected, connect terminals A and B with a jumper wire. Terminal A is gauge control module connector A, 32P, No. 23, the LT BLU wire. Terminal B is body ground. Then check for continuity between battery sensor 3P connector No. 3, the LT BLU wire, and body ground. If there is continuity, the LIN (BATT SENSOR) wire is OK, so replace the gauge control module and then verify the repair. If there is no continuity, repair an open in the LIN (BATT SENSOR) wire between the battery sensor and the gauge control module, then verify the repair.
Check the fuse and power feed when battery voltage is missing
If the earlier power supply check did not show battery voltage at the battery sensor, go to the fuse check. Turn the ignition switch to LOCK (0), or select OFF mode. Check fuse No. A5 (10 A) in the under-hood fuse/relay box. If the fuse is OK, repair an open in the +B HORN wire between the battery sensor and the No. A5 (10 A) fuse in the under-hood fuse/relay box, then verify the repair. If the fuse is not OK, repair a short in that +B HORN wire, replace the No. A5 (10 A) fuse, and then verify the repair.
Verify the repair
Keep verification separate from the circuit testing. Turn the ignition switch to LOCK (0), or select OFF mode. Reconnect all connectors. Turn the ignition switch to ON (II), or select ON mode. Clear the DTC with the HDS, then check again for Pending or Confirmed DTCs with the HDS. If P16E3 is still indicated, check for poor connections or loose terminals at the battery sensor and the gauge control module, then go back and repeat the diagnostic path from the beginning. If P16E3 does not return, troubleshooting for this code is complete. If other codes are present, check what they mean first and diagnose those separately.
Takeaway and CTA
The takeaway is simple: prove the code first, then separate the battery sensor power feed from the LIN communication circuit before condemning any module. For more diagnostic training, visit stepdiagnostics.com.
Final check
P16E3 is best approached as a communication circuit diagnosis: confirm the code, check the battery sensor feed, isolate the LIN line, and verify the repair.
For more guided automotive diagnostics, visit STEP Diagnostics.