
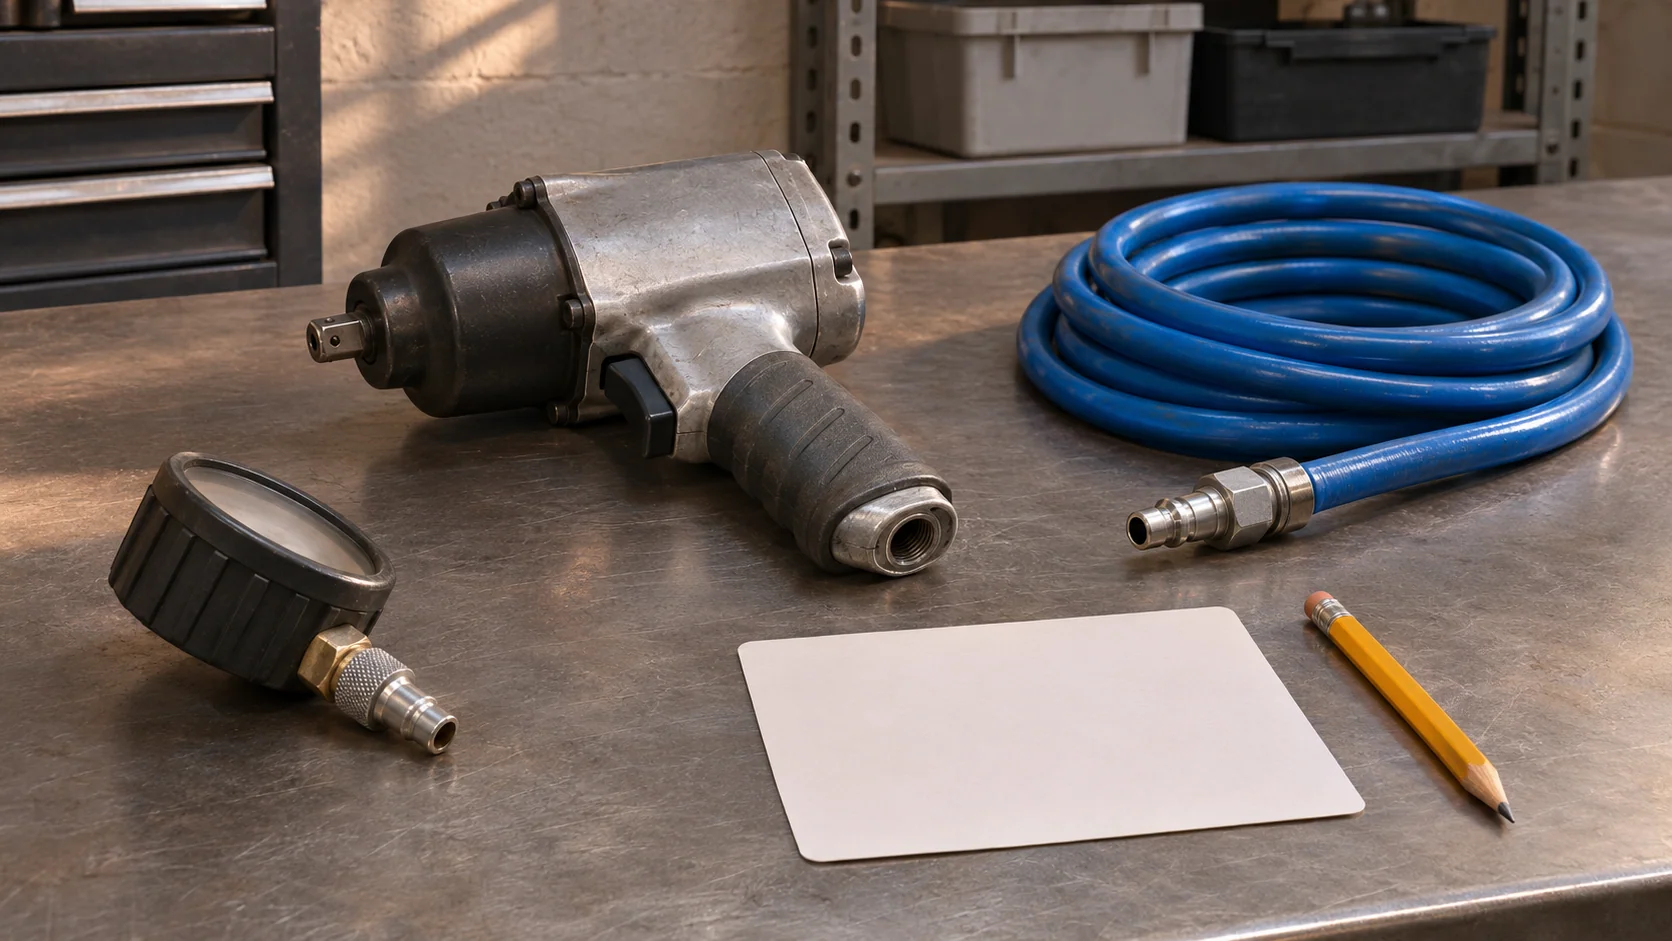
Keep the two pressure readings separate
An impact wrench feels weak, but the wall regulator appears to show the expected pressure. That observation describes the supply at one location and condition. It does not close the air-supply question at the tool.
Ingersoll Rand defines dynamic air pressure as pressure at the tool inlet during operation. Its guidance explains that a satisfactory stopped-tool reading can fall when air is consumed, affecting performance. Pressure and airflow requirements depend on the actual tool.
This guide provides a record for an independent shop investigating that difference. It is not a compressor-sizing calculation, a universal pressure specification or an output-torque test.
Retrieve the exact tool requirement
Before connecting a test gauge, identify the tool model and current product and safety information. Record the operating pressure, maximum allowed pressure, minimum hose inside diameter and stated air-consumption requirement. Preserve any stated conditions attached to those figures.
For a specific example, Ingersoll Rand's 2922 Series setup guide calls for a no-load, full-free-speed dynamic-pressure check. That model example does not authorize the same test or pressure setting for every impact wrench. Use the procedure for the tool in front of you.
If the required test condition or maximum pressure is unknown, obtain the instructions before proceeding. Increasing the regulator setting until a tool feels stronger is not a substitute for identifying its limits.
Install the measurement safely
The manufacturer's air-impact safety information requires trained operators, suitable protective equipment and control of compressed-air hazards. It directs users to shut off, bleed and disconnect the air supply before accessory changes or maintenance. Follow the complete applicable safety instructions, including hose and coupling protections.
Use a suitable, pressure-rated test gauge and connections in the arrangement prescribed for the test. Isolate and depressurize the supply before installing or changing that arrangement. Inspect the hose and fittings, secure connections and keep the test area clear. Any socket or accessory configuration must comply with the tool's test instructions; do not improvise an unsecured rotating attachment.
Preserve the baseline before changing the supply
Use this original comparison sequence:
- Identify the tool, gauge and measurement location. Sketch or describe the installed hose, reel, couplers, filter and regulator.
- Record the stopped-tool pressure as a separate observation, with its location.
- Perform the manufacturer-specified operating check and record the pressure at the tool inlet during that condition.
- Note the test duration or observation window, compressor state and other air users. Record whether the reading stayed steady or changed.
- Compare the observation with the model's requirement under the relevant conditions. Keep the measured value and the specification in separate fields.
Do not label an ordinary running observation as “under fastener load” unless that was the prescribed and actually observed condition. A free-speed supply check and a fastening operation answer different questions.
Change one condition, then repeat
If the result does not meet the tool requirement, investigate the supply path before declaring the wrench defective. The dynamic-pressure guidance identifies hose dimensions and length, restrictive couplers, filters or regulators, damaged lines, compressor capacity and simultaneous users as relevant checks. These are possibilities to examine, not a diagnosis from a low reading alone.
Keep a before-and-after entry for each correction. Record exactly what changed and repeat the same prescribed check. If several conditions change together, state that limitation rather than attributing the result to a single replaced fitting.
Never exceed the tool's maximum operating pressure to compensate for a restriction. If inlet pressure meets the requirement but performance remains poor, keep that result and move to the tool manufacturer's troubleshooting procedure. Adequate pressure in one test does not certify every operating condition or establish the tool's internal condition.
Separate supply performance from final torque
The 2922 guide also warns that an impact wrench does not control final fastener torque. An acceptable air-supply check cannot certify a completed joint. Follow the application's specified fastening procedure and appropriate torque-verification method. The shop's torque-wrench calibration interval record addresses a separate part of that measurement chain.
Leave a useful handoff
The downloadable worksheet pairs the requirement with stopped and operating observations, supply configuration, one-change retests and the next unresolved action. It contains no default pass value: the source and actual tool determine that value.
STEP is accepting Early Access requests. Share how your shop needs to connect a complaint, source requirement, measurement conditions and next check. A clear record helps the next technician continue from the evidence already collected.