
Mechanic Guides
Leak-Down Tester Calibration: Verify the Reference Before Comparing Cylinders
Separate leak-down tester reference setup, gauge-scale interpretation and calibration status. Includes a record for percentage and dual-pressure-gauge tools.
Published · 5 min read
Quick answer
Identify the tester and its prescribed reference check before interpreting leakage. A percentage-gauge zero setting and a dual-pressure-gauge method are different setups; neither an unexplained zero nor an arbitrary pressure is a universal calibration procedure.
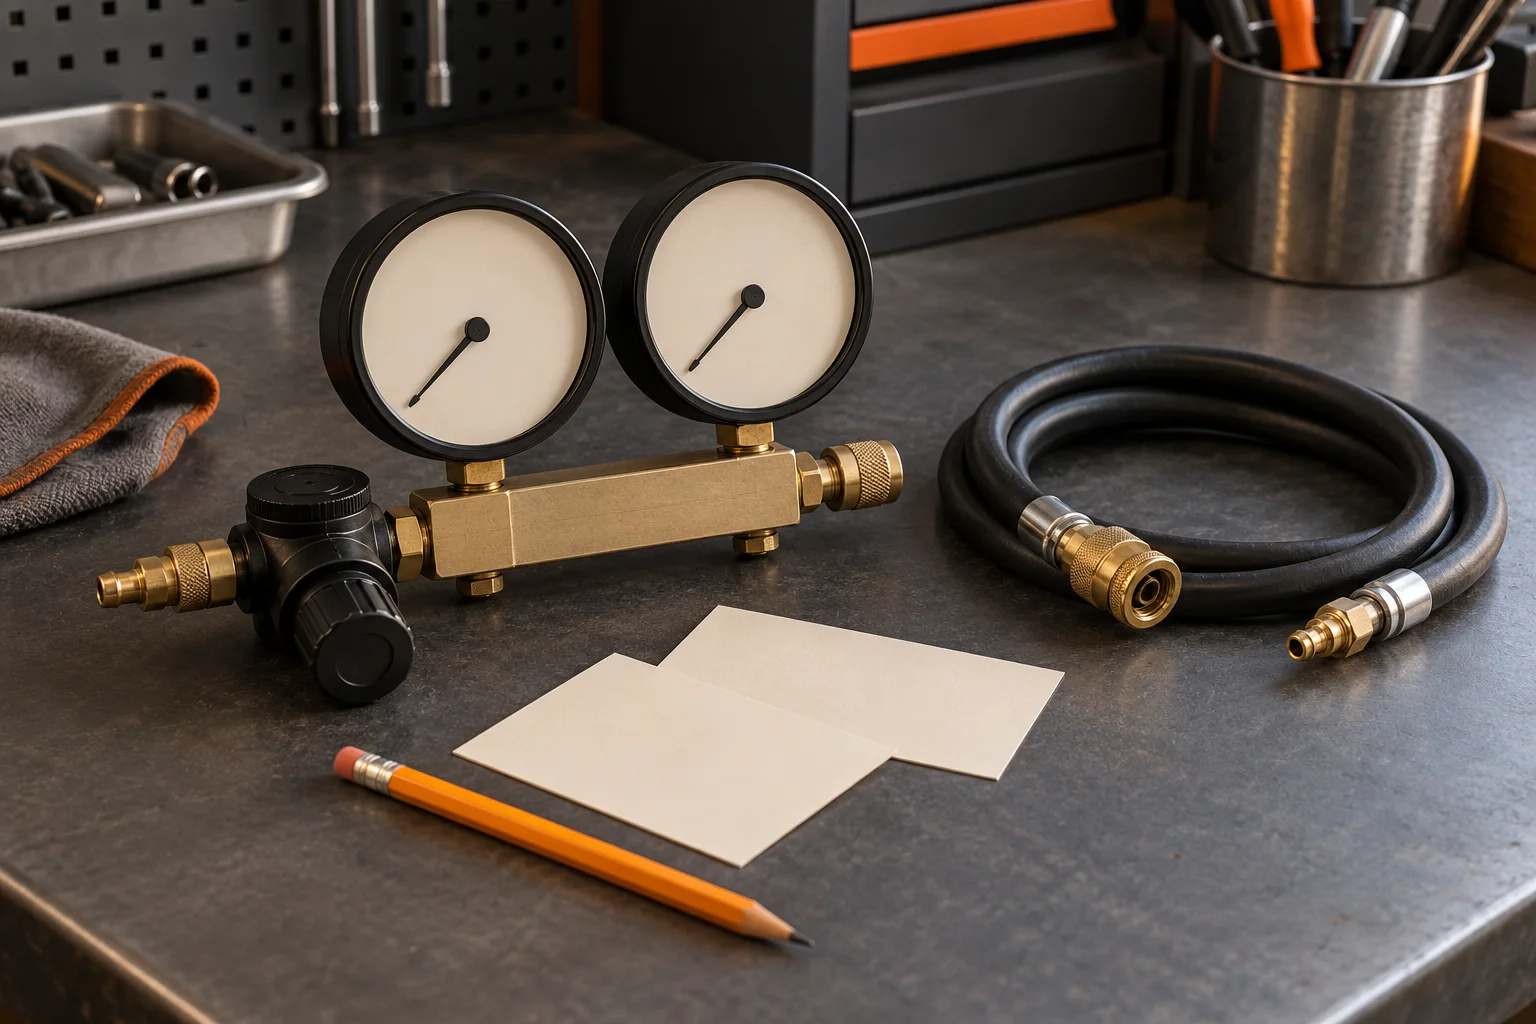
Before deciding that a leak-down tester needs calibration, identify what its reference setting is supposed to establish. A percentage display, two pressure readings and a calibration-service record answer different questions. A repair order that says only "tester zeroed" leaves the next technician guessing which one was checked.
This guide explains the record and the interpretation of identified operating instructions. It supplies no universal air pressure, engine preparation or acceptable leakage percentage. Use compatible current equipment and engine instructions before connecting or pressurizing a cylinder.
Separate reference setup from calibration status
An operating reference puts the tester into the condition its instructions require for a measurement. A known reference procedure and its observed result belong in the job record. Merely turning a regulator or seeing a pointer at zero does not establish what condition was checked.
Calibration status needs its own evidence: identify the instrument, the applicable service documentation and any verification or calibration record available for that particular tool. The operating manuals discussed here do not certify the condition of the tester on your bench. If its status is unknown, write unknown; do not invent a service date or a universal recalibration interval.
Read the scale before choosing the method
The original ProMeister PT5372 guide, identified as RVNR-01 and hosted by Mekonomen Group, describes a percentage reference. On PDF page 3, its illustrated instructions identify 0% at the end of the blue SET band and describe locking the regulator adjustment. That is a named tool's setup instruction, not a direction to make every leak-down gauge show zero under arbitrary conditions.
The OTC 5609 operating label, 0001-000-3898 Rev. D, uses another reading path. It identifies an input-pressure gauge and the pressure maintained in the cylinder, then supplies a chart relating the readings to leakage percentage. Save both original pressures and units when using that documented method. A pressure difference written in psi is not already a percentage.
Choose the method for the exact instrument and revision in use. Do not import one tool's SET mark, air-supply value or conversion chart into another tester. The presence of two dials alone does not tell you whether the second dial represents pressure or leakage percent.
Treat an unexplained reference as unresolved
Record what was connected during the prescribed reference check and what indication was expected. Keep the observed result, including an unstable or unsuccessful reference. A zero on an unpressurized pressure scale and a percentage reference established under its specified conditions are not the same record.
If the required reference cannot be confirmed, resolve the equipment question before treating subsequent cylinder readings as comparable. Do not adjust the regulator simply until a cylinder result looks healthy, substitute an improvised restriction, or rewrite the original value after a setup change. Follow the tool's supported verification or service path.
The ProMeister guide also warns that losses at connections can affect the indicated leakage. Preserve hose and adapter identity and the outcome of the applicable connection checks; an unexplained indication does not identify the engine as its source by itself.
Build a two-path reference card
Start both paths with the tester model and ID, instruction revision, applicable engine procedure, required preparation and calibration-status evidence. Then retain the appropriate branch:
- Percentage-scale tool: defined reference condition, expected mark, actual indication and supported reference-check outcome.
- Dual-pressure method: required input condition, original input and cylinder pressures with units, and the exact conversion-chart reference.
- Both paths: hose and adapter identities, relevant connection checks, cylinder and operating condition, original result and unresolved comparison limits.
Keep the reference observations separate from the cylinder observations. After a permitted correction to the setup, identify the new test as a repeat and preserve what changed.
Leave a defensible next step
In an invented handoff, a technician records "0" before air was applied but cannot identify the prescribed reference condition. The next technician retains that entry and obtains the correct instructions before accepting the later leakage result. This example documents a missing equipment check; it diagnoses neither a defective tester nor a failed cylinder.
Compressed air can move an engine. Subaru's October 2022 TechTIPS, page 11, warns about crankshaft rotation and removal of crank-turning tools. Follow the current compatible safety and engine-positioning procedure; this reference card is not that procedure.
Use the compression versus leak-down comparison to keep the two test questions distinct. Attach the completed card to the diagnostic report. To discuss reproducible shop handoffs, request STEP Early Access; no tester calibration or automated engine verdict capability is claimed for STEP.