What this code means
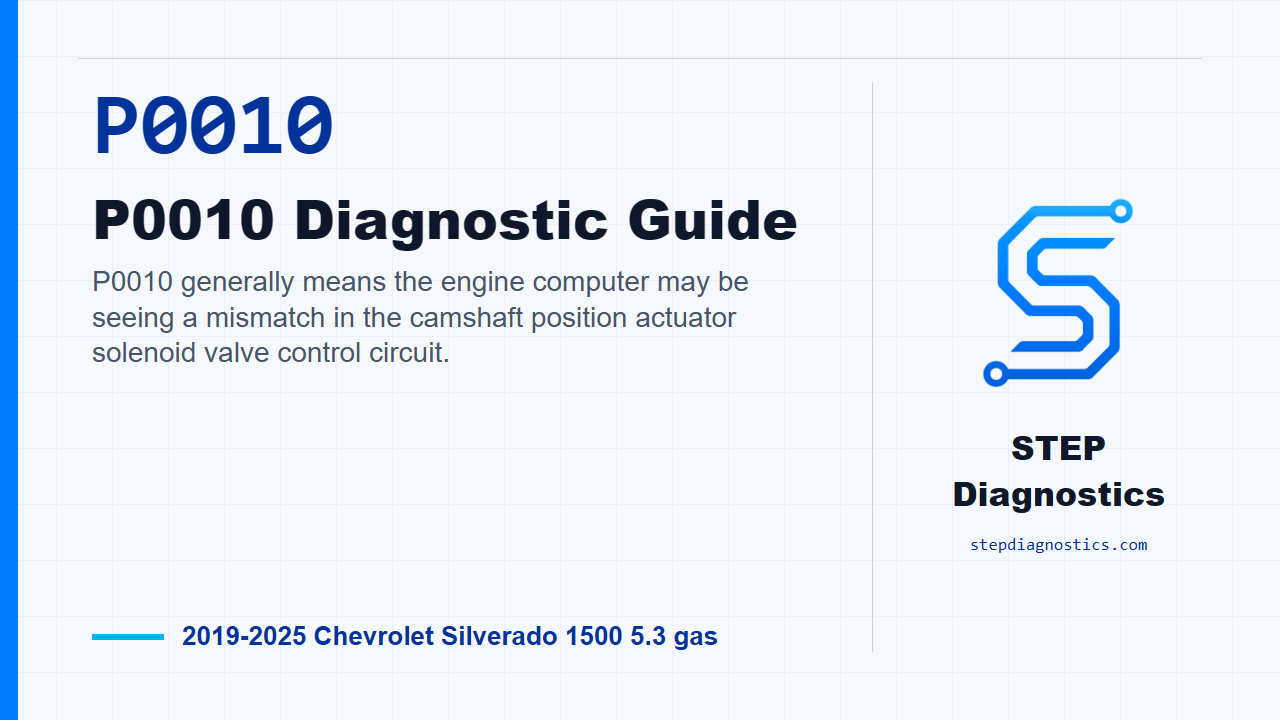
P0010 generally means the engine computer may be seeing a mismatch in the camshaft position actuator solenoid valve control circuit.
What the vehicle may do
- The check engine light may be on.
- The engine may idle rough or feel less responsive.
- Cam timing response may not behave normally.
Possible fault areas
- Possible wiring, terminal, or connector concerns.
- Possible camshaft position actuator solenoid valve concern.
- Possible engine oil condition, oil level, or oil pressure concern.
- Possible camshaft actuator response concern.
Diagnostic path
Opening context for P0010
On this 2019 to 2025 Silverado 1500 with the 5.3 gas engine, P0010 is a camshaft position actuator solenoid valve control-circuit fault. In plain terms, the computer is commanding the cam actuator solenoid, but the circuit feedback may not be matching what it expects. The driver may notice a check engine light, and the engine can sometimes run rough, feel lazy, or have cam timing behavior that does not respond normally. The broad fault areas are possible wiring or terminal problems, a possible solenoid issue, oil condition or oil pressure concerns, and possible cam actuator response problems. Treat the companion cam actuator codes as context, but keep this diagnostic focused on P0010.
Start with basic checks, then screen the obvious blockers
Start with the basic system checks and follow a structured diagnostic approach before diving into pinpoint testing. Then turn the ignition on with the vehicle in service mode. Before running the actuator checks, make sure there are no crankshaft or camshaft sensor-related codes active. If those codes are present, check what they mean first. Also remember that once those codes are cleared, the scan tool output control can function. Next, verify the engine oil is not dirty or contaminated, the oil level is not low, and engine oil pressure is not low. Oil level, oil pressure, and oil condition are critical on this system because debris or degraded oil can interfere with both the solenoid valve and the mechanical actuator.
Use the actuator command as the first functional check
With the engine idling, use the scan tool to command the camshaft position actuator from 0 to 10° and back to 0°. While doing that, watch the solenoid valve control-circuit test statuses. The low-voltage, open-circuit, and high-voltage test statuses should read OK or Not Run. If any of those are not in the specified state, move into circuit testing. If they are OK or Not Run, command the actuator from 0 to 10° and back to 0° again, and verify camshaft position variance stays Less than 2° during each commanded state. If variance is 2° or greater, that also sends you into circuit testing.
Check for an intermittent harness or connector problem
If the first command checks pass, keep watching camshaft position variance and wiggle the harness and connectors at the camshaft position actuator solenoid valve and the engine control module. The variance still needs to stay Less than 2°. If it jumps to 2° or greater during the wiggle test, repair the affected wiring, terminals, or electrical connector. If it stays under the limit, reproduce the operating conditions for the code, and if available, reproduce the captured conditions from the failure data. If P0010 sets again, continue into circuit testing. If it does not set, the system checks OK at that time.
Understand the monitor gate and the fault formula
For this monitor, the ignition voltage condition is Greater than 11 V, the switch is in Run or Crank, and the camshaft position actuator solenoid valve is commanded On. Once the running conditions are met, the monitor runs continuously. The fault logic for P0010 is straightforward: the commanded state and the actual control-circuit state do not match for greater than 5 s. That is why the rest of the test path focuses on the low-reference side, the control side, and whether the module can recognize commanded circuit changes.
Begin circuit testing at the low-reference side
For circuit testing, power the vehicle down first. It may take up to 2 min for all vehicle systems to power down before a ground or low-reference continuity test is accurate. Disconnect the camshaft position actuator solenoid valve connector. Test for less than 10 Ω between low-reference circuit terminal 1/A and ground. If that reading is 10 Ω or greater, disconnect the engine control module connector and test the low-reference circuit end to end. You want less than 2 Ω between terminal 1/A at the component harness and the other end of the circuit at the control module harness. If it is 2 Ω or greater, repair the open or high resistance in the circuit. If it is less than 2 Ω, the path points to replacing the engine control module.
Check the control circuit for short to voltage or short to ground
If the low-reference test is less than 10 Ω, turn the ignition on with the vehicle in service mode and command the camshaft position actuator solenoid valve Off. A test lamp between control circuit terminal 2/B and ground should not turn on. If the lamp turns on, power down, remove the lamp, disconnect the engine control module connector, turn the ignition back on, and test for less than 1 V between control circuit terminal 2/B at the component harness and the other end of that circuit at the control module harness. If it is 1 V or greater, repair the short to voltage. If it is less than 1 V, the path points to replacing the engine control module. If the lamp does not turn on with the solenoid commanded Off, remove the lamp and command the solenoid valve On. The low-voltage test status should be OK or Not Run. If it is not, power down, disconnect the engine control module connector, and test for infinite resistance between control circuit terminal 2/B at the component harness and ground. Less than infinite resistance means repair the short to ground. Infinite resistance points to replacing the engine control module.
Prove the module can see a forced low-voltage condition
If the low-voltage test status is OK or Not Run with the solenoid commanded On, connect a 3 A fused jumper wire between control circuit terminal 2/B and ground. Command the solenoid valve On again. Now the scan tool should show the camshaft position actuator solenoid valve control-circuit low-voltage test status as Malfunction. If it does not, power down, remove the jumper, disconnect the engine control module connector, and check control-circuit continuity. You want less than 2 Ω between control circuit terminal 2/B at the component harness and the other end of the circuit at the control module harness. If it is 2 Ω or greater, repair the open or high resistance. If it is less than 2 Ω, the path points to replacing the engine control module.
If the circuit reacts correctly, separate electrical from actuator response
If the forced low-voltage check does show Malfunction, then look at whether the cam actuator response code is also set. If that response code is set, turn the vehicle off and inspect the cam actuator-related parts as a group: the solenoid valve, the actuator magnet, the solenoid valve assembly, and the mechanical camshaft actuator. If a condition is found there, replace the camshaft position actuator solenoid valve. If no condition is found, run the engine and command the camshaft position actuator from 0 to 10° and back to 0°. Camshaft position variance must stay Less than 2° during each commanded state. If it is 2° or greater, replace the camshaft position actuator. If it is less than 2°, replace the camshaft position actuator solenoid valve. If that response code is not set, test or replace the camshaft position actuator solenoid valve.
Static component test for the solenoid valve
For the static component test, turn the vehicle off and disconnect the camshaft position actuator solenoid valve connector. Measure between control circuit terminal 1/A and low-reference terminal 2/B. The solenoid should be between 6 and 12 Ω. If it is not between 6 and 12 Ω, replace the camshaft position actuator solenoid valve. If it is in range, test each terminal of the component to the component housing. That should be infinite resistance. If it is less than infinite resistance, replace the camshaft position actuator solenoid valve. If it is infinite resistance, the static test checks OK.
Dynamic component test for the solenoid valve
For the dynamic test, turn the vehicle off and disconnect the camshaft position actuator solenoid valve connector. Connect a jumper wire between low-reference terminal 1/A and ground. Then momentarily connect a 7.5 A fused jumper wire between control circuit terminal 2/B and B+. The solenoid valve should turn On and Off as the jumper is connected and disconnected. If it does not turn On and Off, replace the camshaft position actuator solenoid valve. If it does, the dynamic test checks OK.
Repair verification and takeaway
After the repair, keep verification separate from the pinpoint testing. Verify the repair, reproduce the operating conditions, and confirm P0010 stays gone. The takeaway is simple: do not jump straight to a solenoid. Prove the oil condition is acceptable, command the actuator, watch the circuit status and variance, then use the low-reference and control-circuit tests to separate wiring, module, solenoid, and actuator problems. For more diagnostic training, visit stepdiagnostics.com.
Final check
P0010 is often best approached by separating oil-related concerns, circuit integrity, solenoid operation, and actuator response instead of assuming one failed part.
For more guided automotive diagnostics, visit STEP Diagnostics.