What this code means
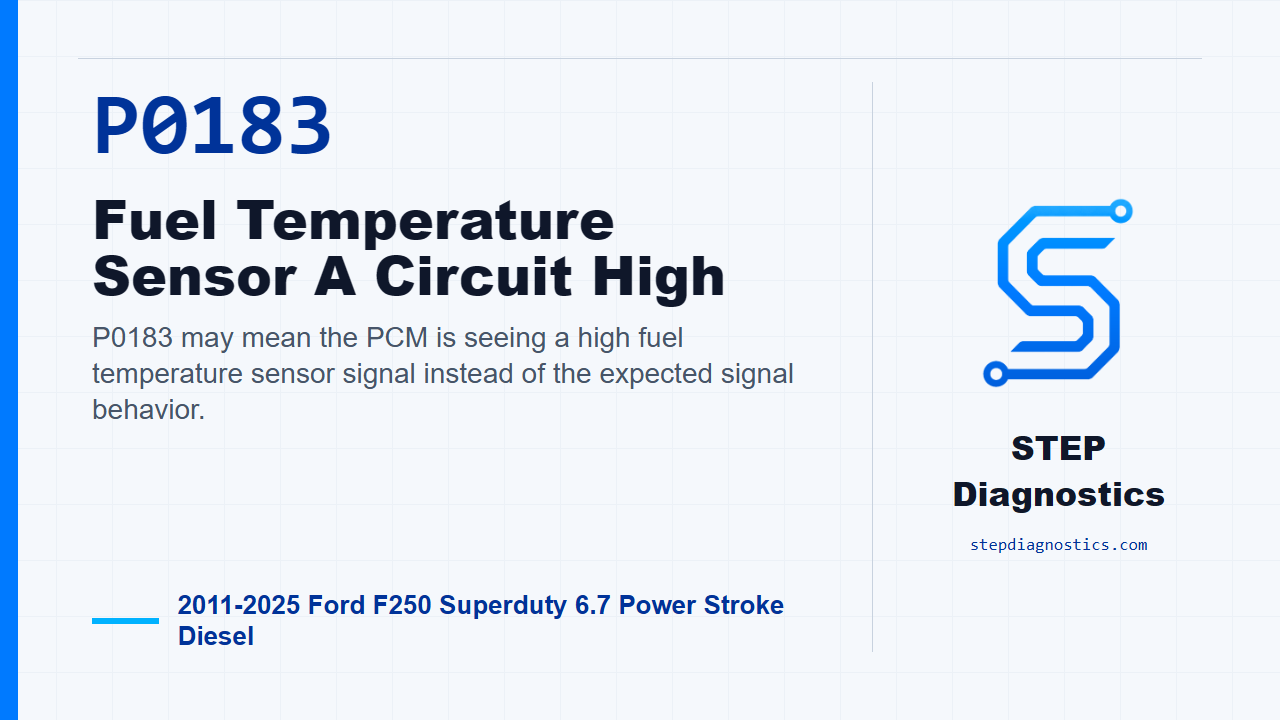
P0183 may mean the PCM is seeing a high fuel temperature sensor signal instead of the expected signal behavior.
What the vehicle may do
- The check engine light may be on.
- The vehicle may use substitute or limited fuel temperature information.
- Driveability can vary depending on related conditions.
Possible fault areas
- Possible fuel temperature sensor signal circuit concern.
- Possible connector, terminal, or harness issue.
- Possible PCM connector or module-related concern after circuit checks pass.
Diagnostic path
Opening context
On this 6.7 Power Stroke Super Duty, P0183 means the PCM is seeing the Fuel Temperature Sensor A circuit high. In plain terms, the fuel temperature signal may be higher than the PCM expects. The truck may turn on the check engine light, may rely on substitute or limited fuel temperature information, and drivability can vary depending on what else is happening. Broadly, think possible fuel temperature signal circuit trouble, connector or terminal issues, harness damage, or a PCM connection concern. Start with the basic system checks, follow a structured diagnostic approach, and if other PCM codes or PCM-related symptoms are present, handle those first so this circuit test does not get pulled off course.
Handle the shared fuel pressure path if it applies
Before settling into the fuel temperature circuit path, make sure the scan is not sending you through the shared fuel rail pressure checks. If fuel rail pressure sensor codes are present, if the broader fuel-control path sent you there, or if you are chasing symptoms without a code, use the pressure-sensor path first. With ignition on, monitor the FRP_V PID, wiggle the accessible harness from the fuel rail pressure sensor back toward the PCM, lightly tap the sensor, and wiggle the connector. Watch for sudden voltage changes. For the reference-voltage monitor, the normal range is between 4.5 and 5.5 volts. If the fault shows up during the wiggle test, repair as necessary, clear the PCM codes, and repeat the self-test. If regeneration starts during this kind of testing, let it finish before continuing because the readings can be biased.
Finish the shared pressure-sensor circuit checks when required
If that pressure-sensor route continues, turn the ignition off, disconnect the fuel rail pressure sensor, turn the ignition on, and measure between C1360 Pin 1 and C1360 Pin 3. The VREF check should be 4.5 - 5.5 V. If it is not, stop this path and handle the reference-voltage problem before moving on. If VREF passes, turn the ignition off, disconnect PCM-E, and check C1360 Pin 2 to C1232E Pin 101. That circuit should be less than 5 Ω. Then check the fuel rail pressure signal circuit for shorts; the pass point is greater than 10000 Ω. If those checks pass, turn ignition on and check C1360 Pin 2 for unwanted voltage. If voltage is present, repair the short circuit, clear the PCM codes, and repeat the self-test. If no voltage is present on that pressure-sensor path, the diagnostic decision supports installing a new Fuel Rail Pressure sensor, then clearing the PCM codes and repeating the self-test.
Confirm the P0183 fuel temperature route
For the target P0183 concern, stay on the fuel temperature sensor circuit path. If a fuel temperature sensor circuit code is present, this Super Duty route goes into circuit testing. If the code is not present and the concern will not duplicate, treat it like an intermittent: check for loose connections, damaged or corroded terminals, and wiggle the harness while trying to recreate the fault. Also monitor the fuel temperature sensor voltage and temperature data on the scan tool; that helps separate an open or shorted circuit from a broader system concern. If regeneration starts during testing, let it complete before continuing.
Use the related temperature comparison branch only if the path calls for it
There is a related fuel-temperature branch that checks fuel cooler and ambient-temperature behavior before the circuit checks. Use it only if the diagnostic path calls for that branch. Any engine cooling concern needs to be repaired before continuing. Visually check the fuel cooler system for leaks, pinched hoses, restricted radiator airflow, correct coolant level, and coolant flow at the fuel cooler reservoir. Some related fuel-temperature monitor comparisons use a 6 hour soak gate, and for the sensor operation check the engine needs to be at ambient room temperature; a soak period of 6 hours may be required. With ignition on, monitor the FRT_A temperature PID. The PID should be within 11°C (20°F) of ambient temperature. If it is not, the diagnostic decision supports installing a new Fuel Pressure and Temperature sensor, then clearing the PCM codes and repeating the self-test.
Check the P0183 fuel temperature circuits for opens
Now for the P0183 circuit-high path. With the ignition off, disconnect the Fuel Pressure and Temperature Sensor connector, then disconnect PCM-E. Check the fuel temperature circuits end to end: C106 Pin 4 to C1232E Pin 12, and C106 Pin 1 to C1232E Pin 13. Each circuit should measure less than 5 Ω. If either one does not meet that, repair the open circuit, clear the PCM codes, and repeat the self-test. If both pass, move on to the short checks.
Check for shorts on the fuel temperature circuits
Next, check the fuel temperature sensor circuits for a short to ground at the C106 Pin 4 and C106 Pin 1 circuits. The decision point for this check is greater than 10000 Ω. If the circuit does not measure greater than 10000 Ω, repair the short circuit, clear the PCM codes, and repeat the self-test. If it passes, turn the ignition on and run the short-to-voltage check on those same fuel temperature circuits. The decision is whether any voltage is present. If voltage is present where it should not be, repair the short circuit, clear the PCM codes, and repeat the self-test. If no voltage is present, go to the PCM connector check.
PCM connector check, verification, and takeaway
For the PCM check, disconnect all PCM connectors and inspect them closely for pushed-out pins and corrosion. Reconnect every PCM connector and make sure each one seats correctly. Then verify whether the concern is still present. If it is still present after the circuit checks and connector inspection, this diagnostic path supports installing a new Powertrain Control Module, programming the VID block with the scan tool, and completing the required RVC process. If the concern is not still present, the system is operating correctly at that time, and the fault may have been caused by a loose or corroded connector. Keep verification separate from the circuit testing: clear the PCM codes, repeat the self-test, then verify the repair and confirm P0183 stays gone. The takeaway is simple: prove the fuel temperature circuits first, do not overlook connector fit and terminal condition, and do not condemn the PCM until the circuit path has been checked clean. For more diagnostic training, visit stepdiagnostics.com.
Final check
P0183 is often best approached as an electrical sensor circuit diagnosis: confirm the code, check the circuits in order, verify connector integrity, and confirm the code stays gone.
For more guided automotive diagnostics, visit STEP Diagnostics.