What this code means
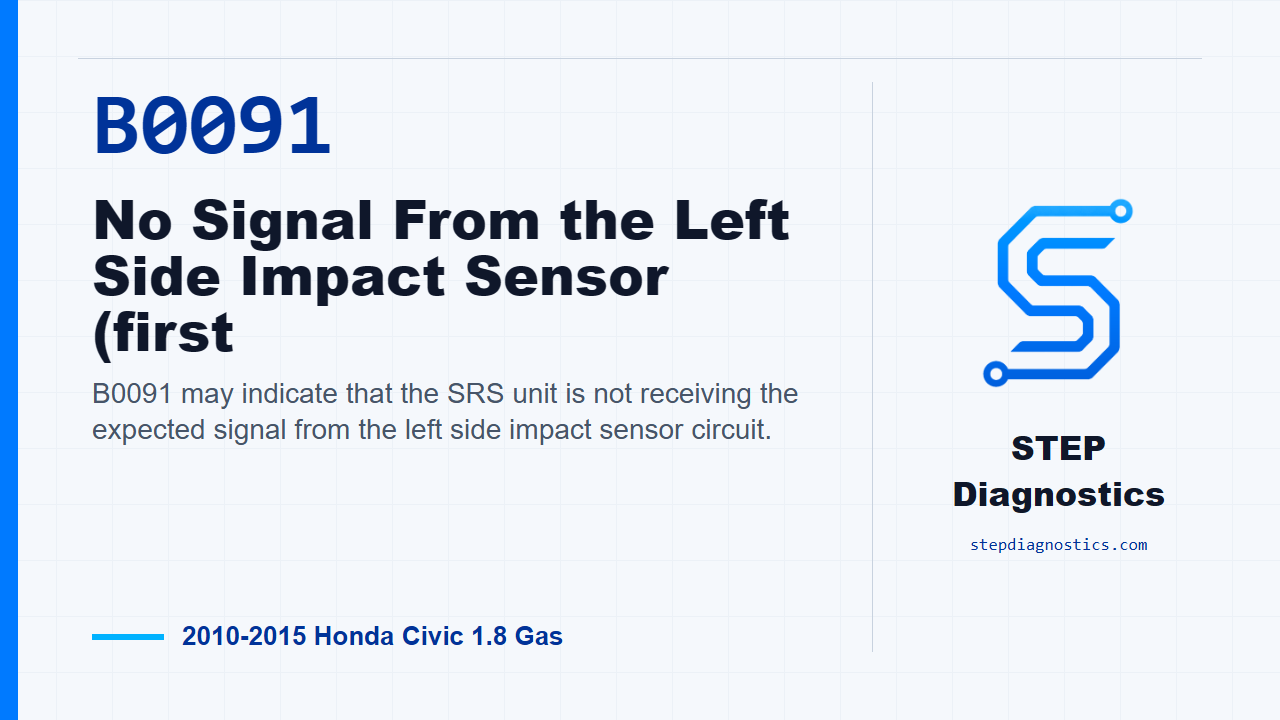
B0091 may indicate that the SRS unit is not receiving the expected signal from the left side impact sensor circuit.
What the vehicle may do
- The SRS warning may be on while the fault is active.
- The restraint system can limit or disable some SRS functions when a fault is stored.
Possible fault areas
- Possible left side impact sensor concern.
- Possible floor harness or connector concern between the sensor and the SRS unit.
- Possible SRS unit software or SRS unit concern after circuit and sensor checks pass.
Diagnostic path
Opening and safety setup
On this 2010 to 2015 Honda Civic with the 1.8 gas engine, B0091 points us toward a no-signal fault from the left side impact sensor, first position, as seen by the SRS unit. In plain language, the SRS module may not be getting the sensor signal it expects, so the vehicle may set an SRS warning and may disable part of the restraint strategy while the fault is active. Broadly, this can involve the left side impact sensor area, the floor harness between that sensor and the SRS unit, connector issues, or the SRS unit side of the circuit. Before getting into circuit checks, find out if the vehicle has been in a collision. If it has, make sure the required SRS components were replaced with new components, the part numbers were correct, and everything was installed properly. Also, treat this like any SRS job: follow SRS precautions, general troubleshooting practices, and the battery terminal disconnect and reconnect process.
Confirm the code path first
Start by clearing the DTCs with the HDS. Turn the ignition switch to ON (II), wait for 10 seconds, and then check for DTCs again with the HDS. If only B0091-87 comes back, stay on this diagnostic path and go into the circuit checks. If this code comes back together with its companion left side impact sensor code, the path calls the left side impact sensor, first position, faulty; replace that sensor, then clear the DTC. If no DTC comes back, treat it as an intermittent failure and the system is OK at this time. If another code is present, check what that code means first instead of forcing this diagnosis.
Check for a short between the two sensor wires
With only B0091-87 present, turn the ignition switch to LOCK (0). Disconnect the negative battery cable and wait at least 3 minutes. Then disconnect SRS unit connector B, the 39P connector, and disconnect the left side impact sensor, first position, 4P connector on the floor wire harness. Now measure resistance between the LS1+ and LS1- circuits at the SRS unit connector: terminal No. 28 to terminal No. 29. You are looking for an open circuit, or at least 1 MΩ. If that is what you have, those two wires are not shorted together, so move on. If the reading does not meet that result, the diagnosis is a short to another wire in the floor wire harness between the SRS unit and the left side impact sensor; replace the floor wire harness, then clear the DTC.
Check each sensor wire for a short to ground
Next, with the ignition still at LOCK (0), the SRS unit connector B disconnected, and the left side impact sensor 4P connector still disconnected, check each line to body ground. Measure from SRS unit connector B terminal No. 28 to body ground, then from terminal No. 29 to body ground. Again, the expected result is an open circuit, or at least 1 MΩ. If both lines meet that result, the LS1+ and LS1- wires are not shorted to ground, so continue. If they do not, the diagnosis is a short to ground in the floor wire harness between the SRS unit and the left side impact sensor; replace the floor wire harness, then clear the DTC.
Check the sensor wires for a short to power
Now reconnect the negative battery cable and turn the ignition switch to ON (II). Keep SRS unit connector B disconnected and keep the left side impact sensor 4P connector disconnected. Measure voltage from terminal No. 28 to body ground, then from terminal No. 29 to body ground. The decision point here is 0.2 V or less. If both lines are at 0.2 V or less, they are not shorted to power and you can move to the open-circuit check. If the voltage is higher than that, the diagnosis is a short to power in the floor wire harness between the SRS unit and the left side impact sensor; replace the floor wire harness, then clear the DTC.
Use the simulator to check for an open circuit
For the open-circuit check, turn the ignition switch back to LOCK (0). Connect the black terminal, marked A, of SRS simulator lead L to the SRS inflator simulator, the jumper connector. Then connect SRS simulator lead L to the left side impact sensor, first position, 4P connector on the floor wire harness. With SRS unit connector B still disconnected, measure resistance between terminal No. 28 and terminal No. 29. If the measurement is 1.0 Ω or less, the LS1+ and LS1- wires are OK. At that point, replace the left side impact sensor, first position, clear the DTC, and retest. If the DTC is still present after that, check the SRS unit software version with the HDS before replacing the SRS unit. If the software is not the latest, update the SRS unit software and retest. If the resistance is not 1.0 Ω or less, the diagnosis is an open in the floor wire harness between the SRS unit and the left side impact sensor; replace the floor wire harness, then clear the DTC.
Repair verification and takeaway
Keep the verification separate from the circuit testing. After the directed repair, clear the DTC and retest so you know B0091-87 stays gone under the same basic check that started the diagnosis. The big takeaway is simple: confirm the code first, prove the LS1+ and LS1- circuits are not shorted together, not shorted to ground, not shorted to power, and not open, then follow the sensor and SRS unit decisions only after the wiring checks pass. For more diagnostic training, visit stepdiagnostics.com.
Final check
B0091 is often approached by confirming the code, then checking the sensor circuit for shorts, voltage where it should not be, and opens before making a component decision.
For more guided automotive diagnostics, visit STEP Diagnostics.