What this code means
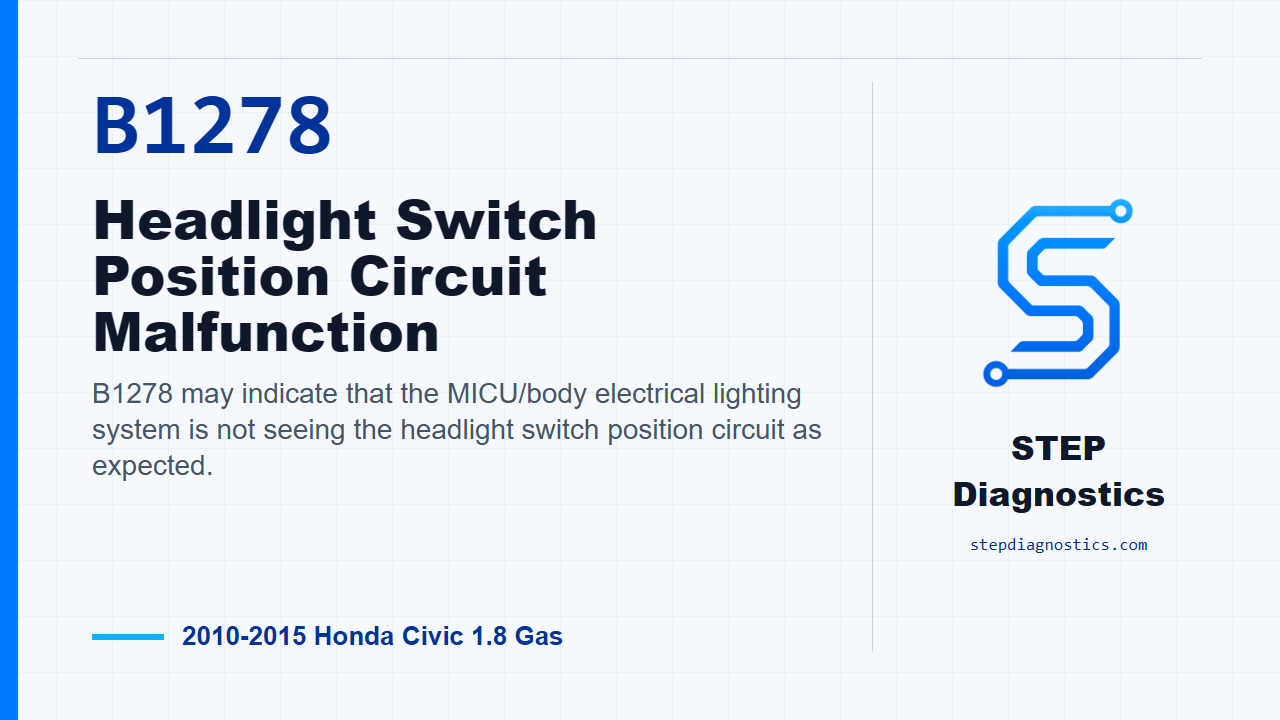
B1278 may indicate that the MICU/body electrical lighting system is not seeing the headlight switch position circuit as expected.
What the vehicle may do
- Exterior lighting operation may not match the selected switch position.
- Scan data may show a switch position that does not agree with the physical combination light switch.
Possible fault areas
- Possible combination light switch concern.
- Possible shorted switch signal wiring.
- Possible open or high-resistance switch signal or ground wiring.
- Possible MICU or under-dash fuse and relay box involvement.
Diagnostic path
Open on B1278
For B1278 on this 2010 to 2015 Civic, we’re dealing with the headlight switch position circuit in the MICU and body electrical lighting system. In plain terms, the module may not be seeing the combination light switch positions the way it should. The vehicle may show lighting behavior that does not match the switch position, or the scan data may not line up with what the driver is commanding. Broadly, this can involve the combination light switch, the switch signal wiring, the switch ground side, or the MICU inside the under-dash fuse and relay box. If other body or lighting codes are present, check what they mean first, but this episode stays focused on B1278.
Start with switch data verification
Start with the basic system checks, then go into the body electrical lighting data list and watch the combination light switch values while you move the switch through each position. With the switch OFF, the OFF input should read ON, and the PARKING, AUTO, and HEADLIGHT inputs should read OFF. In PARKING, OFF should read OFF, PARKING should read ON, AUTO should read OFF, and HEADLIGHT should read OFF. In AUTO, all four of those listed values should read OFF. In HEADLIGHT, OFF should read OFF, PARKING should read ON, AUTO should read OFF, and HEADLIGHT should read ON. If every value matches, treat it as an intermittent fault for now. The system is OK at this time, so concentrate on loose terminals, poor connections, or a condition that is not acting up while you’re testing. If the data does not match, continue with the circuit path.
Decide whether the stuck value is OFF or ON
Next, stay in the lighting data list and check the switch position value again. The key question is whether the data list value is OFF, not ON. If it is OFF when it should not be responding, move to the jumper check at the switch connector. If it is still showing ON, move toward isolating the switch from the circuit.
If the value is stuck ON, isolate the switch
For the stuck-ON path, turn the ignition switch to LOCK (0), then disconnect the combination light switch 12P connector. Go back to the data list and see whether that value changes from ON to OFF. If it does, the combination light switch is the failed area, and the supported repair is to replace the combination light switch. If the value stays ON even with the switch unplugged, do not guess at the switch. Keep going and check the signal wires for a short to ground.
Check the signal wires for a short to ground
With the ignition switch at LOCK (0), the combination light switch 12P connector disconnected, and under-dash fuse and relay box connector T (20P) disconnected, check continuity to body ground on the affected switch signal circuits one at a time. Check H/L_OFF_SW from under-dash fuse and relay box connector T (20P) No. 1, ORN, to body ground. Check H/L_ON_SW from connector T (20P) No. 2, PNK, to body ground. Check PARKING_LT_SW from connector T (20P) No. 3, GRY, to body ground. If there is continuity, repair the short to ground in that wire. If there is no continuity on this path, the procedure calls the MICU faulty, with replacement of the under-dash fuse and relay box.
If the value is stuck OFF, simulate the switch input
For the stuck-OFF path, use a jumper wire to pull the switch input to body ground at the combination light switch 12P connector. Check connector No. 1, ORN, to body ground; No. 7, PNK, to body ground; and No. 8, GRY, to body ground. Watch the data list while you do this. If the value changes from OFF to ON, the wiring and module are able to see the input, so the supported repair is to replace the combination light switch. If the value does not change from OFF to ON, continue to the open or high-resistance checks.
Check for opens or high resistance
For the open-circuit path, turn the ignition switch to LOCK (0), then disconnect under-dash fuse and relay box connector T (20P). Check continuity between the module connector and the combination light switch connector on each circuit. H/L_OFF_SW is connector T (20P) No. 1, ORN, to combination light switch 12P connector No. 1, ORN. H/L_ON_SW is connector T (20P) No. 2, PNK, to combination light switch 12P connector No. 7, PNK. PARKING_LT_SW is connector T (20P) No. 3, GRY, to combination light switch 12P connector No. 8, GRY. COMBI_SW_GND (LT) is connector T (20P) No. 5, BLK, to combination light switch 12P connector No. 6, BLK. If there is continuity on this path, the procedure calls the MICU faulty, with replacement of the under-dash fuse and relay box. If there is not continuity, repair the open or high resistance in the wire.
Verification and takeaway
Keep the repair verification separate from the circuit testing. After the correct branch repair is made, go back to the lighting data list and make sure the switch positions now report normally. The key to B1278 is not to condemn the switch just because the code names the headlight switch position circuit. Use the data list first, then prove whether the fault is the switch, a short to ground, an open or high-resistance wire, or the MICU path. For more diagnostic training, visit stepdiagnostics.com.
Final check
B1278 is often best approached by comparing scan data to actual switch position, then using circuit checks to separate a switch fault from wiring or MICU involvement.
For more guided automotive diagnostics, visit STEP Diagnostics.