What this code means
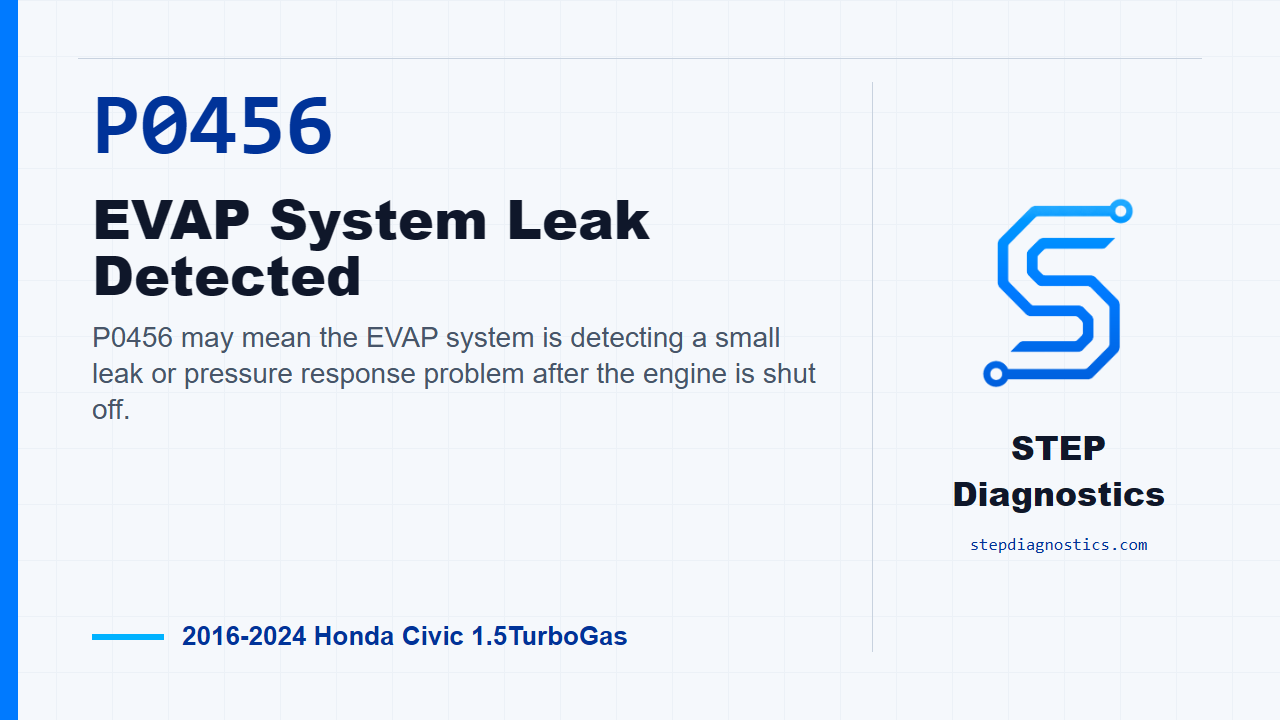
P0456 may mean the EVAP system is detecting a small leak or pressure response problem after the engine is shut off.
What the vehicle may do
- The check engine light may be on.
- The vehicle may often drive normally with no obvious drivability symptom.
Possible fault areas
- Possible EVAP hose, line, or connection leak.
- Possible canister-side sealing issue.
- Possible vent shut valve issue.
- Possible fuel fill pipe, vapor recirculation tube, shut-off valve, flap seal, or fuel tank issue.
Diagnostic path
Opening context
On this Civic, P0456 is an EVAP system leak code. In plain language, the PCM may be seeing the fuel tank pressure response after shutdown fall outside what it expects for a small leak condition. The customer may only notice a check engine light, and the vehicle may otherwise drive normally. The broad fault areas can include EVAP hoses and lines, canister-side sealing, the vent shut valve, the fuel fill area, the shut-off valve area, or the tank itself. Treat any other stored codes as context, and check what they mean before you commit to this path.
Test setup and safety
Before you start, use a structured diagnostic approach and keep the EVAP system limits in mind. Do not improvise extra pressure or vacuum on this system. Excessive pressure or vacuum can damage EVAP components or eventually damage the fuel tank. Fresh fuel helps the system create pressure and vacuum for leak detection, so the preferred condition is less than a full tank of fresh fuel. If possible, add 1 gallon of fresh fuel just before testing, as long as that does not fill the tank.
Duplicate the failure with the scan tool
Start by turning the vehicle to the ON mode. Then run the HDS function test. If that test result is not OK, the failure is duplicated, and now you can move into the leak isolation checks instead of guessing at parts.
Check the canister vent hose
First, inspect the EVAP canister vent hose. Set up the inspection with the vent hose disconnected, then check the hose for any blockage or restriction. A normal hose has no blockage and no restriction. If this check is abnormal, the problem is in the EVAP canister vent hose area.
Visually inspect the canister purge line area
Next, move to the EVAP canister purge line visual inspection. Look for poor connections or damage between the EVAP canister purge valve and the EVAP canister. Also check the canister, FTP sensor, vent shut valve, and O-rings for damage. Normal is good connection condition with no damage. If this inspection is abnormal, stay with the parts on the EVAP canister purge line.
Vacuum-test the canister purge line
Now test the EVAP canister purge line. Disconnect the EVAP canister vent hose and the fuel vent tube from the EVAP canister, and plug each port. At the engine compartment, disconnect the vacuum hose, or purge line, from the EVAP canister purge valve. Connect a vacuum pump and gauge, 0-30 inHg, to that hose. Turn the vehicle to the ON mode. Apply vacuum only until the HDS FTP Sensor Voltage reads 1.90 V (-0.59 inHg, -15.1 mmHg). Be careful not to exceed that vacuum, because the FTP sensor can be damaged. Hold the reading for 1 minute. Normal is that FTP Sensor Voltage does not increase more than 0.2 V (0.1 inHg, 2.5 mmHg). If it fails that hold test, the problem is in the parts on the EVAP canister purge line.
Vacuum-test the vent shut valve
Only move to the EVAP canister vent shut valve test after the EVAP canister purge line has passed. Disconnect the fuel vent tube from the EVAP canister and plug the port. Then disconnect the purge line from the EVAP canister purge valve in the engine compartment and connect the 0-30 inHg vacuum pump and gauge to that hose. Turn the vehicle to the ON mode and command HDS CVS ON. Apply vacuum until the FTP Sensor Voltage reads 1.90 V (-0.59 inHg, -15.1 mmHg). Again, do not exceed the specified vacuum, because the FTP sensor can be damaged. Watch the FTP Sensor Voltage for 1 minute. Normal is that it does not increase more than 0.2 V (0.1 inHg, 2.5 mmHg). If this test is abnormal, the problem is in the EVAP canister vent shut valve.
Inspect the fuel fill and shut-off valve area
If the canister-side checks are normal, move toward the fill side. Visually inspect the fuel fill pipe and the fuel tank vapor recirculation tube for poor connections or damage. If that is abnormal, the problem is in the fuel fill pipe or the vapor recirculation tube area. Next, with the mis-fuel inhibit device removed, visually confirm the shut-off valve is closed. If it is not closed, the problem is in the main flap unit. Then, still with the mis-fuel inhibit device removed, inspect the flap seal and the mating surface of the shut-off valve for missing or damaged seals. If that is abnormal, the problem is also in the main flap unit.
Final isolation and verification
If all of the earlier inspection items show normal condition, the remaining fuel tank is determined to be the cause. Keep verification separate from the testing work: after the fault area is corrected, verify the repair and confirm the code stays gone. One practical caution: if your diagnostic path calls for purge valve checks but the exact test steps are not available, pause, recheck the earlier diagnostic path, and avoid guessing.
Takeaway and CTA
The key on P0456 is to prove where the EVAP system loses its pressure response: start with the scan tool result, then isolate the vent hose, purge line, vent shut valve, fill-side parts, shut-off valve sealing, and finally the tank only after the earlier checks pass. For more diagnostic training, visit stepdiagnostics.com.
Final check
Diagnose P0456 by confirming the failure, then isolating the EVAP system one section at a time instead of guessing at parts.
For more guided automotive diagnostics, visit STEP Diagnostics.