What this code means
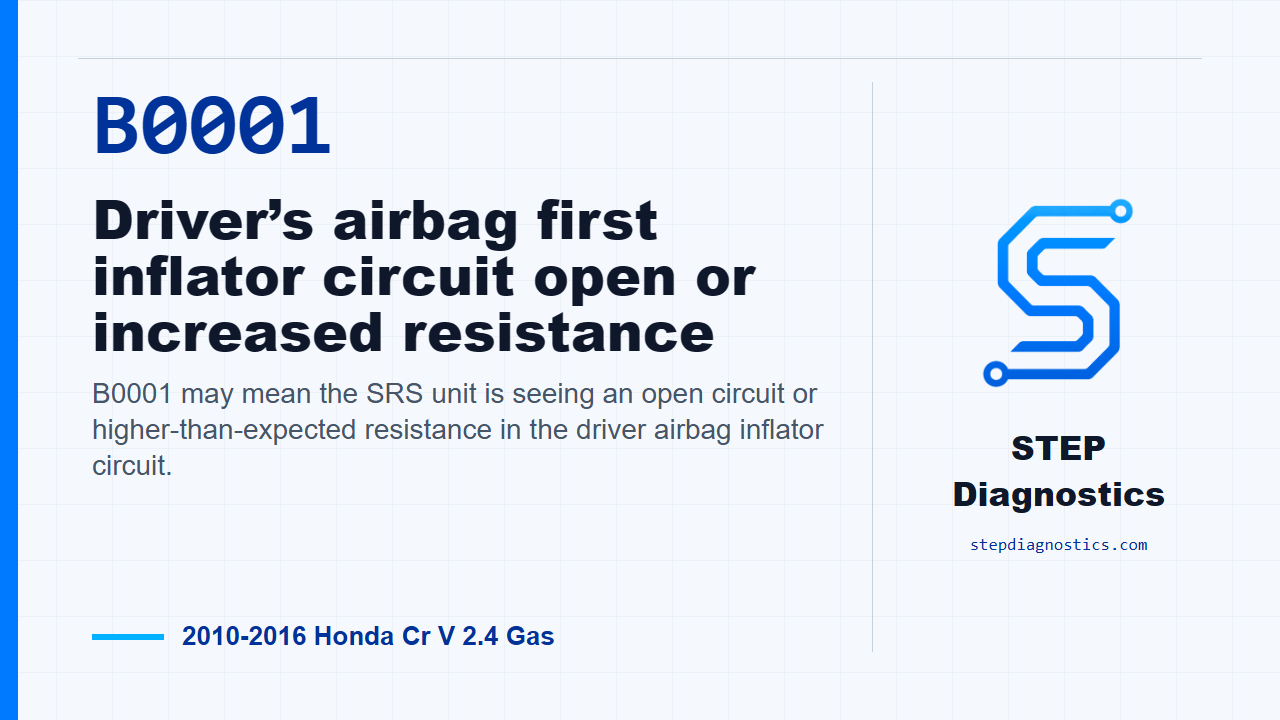
B0001 may mean the SRS unit is seeing an open circuit or higher-than-expected resistance in the driver airbag inflator circuit.
What the vehicle may do
- The SRS warning light may be on.
- The airbag system may not be ready to operate normally.
- The fault can be intermittent if the code does not return during verification.
Possible fault areas
- A possible issue in the driver airbag inflator circuit or connector.
- A possible cable reel circuit problem.
- A possible open in the dashboard wire harness.
- A possible poor connection at the SRS unit connector or an SRS unit concern.
Diagnostic path
Opening and safety setup
On this 2010 to 2016 Honda CR-V with the 2.4 gas engine, B0001 is an SRS fault for the driver’s airbag first inflator circuit. In plain language, the SRS unit may be seeing an open circuit or higher-than-expected resistance in that driver airbag circuit. The customer may have an SRS warning light, and the airbag system may not be ready to operate normally. The possible fault areas are broad at first: the driver’s airbag inflator connection, the cable reel, the dashboard wire harness, or the SRS unit and its connector. Before you touch the circuit, find out whether the vehicle was in a collision. If it was, make sure the required SRS parts were replaced with new, correct part-number parts and installed properly. Also treat this as live SRS work: follow SRS precautions, the general troubleshooting approach, and the correct 12 volt battery disconnect and reconnect process.
Start by duplicating the fault
Start by clearing the DTCs with the HDS. Turn the vehicle to the ON mode, wait for 10 seconds, and check codes again. If B0001-13, or the matching driver inflator circuit fault, comes right back, the failure is duplicated and you move into circuit isolation. If it does not come back, treat it as an intermittent condition and do not force a repair. If a different code is present, check what that code means first.
Isolate the driver airbag inflator
Next, isolate the driver’s airbag inflator from the circuit. Turn the vehicle to OFF, disconnect the negative cable from the 12 volt battery, and wait at least 3 minutes. Remove the steering wheel access panel and disconnect the driver’s airbag inflator 4P connector on the cable reel harness. Connect SRS simulator lead J to the SRS inflator simulator using the 2 Ω connectors, then connect lead J to the driver’s airbag inflator 4P connector on the cable reel harness. Reconnect the negative battery cable, clear the DTCs, turn the vehicle to ON, wait for 10 seconds, and check codes again. If the fault is still indicated, keep moving downstream to the cable reel check. If the fault is no longer indicated, the open is in the driver’s airbag first inflator. The supported repair path there is to replace the driver’s airbag, then clear the DTC.
Check the cable reel path
If the inflator was not the answer, check the cable reel side. Turn the vehicle OFF, disconnect the negative cable from the 12 volt battery, and wait at least 3 minutes. Remove the column covers, then disconnect cable reel connector B, the 4P connector, on the dashboard wire harness. Keep using SRS simulator lead J and the SRS inflator simulator with the 2 Ω connectors, and connect lead J to cable reel connector B on the dashboard wire harness. Reconnect the negative battery cable, clear the DTCs, turn the vehicle to ON, wait for 10 seconds, and check codes again. If the fault is still indicated, move on to the open-wire check. If the fault is not indicated now, the open is in the cable reel. The supported repair path is to replace the cable reel, then clear the DTC.
Open-wire check between the harness and SRS unit
Now check the harness side of the inflator circuit. Turn the vehicle OFF, disconnect the negative cable from the 12 volt battery, and wait at least 3 minutes. Disconnect SRS unit connector A, the 39P connector. Remove the SRS inflator simulator from SRS simulator lead J, but do not disconnect lead J from cable reel connector B on the dashboard wire harness. With the driver airbag inflator connector, cable reel connector B, and SRS unit connector A disconnected as described, measure resistance between the black terminal and the red terminal of SRS simulator lead J. The decision point is 1.0 Ω or less. If the measurement is 1.0 Ω or less, the listed LA inflator circuit wires are OK. At that point, look at the SRS unit side: check for a poor connection at SRS unit connector A and the SRS unit. If that connection is OK, the supported path is to replace the SRS unit. Before replacing the SRS unit, check its software version with the HDS; if it is not the latest version, update the SRS unit software and retest. If the DTC still does not clear after that path, the supported next step is replacing the dashboard wire harness. If the resistance is not 1.0 Ω or less, the open is in the dashboard wire harness. The supported repair path is to replace the dashboard wire harness, then clear the DTC.
Verify and close
Keep verification separate from the isolation tests. After the indicated repair path is completed, clear the DTCs, turn the vehicle to ON, wait for 10 seconds, and check again with the HDS. The goal is simple: B0001 stays gone, and any different SRS code gets diagnosed on its own path instead of guessing. Takeaway: on this fault, use the simulator to divide the circuit into the inflator, cable reel, harness, and SRS unit areas, and let the code response after each isolation step tell you where to go next. For more diagnostic training, visit stepdiagnostics.com.
Final check
This diagnosis often comes down to isolating each section of the driver airbag inflator circuit and watching whether the code returns.
For more guided automotive diagnostics, visit STEP Diagnostics.