What this code means
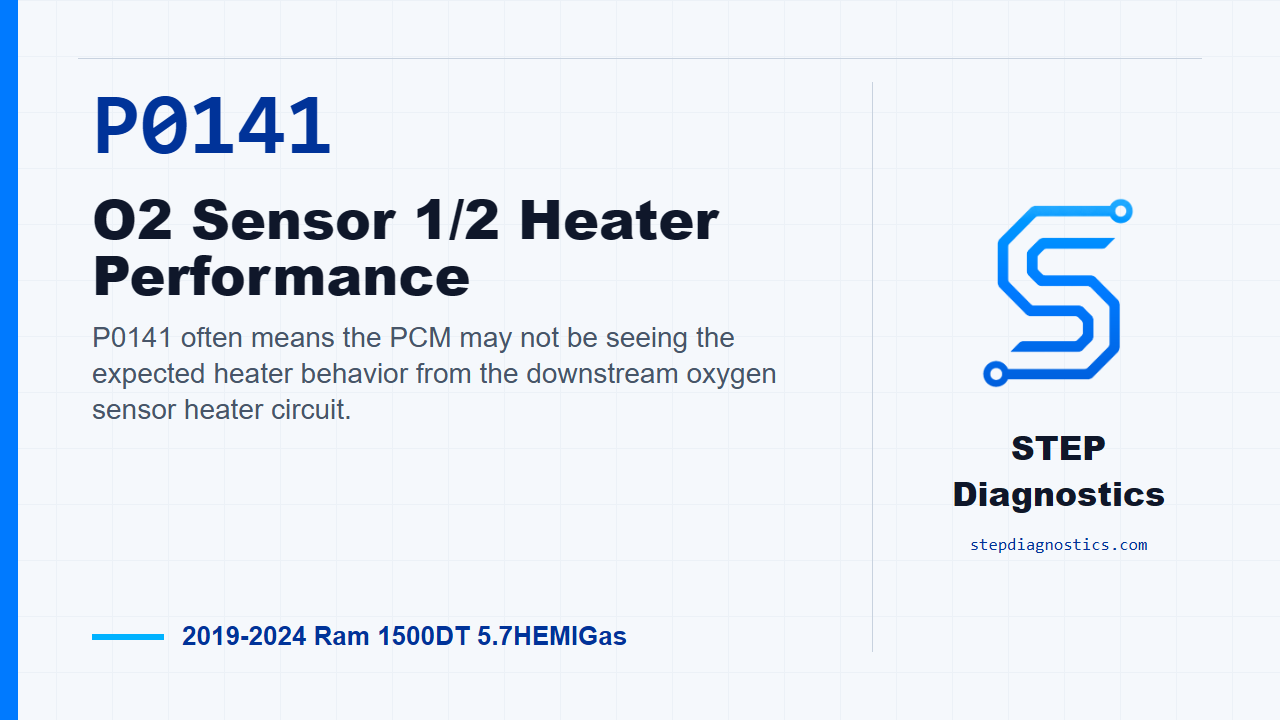
P0141 often means the PCM may not be seeing the expected heater behavior from the downstream oxygen sensor heater circuit.
What the vehicle may do
- The MIL may illuminate.
- The vehicle may otherwise drive normally.
- Readiness monitor completion may be affected after codes are cleared.
Possible fault areas
- Possible heater control circuit resistance or connection concerns.
- Possible heater ground circuit resistance or connection concerns.
- Possible oxygen sensor heater element concern.
- Possible PCM or software-related concern.
Diagnostic path
Code overview and starting point
On this Ram 1500 with the 5.7 Hemi, P0141 is an O2 Sensor 1/2 heater performance code. In plain terms, the PCM may be commanding the downstream oxygen sensor heater and not seeing the heater behavior line up the way it expects. The driver may only notice the MIL, and the possible fault areas can include the heater control side, the heater ground side, the sensor heater element, connector issues, or in the end of the path, the PCM. Start with the basic pre-diagnostic checks before you get into the chart. Then check for any applicable bulletins or PCM software updates related to this code. If one applies, handle that first, then verify the repair and confirm the code stays gone. If nothing applies, move into the heater operation test.
Monitor gate and setting logic
Before chasing the circuit, make sure the code is being evaluated under the right monitor gate. This monitor runs with the engine running, battery voltage between 11.0 and 15.75 volts, with no ambient air temperature sensor faults set, and with the required temperature and heater conditions present. Those include engine coolant temperature at start up above 7°C (44.6°F), ambient temperature above 7°C (44.6°F), the difference between coolant temperature and ambient temperature greater than 9°C (16.2°F) at engine start, or O2 Sensor heater temperature greater than 401°C (753.8°F) for more than 20.0 seconds. The code sets when the PCM sees the actual heater element resistance or temperature not matching the target within its calibrated limit, with the O2 Sensor heater duty cycle above 89.8% for 90.0 seconds. Treat those as the conditions you want to reproduce, not as a parts call.
Check for an active heater condition
For the active check, turn the ignition off and let the sensor cool for a minimum of eight minutes. Before continuing, the sensor voltage should stabilize between 2.47 and 2.52 volts. Turn the ignition on, use the scan tool to actuate the Oxygen Sensor 1/2 heater control, and monitor O2 Sensor 1/2 voltage for at least two minutes. If the voltage stays above approximately 4.5 volts, keep going with this diagnostic path. If it does not stay above approximately 4.5 volts, treat the concern as intermittent instead of forcing the rest of the circuit tests.
Check other heater-related codes
Next, look at the recorded codes. If other O2 sensor heater circuit codes are present, check what they mean first and follow the applicable diagnostic path for those. If no other O2 sensor heater circuit codes are present, continue with the Sensor 1/2 heater element resistance check.
Measure the heater element resistance
Turn the ignition off and let the O2 sensor heater cool down from the scan tool heater test. Disconnect the O2 Sensor 1/2 connector. Measure the heater element resistance across the sensor on the component side, between the O2 heater control terminal and the heater ground terminal. If possible, make that measurement at approximately 20°C (68°F). At 20°C 68°F, the range is 3.3 - 4.4 Ohms. If the sensor is warmer or cooler, use the temperature-based range: 0°C 32°F is 3.1 - 4.2 Ohms, and 100°C 212°F is 3.85 - 5.1 Ohms. The maximum allowable resistance would be 12.5 Ohms at 1000°C. If the resistance is in range, move on to the ground circuit load test. If resistance is not in range, verify good pin-to-terminal contact at the O2 sensor and PCM harness connectors. If no connector problem is found, replacing the O2 sensor is supported by this diagnostic path, followed by repair verification.
Load test the heater ground circuit
Now load test the Z908 heater ground circuit for high resistance. Isolate the ground circuit by disconnecting the component harness connector. Connect the positive lead of the load test tool to battery positive, and connect the negative lead to the ground circuit at the component harness connector. Compare the bulb brightness to the same tool connected directly to the battery. A bright bulb means the ground side can carry the load, so continue to the heater control circuit. If the bulb is not illuminated and bright, repair the ground circuit for an open or high resistance, then verify the repair and confirm the code stays gone. Use a real load here. A 3156 bulb has approximately 6.0 Ohms of resistance when powered and draws approximately 2.0 amps. A 12-volt test light can be substituted, but many high impedance test lights draw very little amperage, less than 0.1 amps, so the tool being used should draw more than approximately 0.75 amps. That matters because a small amount of resistance can hide during a low-current test. For example, 2.0 Ohms in the circuit being tested can make the voltage across the bulb 25% less than battery voltage, because that 2.0 Ohms is 25% of a total circuit resistance of 8.0 Ohms. Also, do not probe the PCM harness connectors. Use the GPEC Diagnostic Adaptor for diagnosis, and remember that adaptor can add up to 1.5 Ohms of resistance to the circuit. Do not use this load-test method on air bag or restraint circuits.
Load test the heater control circuit
If the ground side passes, isolate and load test the O2 Sensor 1/2 K299 heater control circuit for high resistance. The ignition must be off for this load test. Disconnect the ECU and every component connector that contains the circuit being tested, so no components are still connected to that circuit. Put the load across the circuit using the approved back probe tool and fused jumper wire as described by the test setup: battery positive to the load tool, the load tool to one end of the circuit, and the other end of the circuit to battery negative or a known good ground. There should be no continuity between ground and the circuit being tested. Again, compare bulb brightness to a direct battery connection. If the bulb is illuminated and bright, continue to connector inspection. If it is not illuminated and bright, repair the heater control circuit for an open or high resistance, then verify the repair and confirm the code stays gone. The same load-test cautions apply here: a 3156 bulb has approximately 6.0 Ohms and draws approximately 2.0 amps, the tool should draw more than approximately 0.75 amps, do not probe PCM harness connectors, and remember the GPEC Diagnostic Adaptor can add up to 1.5 Ohms.
Inspect connections and separate verification
If the circuit load tests pass, slow down and go after connection quality before condemning a module. Perform any applicable bulletins, then disconnect the PCM connectors, any related in-line connectors if equipped, and the related component connectors. Inspect the harness and component connectors, both male and female terminals, for installation problems, damaged locks, corrosion, water intrusion, weather seal damage if equipped, bent terminals, overheating from poor contact, pushed-back terminals, spread terminals, and terminal tension. Repair anything you find. Then reconnect the PCM connectors, in-line connectors if equipped, and component connectors. Make sure everything is fully seated and all locks are engaged. Erase the codes, then test drive or operate the vehicle under the monitor and set conditions and read the codes again. If P0141 returns after that inspection and repair process, the path supports replacing and programming the PCM, followed by repair verification. If the code does not return, the wiring or poor connection problem has been repaired. Keep verification separate from testing: after any repair, confirm the code stays gone under the conditions that allow the monitor to run.
Takeaway
The key on P0141 is to prove heater response first, then prove the heater element, then prove the ground and control circuits under load, and only then make a call on connectors or the PCM. Do not skip the load testing, because this code can come from resistance that a light-duty check may miss. For more diagnostic training, visit stepdiagnostics.com.
Final check
This diagnosis is usually about proving command versus heater response, then checking the heater element and both sides of the circuit under load before making a final call.
For more guided automotive diagnostics, visit STEP Diagnostics.