What this code means
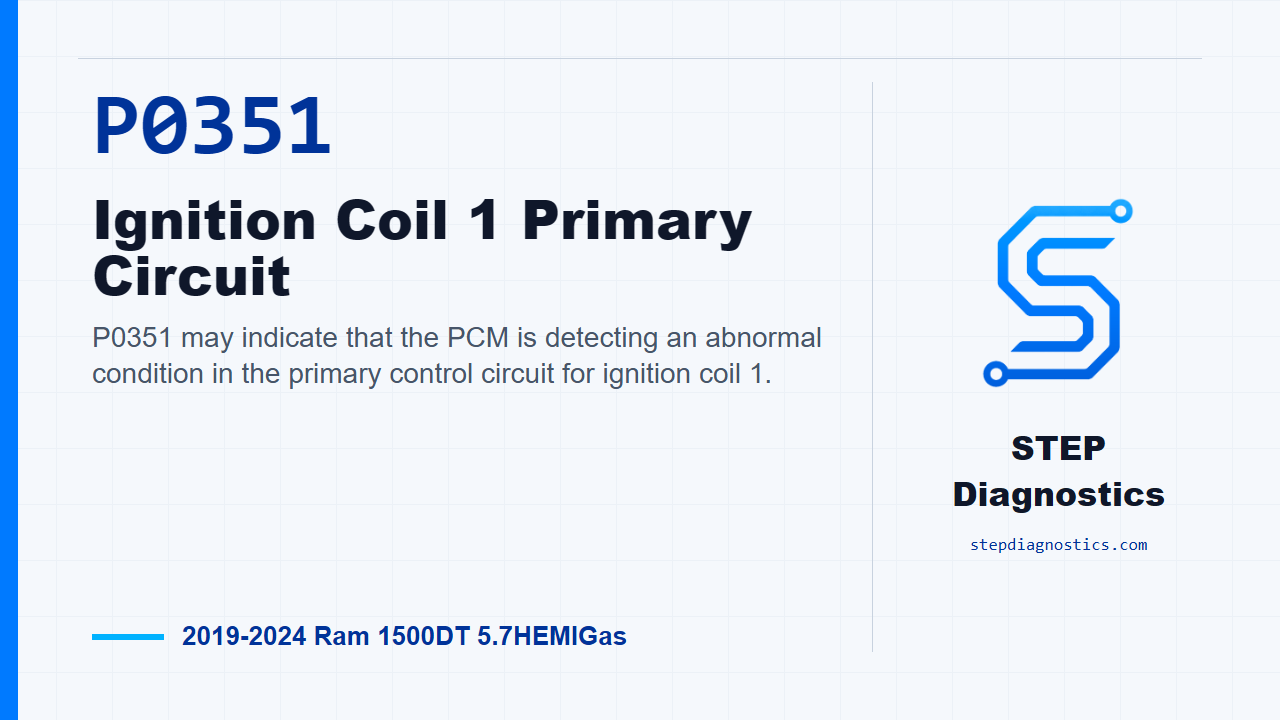
P0351 may indicate that the PCM is detecting an abnormal condition in the primary control circuit for ignition coil 1.
What the vehicle may do
- The vehicle may run rough or misfire.
- The engine may be hard to start or may crank without starting.
- The MIL can illuminate.
- Driveability may change depending on how consistently the coil circuit fault is present.
Possible fault areas
- A possible issue in the fused relay output feed.
- A possible open, high resistance, or short to ground in the ignition coil 1 control circuit.
- A possible ignition coil or spark plug related problem.
- A possible connector, terminal tension, corrosion, or harness connection issue.
- A possible PCM driver concern.
Diagnostic path
Open on P0351
On this 2019 to 2024 Ram 1500DT with the 5.7 HEMI, P0351 is pointing at the Ignition Coil 1 primary control circuit. In plain terms, the PCM may not be seeing the coil 1 control circuit behave the way it expects. The truck may have a misfire, rough running, hard starting, or an illuminated MIL. Broadly, this can involve the fused relay output feed, the coil 1 control circuit, the coil itself, connection quality, or possibly the PCM. We’re going to stay disciplined here: prove whether the code is current, check the feed, check the control side, and only then make the call.
Monitor gate and code formula
This monitor runs continuously with the ignition on. The code sets when the PCM detects Ignition Coil 1 Signal circuit current less than, or equal to, 0.0 amps for at least 1.2 seconds, and the MIL will illuminate. Before getting deep into testing, start with the basic system checks.
Confirm the fault is active
First, use the scan tool to read codes in all ECUs and record the data. Save a scan report and the related recorded data for comparison. Then erase the codes, turn the ignition off for a minimum of 10.0 seconds, turn the ignition back on, and reproduce the operating conditions that set P0351. Read the codes again. If P0351 returns, continue with the diagnostic path. If it does not return, treat it as an intermittent condition instead of forcing a hard-fault test result.
Check for feed-related codes first
Next, look at the codes you recorded. If ASD-related codes are present, check what they mean first and diagnose those before chasing coil 1 directly. If there are no ASD-related codes, move on to the coil feed test.
Load test the 12 volt relay output feed
Now isolate the 12.0 volt supply circuit by disconnecting the component harness connector. Connect the positive lead of the load test tool to the 12.0 volt supply circuit at the component connector, and connect the negative lead to battery ground or a good chassis ground. Make sure the circuit is actually powered during the test. If it is a relay output, the relay needs to be energized and on. A load test matters because the circuit has to carry current, not just show voltage with no load. The load tool bulb used here has 6.0 Ohms of resistance and draws approximately 2.0 amps of current, so it is putting a real load on the circuit. The load test bulb should be illuminated and bright. You can also compare voltage dropped across the bulb to battery voltage, and compare bulb brightness to a direct battery connection. As a voltage-drop example, 2.0 Ohms of resistance in the circuit would make the bulb reading 25% less than the battery reading because the total circuit resistance would be 8.0 Ohms. If the bulb is bright, go to the coil control circuit operation test. If it is not bright, repair the 12.0 volt circuit for an open or high resistance. If the fuse is open, check that circuit for a short to ground, then verify the repair and confirm the code stays gone.
Use the right load tool and protect PCM terminals
A 12-volt test light can be used for load testing only if it draws enough current. A high-impedance test light that draws less than 0.1 amps is not reliable for this job; the tool should draw more than approximately 0.75 amps. If a PCM connector terminal has to be accessed, do not probe the PCM harness connector directly. Use the GPEC Diagnostic Adaptor. Also remember that the adaptor can add up to 1.5 Ohms of resistance to the circuit, so keep that in mind when interpreting resistance checks.
Watch the coil 1 control circuit while cranking
For the control side, connect a 12-volt test light to a 12.0 volt source and probe the Coil 1 control circuit at the ignition coil harness connector. Crank the engine for 5.0 seconds and watch the test light. Stay clear of the fan, pulleys, belts, and moving parts while the engine is cranking or running, and do not wear loose clothing. If the light is brightly blinking, the control circuit is being pulsed and the path moves to spark plug inspection. If the light stays on constantly, check the control circuit for a short to ground. If the light stays off constantly, check the control circuit for an open or high resistance.
If the control pulse is present, inspect the plug
If the control circuit test light is brightly blinking, turn the ignition off and remove the spark plug or plugs for inspection. Look for cracks, carbon tracking, foreign material, gap size out of specifications, and a loose or broken electrode. If any of those conditions are present, replace the spark plug. If carbon tracking is found on the spark plug, inspect the ignition coil boot for damage and replace it if necessary. If none of those spark plug conditions are present, replace the ignition coil and spark plug, then verify the repair and confirm the code stays gone.
If the control circuit is stuck on, check for short to ground
If the test light stayed on constantly during cranking, isolate the Coil 1 control circuit and check it for a short to ground. The ignition must be off for this continuity-to-ground check. Disconnect the ECU and every component connector that contains the circuit being tested, then check for continuity between that circuit and ground. There should be no continuity. If continuity to ground is present, repair the control circuit for a short to ground, using the circuit path and in-line connectors to narrow down the location. Then verify the repair and confirm the code stays gone. If there is no continuity to ground, continue to the coil and PCM driver check.
If the control circuit is dead, check for open or high resistance
If the test light stayed off constantly during cranking, isolate the Coil 1 control circuit and check it for an open or high resistance. The ignition must be off when checking circuit continuity. Disconnect the ECU and the component connector for the circuit being tested. Before measuring the circuit, measure the resistance between the two DVOM leads. Then measure the control circuit between the component connector and the GPEC adaptor. If the resistance is below 3.0 Ohms, continue to the coil and PCM driver check. If it is not below 3.0 Ohms, repair the circuit for an open or high resistance, then verify the repair and confirm the code stays gone.
Before condemning the PCM driver, check whether the coil caused it
Before replacing a PCM for a coil driver issue, determine whether the ignition coil caused the driver failure. An internally shorted or damaged secondary coil circuit may be the reason the PCM coil driver failed. Remove the ignition coil controlled by the driver setting P0351, and install that coil into another coil location that did not have a fault set against it. Turn the ignition on, erase the codes, then start and run the engine for up to one minute. If the engine will not start, crank it three times for 10 seconds. Read the codes again. If a correlating fault sets for the new coil location, replace the ignition coil and replace and program the PCM, then verify the repair and confirm the code stays gone. If a correlating fault does not set for the new coil location, move on to connection checks.
Inspect the PCM, harness, and component connections
At this point, check any applicable bulletins, then disconnect the PCM connectors, related in-line connectors if equipped, and related component connectors. Inspect the connectors and terminals for installation problems, damaged locks, corrosion, signs of water intrusion, seal damage, bent terminals, overheated or discolored terminals, pushed-back terminals, spread terminals, and poor terminal tension. Repair any conditions found. Reconnect everything fully and make sure the connector locks are engaged. Then erase the codes and operate the vehicle under the conditions that set the code. If P0351 returns after those connection checks, replace and program the PCM, then verify the repair and confirm the code stays gone. If it does not return, the wiring or poor connection problem has been repaired.
Takeaway and CTA
The key with P0351 is not to jump straight to a coil or a PCM. Confirm the code, prove the 12.0 volt feed can carry load, read the coil control circuit correctly, inspect the plug and coil side, and only then make the PCM decision. For more diagnostic training, visit stepdiagnostics.com.
Final check
This diagnosis often comes down to proving power feed integrity, control circuit behavior, component condition, and connection quality before making a PCM decision.
For more guided automotive diagnostics, visit STEP Diagnostics.