What this code means
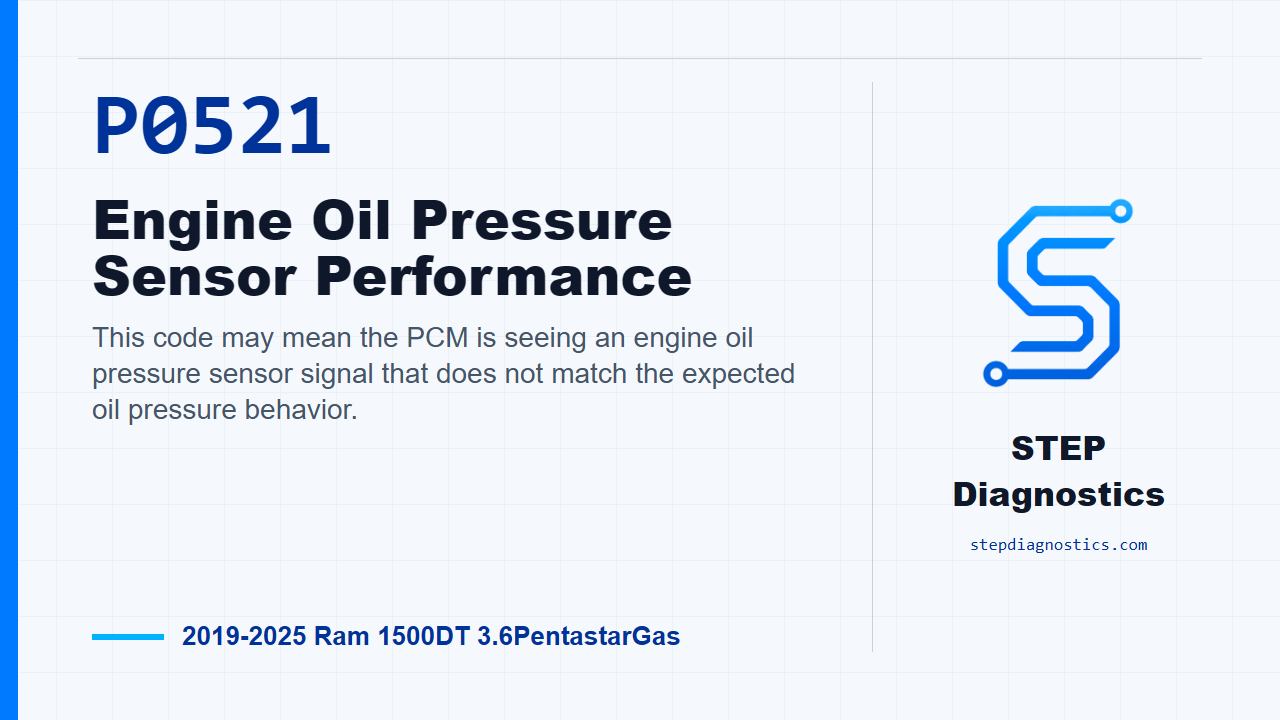
This code may mean the PCM is seeing an engine oil pressure sensor signal that does not match the expected oil pressure behavior.
What the vehicle may do
- The MIL may illuminate.
- The driver may see an oil pressure warning or abnormal oil pressure indication.
- The vehicle may also have no obvious driveability symptom.
Possible fault areas
- Possible oil level, oil condition, or engine mechanical oil pressure concern.
- Possible engine oil pressure sensor circuit concern, including supply, signal, or ground return.
- Possible engine oil pressure sensor concern.
- Possible PCM concern after the other areas are checked.
Diagnostic path
Opening context
On this Ram 1500 with the 3.6 Pentastar, P0521 means the PCM is seeing engine oil pressure sensor performance that does not line up with what it expects. The MIL may be on, and depending on what is really happening, the truck may have an oil pressure warning, an abnormal oil pressure reading, or no obvious driveability complaint. The broad fault areas can include the oil and engine mechanical condition, the oil pressure sensor circuits, the sensor itself, or, after the rest of the path is proven out, the PCM. Start with the basic system checks before getting into the code chart, and if other codes are present, understand what they mean first.
How the PCM watches this fault
The PCM supplies the Engine Oil Pressure sensor with a 5-Volt feed. Depending on the PCM hardware for the signal circuit, that signal can be handled as a pull up at 5.0 volts or a pull down at 0.0 volts. For this fault, think of the running conditions as the monitor gate: the engine has to be running, and engine speed has to be above 1150 rpm. The fault sets when engine oil pressure is below the calibrated specification for more than 29.8 seconds with engine speed at or above 1150 rpm.
Confirm the code before chasing it
First, read DTCs in all modules and record the data. Save the scan information and the related recorded data, then erase the codes. Turn the ignition off for a minimum of 10.0 seconds, turn it back on, and operate the vehicle under the same kind of conditions that set the code. Then read codes again. If P0521 returns, continue with the diagnostic path. If it does not return, handle it as an intermittent condition instead of forcing a hard-fault diagnosis.
Check oil and engine mechanical condition first
Before you start circuit testing, make sure the oil and engine side are not creating the problem. Look for engine mechanical tolerances out of specification, engine oil pressure out of specification, low oil level, dirty or deteriorated oil, and oil contaminated with coolant or fuel. This is important because skipping these checks can send you down the wrong electrical path. If any of those conditions are found, repair what is needed, then verify the repair and confirm the code stays gone. If none are present, move on to the electrical checks. When the engine is running, stay out of line with the fan, keep hands away from pulleys, belts, and the fan, and keep loose clothing clear.
Check the signal circuit for high resistance
Next, isolate and check the EOP pressure signal circuit for high resistance. The ignition must be off when checking circuit continuity. Disconnect the ECU side and the sensor connector for the circuit being tested, use the wiring path to stay on the correct circuit, and zero out what the DVOM leads are adding before you judge the circuit. If you need access at the PCM connector, do not back-probe or probe the PCM terminals directly; use the GPEC Diagnostic 10436 adaptor. Also remember the GPEC Diagnostic Adaptor can add up to 1.5 Ohms of resistance to the circuit. Measure the signal circuit from the sensor connector to the adaptor. If resistance is below 3.0 Ohms, keep going. If it is not below 3.0 Ohms, repair the signal circuit for an open or high resistance, then verify the repair and confirm the code stays gone.
Check the 5-Volt supply circuit
Now isolate and check the K855 5-Volt supply circuit the same way. Keep the ignition off for the continuity check, isolate the circuit, follow the wiring path, account for meter lead resistance, and use the GPEC adaptor rather than damaging PCM terminals. Measure the circuit from the sensor connector to the adaptor. If resistance is below 3.0 Ohms, continue. If it is not below 3.0 Ohms, repair the 5-Volt supply circuit for an open or high resistance, then verify the repair and confirm the code stays gone.
Check the sensor ground circuit
Then isolate and check the K900 sensor ground circuit for high resistance. Again, the ignition is off for continuity testing, the circuit is isolated, the wiring path is followed, meter lead resistance is accounted for, and the PCM terminals are protected by using the adaptor. If the sensor ground circuit measures below 3.0 Ohms, move to the sensor signal simulation step. If it does not measure below 3.0 Ohms, repair the sensor ground circuit for an open or high resistance, then verify the repair and confirm the code stays gone.
Simulate a low sensor signal
With the circuit resistance checks passed, test whether the PCM can recognize the sensor signal being pulled low. For this step, the ECU harness connectors must stay connected to the ECU. Disconnect the oil pressure sensor connector. With the ignition off, install a fused jumper between the EOP signal circuit and the K900 sensor ground circuit at the sensor connector. Turn the ignition on and read codes with the scan tool. If the scan tool shows the sensor signal circuit low code with the jumper in place, the diagnostic path supports replacing the faulty sensor, then verifying the repair and confirming the code stays gone. If the PCM does not detect that low signal condition, continue to the connection checks.
Inspect connections and decide the final direction
If the PCM did not recognize the jumpered low signal, go through the related connections closely. Disconnect the PCM connectors, any related in-line connectors, and the related component connectors. Inspect for poor connector installation, damaged locks, corrosion, water intrusion, weather seal damage, bent terminals, overheated or discolored terminals, terminals pushed back in the cavity, spread terminals, and weak terminal tension. Repair anything you find. Then reconnect everything fully, make sure the connector locks are engaged, erase codes, and operate the vehicle under the conditions that run and set the fault. If P0521 does not return, the wiring or poor connection problem has been repaired. If P0521 does return after those checks and repairs, the diagnostic path supports replacing and programming the PCM, then verifying the repair and confirming the code stays gone.
Verification and takeaway
Keep the verification separate from the testing. Any time a mechanical issue, circuit fault, poor connection, sensor fault, or PCM decision point is addressed, clear the codes, operate the truck under the same operating conditions, and confirm P0521 stays gone. The clean path here is: prove the code is current, rule out oil and engine mechanical problems, prove the signal, supply, and ground circuits, simulate the sensor signal, then inspect connection integrity before making the final PCM call. For more diagnostic training, visit stepdiagnostics.com.
Final check
P0521 is often best approached by confirming the fault, checking oil and mechanical condition first, then proving the sensor circuits and signal response before making a final module decision.
For more guided automotive diagnostics, visit STEP Diagnostics.