What this code means
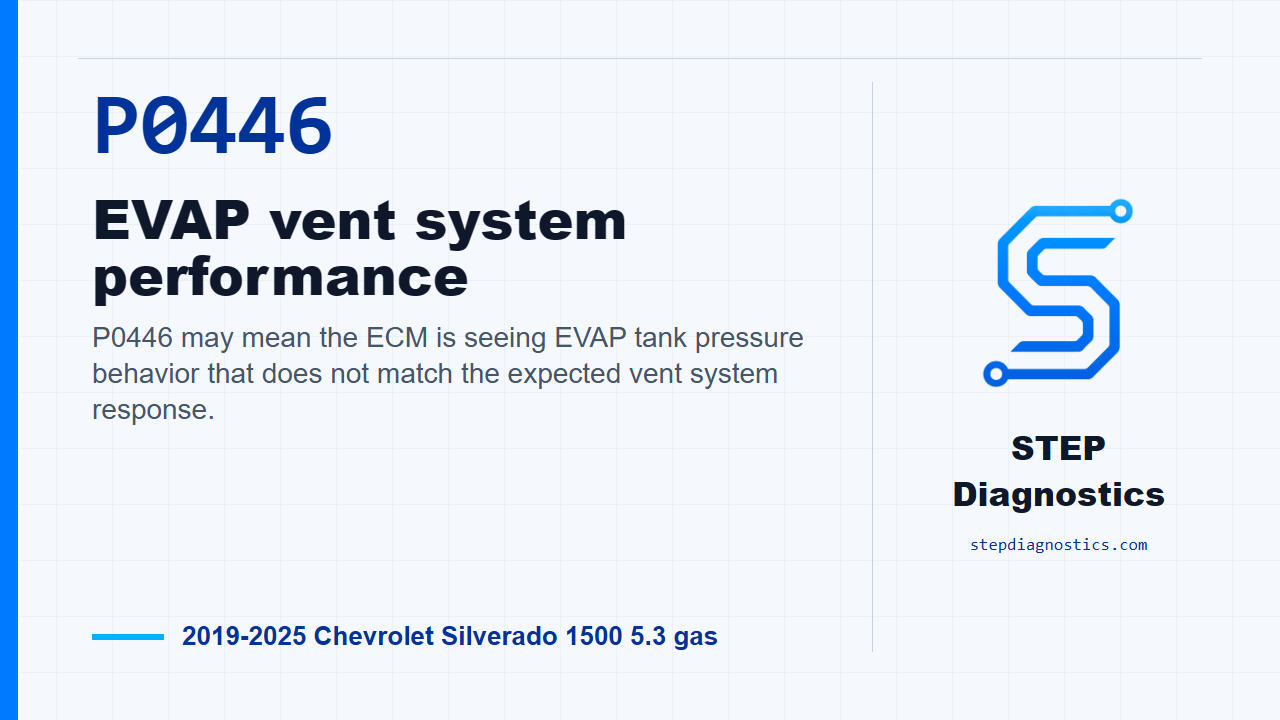
P0446 may mean the ECM is seeing EVAP tank pressure behavior that does not match the expected vent system response.
What the vehicle may do
- The check engine light may be on.
- The vehicle may have little or no noticeable drivability complaint.
- Fueling or EVAP-related symptoms can be possible, depending on the failure mode.
Possible fault areas
- EVAP vent solenoid response may be involved.
- A restricted or contaminated vent filter, canister, hose, or pipe can be possible.
- Fuel tank pressure sensor signal plausibility may need to be confirmed.
- Purge and vent command response, along with related wiring or connector condition, can be part of the broad diagnostic area.
Diagnostic path
Opening and setup
On this 2019 to 2025 Silverado 1500 with the 5.3 gas engine, P0446 is an EVAP vent system performance code. In plain terms, the ECM may be seeing tank pressure behavior that does not match what it expects from the vent side of the EVAP system. The truck may have only a check engine light with little or no drivability complaint, though EVAP or fueling symptoms can be possible. Broadly, think about the vent solenoid response, the vent filter and canister path, EVAP hoses or pipes, and whether the fuel tank pressure signal makes sense. Start with the basic system checks, follow a structured diagnostic approach, and if other codes are present, check what they mean first. This path is for P0446, so do not skip into vent testing until the related circuit and sensor faults have been ruled out.
Check the fuel tank pressure sensor baseline
With the ignition on and the vehicle in service mode, make sure the related EVAP vent, purge control, and fuel tank pressure sensor codes are not set. If one of those code groups is present, handle that diagnostic first. If they are not set, turn the vehicle off and open the fuel fill path for the pressure check. On a cap-type system, remove the fuel tank filler cap. On a capless system, install the GE-41415-60 adapter at the fuel tank filler pipe door. Turn the ignition back on in service mode and look at the fuel tank pressure sensor. The expected reading here is 1.3 to 1.7 V. For electrical context, the published scan-tool data also lists the fuel tank pressure sensor Parameter Normal Range: 1.3 to 1.7 V. It lists 5 V Reference 0.0 V 0.0 V 4.2 to 5.0 V, Signal 0.0 V 0.0 V 5.0 V, and Low Reference — 4.96 V —. If the live sensor reading is not between 1.3 and 1.7 V, this is no longer a clean P0446 path; pause and diagnose the fuel tank pressure sensor range or circuit issue first. If it is between 1.3 and 1.7 V, restore the fuel fill path: install the cap on a cap-type system, or remove the GE-41415-60 adapter on a capless system.
Purge response check before deeper testing
Now run the engine at idle with the engine at normal operating temperature. Command the EVAP purge solenoid valve to 50%. Watch the fuel tank pressure sensor. The expected result is less than 2.5 V. If the sensor is 2.5 V or greater, move into the circuit and system testing path. If it stays less than 2.5 V, reproduce the operating conditions for the monitor, or use the captured conditions from the stored data when available, and confirm whether P0446 resets. Treat those running conditions as monitor gates, not as the repair by themselves: Barometric Pressure Sensor = Greater than 70 kPa (10.15 PSI), Fuel Level Sensor = 10 to 90%, Start-Up Engine Coolant Temperature Sensor = Less than 35°C (95°F), Start-Up Intake Air Temperature Sensor = 4 to 35°C (39 to 95°F), and System Voltage = Greater than 10.0 V. If the code resets, continue into circuit and system testing. If it does not reset, the result is all OK at this point.
Initial vent-side inspection
When the verification points you into circuit and system testing, slow down and use the right EVAP fuel-pipe safety precautions, and use a clean, dry, low-pressure gas source for this type of testing. Inspect the vent side mechanically before loading the system with the tester. Look for blockage, restriction, incorrect connections, kinks, damage, dirt, or defects in the vent solenoid area, canister, purge and vent hoses, vent pipe, and vent filter. Cold-region ice or snow, dry-region dirt, dust, or sand, and wet-region mud around the vent filter or canister air inlet can all affect this diagnosis. If one of those conditions is found, repair or replace as necessary. If no condition is found, reinstall anything that was removed and continue with the pressure test setup.
Set up the EVAP tester
Set up the fuel fill adapter for the test. On a cap-type system, remove the fuel tank filler cap and install the CH-41415-30 fuel tank cap adapter. On a capless system, install the GE-41415-60 adapter at the fuel tank filler pipe door. Then connect the GE-41413-A, B, or C EVAP system tester hose to the adapter you just installed. Turn the ignition on with the vehicle in service mode. Before using the tester, make sure the tester safety information is being followed. If the supplied tester information is not with the tool, get the EEST safety information online before running the test. Also make sure the vehicle underbody temperature and the tester temperature are similar, and completely unwind the nitrogen slash smoke hose from the bracket so the tester performs correctly. Select nitrogen on the tester, then command the EVAP vent solenoid valve to not venting.
Controlled venting test and decision
Do not exceed the specified value, because that can give you bad test results. Activate the tester and use it to bring the gauge reading to 9.3 mmHg (5.0 in H2O). Then command the EVAP vent solenoid valve to venting. The fuel tank pressure sensor should read 0.0 mmHg (0.0 in. H2O). If it does not read that specified value, turn the vehicle off and inspect the same vent-side path again: vent solenoid, canister, hoses, vent pipe, and vent filter for blockage, restriction, incorrect connection, kinks, dirt, visible damage, or defects. If a condition is found, repair or replace as necessary. If no condition is found, replace the Q13 evaporative emission vent solenoid valve.
Repair verification and closing takeaway
If the fuel tank pressure sensor does reach 0.0 mmHg (0.0 in. H2O) during the venting command, reproduce the operating conditions for the monitor, or the captured conditions if they are available, and verify that P0446 does not set. If it sets again, pause, recheck the earlier diagnostic path from the beginning, and avoid guessing. If it does not set, the system is all OK. After any repair, verify the repair and confirm the code stays gone. The takeaway is simple: prove the pressure sensor baseline first, prove purge response next, then use controlled EVAP testing to separate a restricted vent path from a failed vent solenoid decision. For more diagnostic training, visit stepdiagnostics.com.
Final check
P0446 is often approached by proving the pressure sensor reading first, then checking commanded EVAP response, and only then moving into vent path testing.
For more guided automotive diagnostics, visit STEP Diagnostics.