What this code means
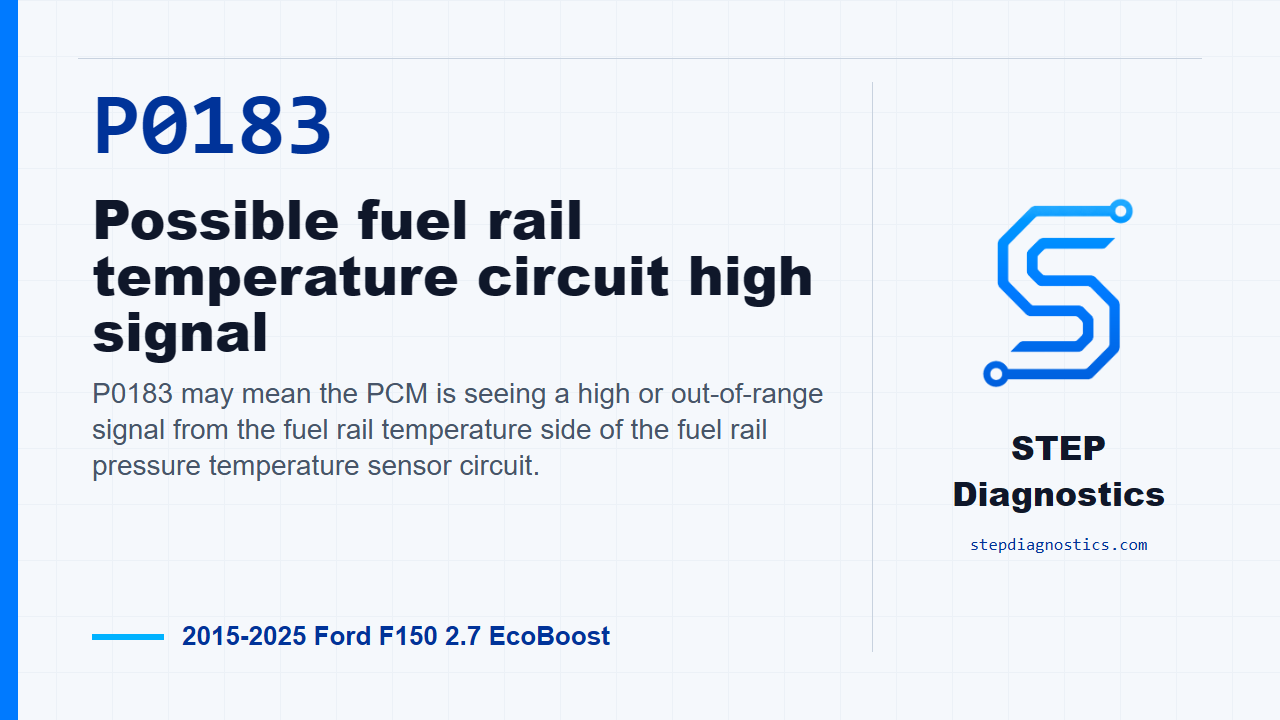
P0183 may mean the PCM is seeing a high or out-of-range signal from the fuel rail temperature side of the fuel rail pressure temperature sensor circuit.
What the vehicle may do
- The vehicle may crank longer than normal.
- The engine may show fuel-control related drivability symptoms.
- The vehicle can sometimes set the code with little noticeable change to how it drives.
Possible fault areas
- Possible reference voltage or signal return concern.
- Possible FRT signal circuit open or short concern.
- Possible connector damage, corrosion, or harness movement issue.
- Possible fuel rail pressure temperature sensor concern.
- Possible broader fuel supply or PCM-related concern.
Diagnostic path
Open on P0183
On this Ford F-150 with the 2.7 EcoBoost, P0183 may point to a high signal concern on the fuel rail temperature side of the fuel rail pressure temperature sensor circuit. The truck may crank longer than normal, may show fuel-control related drivability symptoms, or may not show much change at all. Think circuit integrity first: reference voltage, signal return, the FRT signal wire, connector condition, sensor condition, and possible PCM-side involvement. If other fuel pressure or fuel temperature codes are present, check what they mean first so you stay on the right circuit path.
Fuel safety before testing
Before opening or disturbing fuel system components, relieve fuel pressure and treat the system as pressurized. Keep flames, smoking materials, and personal electronics away from the work area. Wear proper protection, be ready for spills, and clean any fuel residue before returning the engine to operation.
Confirm the diagnostic path
Start with the basic system checks and pull the PCM codes. This shared fuel-control path splits by circuit group. For P0183, you will end up on the fuel rail pressure temperature sensor FRT circuit path. If the stored codes point to a low-pressure circuit or a fuel rail pressure circuit instead, stay with that circuit path and do not force the P0183 branch.
Low-pressure circuit branch context
For the low-pressure branch in this same diagnostic family, the 2.7 EcoBoost starts with the ignition off, the FRPT sensor disconnected, then ignition on. Measure VREF and signal return between C1643 Pin 1 and C1643 Pin 3. The check is looking for 4.5 V - 5.5 V. If that is good, turn the ignition off, disconnect the PCM connector, and check the low-pressure signal circuit between C1643 Pin 2 and C1232E Pin 77. The resistance needs to be less than 5 Ω. Next, check that same low-pressure circuit for a short to ground at C1643 Pin 2. It should be greater than 10000 Ω. Then turn the ignition on and check C1643 Pin 2 for a short to voltage. If any voltage is present, repair the short circuit, clear the PCM DTCs, and repeat the self-test.
Low-pressure intermittent and gauge checks
If that low-pressure branch reaches the intermittent check, reconnect the FRPT sensor and PCM connector, turn the ignition on, and monitor the FLP_V (V) PID. Tap the sensor, wiggle the connector, and work the harness in small sections from the sensor back toward the PCM while watching the PID. Also look for connector damage or corrosion. If a concern shows up, repair as necessary, clear the PCM DTCs, and repeat the self-test. If the branch calls for comparing pressure data to a gauge, relieve the fuel pressure first, connect the mechanical gauge, disable the fuel pump, monitor the FLP (kPa) PID, then compare the PID to the gauge before and after pressurizing and stabilizing the fuel system. The FLP PID fuel pressure is an absolute pressure and the external pressure gauge is a relative pressure. The pass point is that the FLP PID values are within 153 kPa (22 psi) of the mechanical gauge readings. The vehicle may exhibit a long crank until the fuel system is pressurized.
Fuel rail pressure branch context
For the fuel rail pressure branch, keep it separate from the P0183 FRT branch. On the 2.7 EcoBoost, disconnect the FRP sensor, turn the ignition on, and measure VREF and signal return between C1360 Pin 1 and C1360 Pin 2. The voltage should be 4.5 V - 5.5 V. With the ignition off and the PCM disconnected, check the FRP circuit between C1360 Pin 3 and C1232E Pin 48; the resistance needs to be less than 5 Ω. Then check C1360 Pin 3 for a short to ground, where the resistance should be greater than 10000 Ω. Turn the ignition on and check C1360 Pin 3 for a short to voltage. If any voltage is present, repair the short circuit, clear the PCM DTCs, and repeat the self-test. If no voltage is present, reconnect the PCM and FRP sensor, monitor the FRP_V (V) PID, tap the sensor, wiggle the connector, work the harness toward the PCM, and inspect for damage or corrosion.
Pressure-sensor threshold notes
Two pressure-sensor notes help keep the shared fuel-control logic straight. With the engine running, the FRP PID value may be 48-70 kPa (7-10 psi) higher than a fuel pressure reading taken with a mechanical gauge. Also, a fuel pressure sensor PID value during ignition ON, engine OFF, or ignition ON, engine running, less than 0.3 volt indicates a concern is present. A FRP sensor PID value during ignition ON, engine OFF, or ignition ON, engine running, less than 0.3 volt indicates a concern is present. Those are pressure-sensor checks, so do not confuse them with the P0183 FRT signal branch.
P0183 VREF and signal return check
Now stay on the P0183 path. With the ignition off, disconnect the FRPT sensor connector. Turn the ignition on. On the 2.7 EcoBoost, measure between C1643 Pin 1 and C1643 Pin 3. You want 4.5 V - 5.5 V. If that voltage is in range, move on to the FRT circuit checks. If it is not in range, handle the reference voltage and signal return diagnostic path before going farther on P0183.
Check the FRT circuit for an open
Turn the ignition off and disconnect the PCM connector. Check the FRT circuit between C1643 Pin 4 and C1232E Pin 69. The pass point is less than 5 Ω. If it is not less than 5 Ω, repair the open circuit, clear the PCM DTCs, and repeat the self-test. If it passes, continue to the short-to-ground check. There is a wording conflict in this open-circuit check between the type of measurement described and the resistance result being evaluated, so do not guess at the vehicle. Pause and confirm the circuit and connector identification before making a repair call.
Check for shorts on the FRT circuit
Next, check the FRT circuit for a short to ground at C1643 Pin 4. The circuit should be greater than 10000 Ω. If it is not, repair the short circuit, clear the PCM DTCs, and repeat the self-test. If that passes, turn the ignition on and check the FRT circuit at C1643 Pin 4 for a short to voltage. If any voltage is present, repair the short circuit, clear the PCM DTCs, and repeat the self-test. If no voltage is present, continue to the intermittent check. For the short-to-voltage check, the wording does not cleanly line up with the voltage result being evaluated, and some short-test hookups do not show a negative lead. Do not invent a hookup point; pause, confirm the earlier diagnostic path, and avoid guessing.
Check for an intermittent concern
With the ignition off, reconnect the PCM connector and the FRPT sensor connector. Turn the ignition on, access the PCM data, and monitor the FRT_V (V) PID. While watching the PID, tap the sensor to simulate road shock, wiggle the sensor connector, then wiggle, shake, and bend small sections of the harness from the sensor toward the PCM. Also inspect the connector for damage or corrosion. If the concern shows up, repair as necessary, clear the PCM DTCs, and repeat the self-test. If no concern shows up during this test, install a new Fuel Rail Pressure Temperature sensor, keep the fuel-system safety precautions in place, clear the PCM DTCs, and repeat the self-test.
Verify the repair
Keep verification separate from the circuit testing. After the repair, clear the PCM DTCs, repeat the self-test, and confirm P0183 stays gone. If it comes back, pause, recheck the earlier diagnostic path, and avoid guessing. The takeaway: P0183 is an electrical circuit diagnosis first—prove VREF and signal return, prove the FRT signal wire, then use the PID wiggle test before making the final call. For more diagnostic training, visit stepdiagnostics.com.
Final check
P0183 is often approached as an electrical circuit check before any sensor decision is made.
For more guided automotive diagnostics, visit STEP Diagnostics.