What this code means
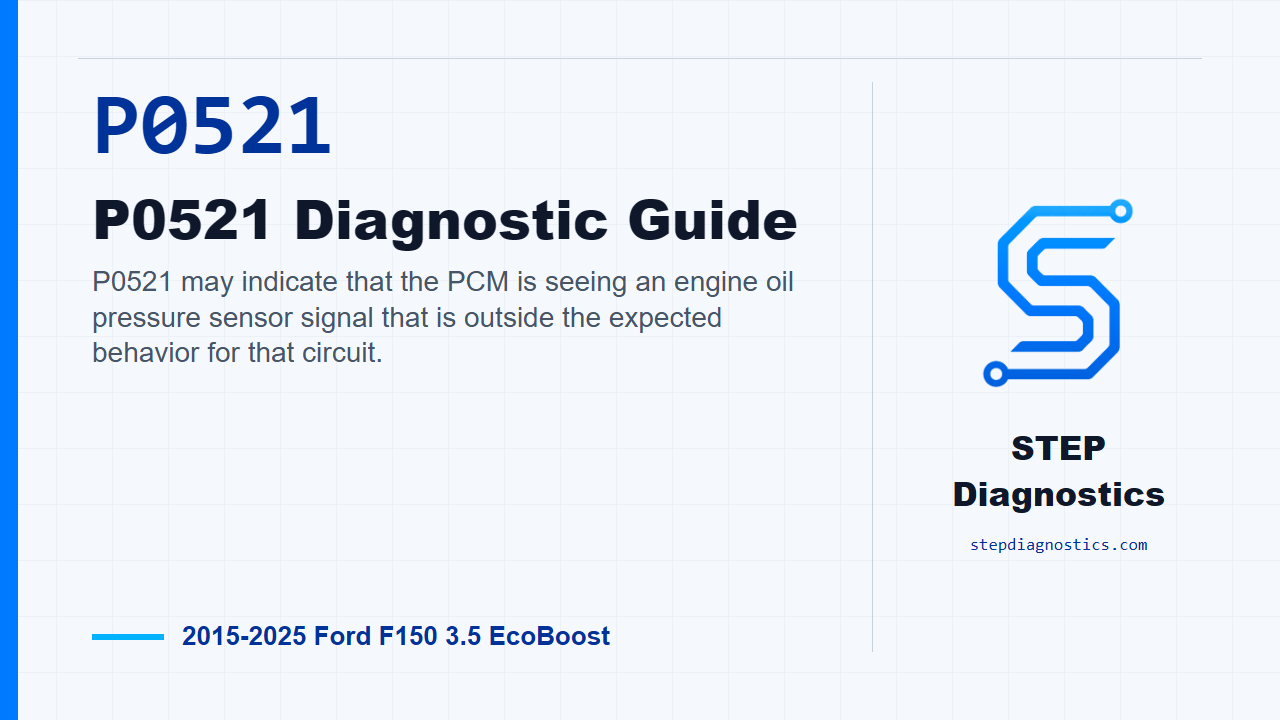
P0521 may indicate that the PCM is seeing an engine oil pressure sensor signal that is outside the expected behavior for that circuit.
What the vehicle may do
- The low engine oil pressure warning may stay on.
- The warning may fail to come on when expected.
- The message center behavior may be involved.
- The concern may appear with related communication or warning-indicator behavior.
Possible fault areas
- Possible wiring, terminal, or connector concerns.
- Possible intermittent invalid sensor signal.
- Possible engine oil pressure sensor concern.
- Possible PCM, IPC, or gateway communication involvement.
Diagnostic path
Opening context
For this episode, we’re focused on P0521. In plain terms, the PCM may be seeing the engine oil pressure sensor signal move outside the range it expects. On the truck, that can show up as a low engine oil pressure warning that may stay on, may not come on when expected, or may be tied into message center behavior. The broad fault areas can include the sensor circuit, wiring and connector issues, an intermittent invalid sensor signal, the oil pressure sensor itself, or module communication between the PCM, IPC, and gateway. One thing to keep in mind before testing: if the engine rpm data or oil pressure warning request message drops out for less than 5 seconds, the cluster holds the last warning state. If that message is missing for 5 seconds or longer, the warning defaults on.
Start with the sensor status and PCM self-test
Start with the engine warm or hot. Key on, use the scan tool to get into the PCM data and monitor the EOP_UR PID. If the engine oil pressure sensor circuit fault is present there, move straight into the sensor circuit voltage checks. If it is not present, run the PCM self-test and look at the recorded codes. If the target oil pressure code or related oil pressure and communication codes are recorded, go to the sensor circuit testing. If other unrelated codes are present, check what they mean first. If there are no recorded codes, continue with the warning display checks.
Confirm the warning display path before circuit testing
Next, make sure the message center can actually display and clear warnings correctly. With the key on, close the doors, hood, and tailgate, clear the active message center warnings with the OK button, and watch the door ajar warning indicator. Open the driver door, clear the popup, and watch the indicator again. It should be off with the door closed and on with the door open. If it does not respond that way, do not keep chasing the oil pressure sensor circuit yet; handle the message center warning path first. If that check passes, start the engine and verify the tachometer works. If the tach does not operate, stop and address that path before continuing. If it does operate, run the IPC self-test. Any IPC codes need to be handled before moving on. If the IPC is clean, check the gateway continuous memory codes. Any network-related codes need to be handled before continuing. If those checks are clean, then move into the engine oil pressure sensor circuit tests.
Check voltage at the oil pressure sensor
Now begin the hardwired circuit checks. Key off, disconnect the engine oil pressure transducer at C1652. Key on, measure between C1652 pin 3 and C1652 pin 2. You’re looking for approximately 5 volts. If the voltage is approximately 5 volts, continue with the signal circuit checks. If it is not, move to the VREF and return side checks.
Test the signal circuit for short, open, and short to ground
For the signal circuit, key off and disconnect PCM connector C1233E. Key on, measure C1652 pin 1 to ground. If any voltage is present on that signal circuit, repair the circuit. If no voltage is present, key off and check the signal circuit for an open from C1652 pin 1 to C1233E pin 29. If resistance is less than 3 ohms, continue. If it is not less than 3 ohms, repair the circuit. Next, check the signal circuit for a short to ground by measuring C1652 pin 1 to ground. If resistance is greater than 10,000 ohms, the circuit checks have passed to the point where the path calls for installing a new engine oil pressure sensor, clearing the codes, and testing the system for normal operation. If resistance is not greater than 10,000 ohms, repair the circuit. If the low oil pressure warning is still always on after that repair path, stop and continue with the appropriate engine oil pressure diagnosis instead of guessing.
Test VREF and sensor return when the 5-volt check fails
If the initial sensor voltage check was not approximately 5 volts, key off, disconnect PCM connector C1233E, then key on and check the VREF circuit from C1652 pin 3 to ground. If any voltage is present, repair the circuit. If no voltage is present, key off and check the VREF circuit for an open using the pin-to-pin check from C1652 pin 3 to C1233E pin 117. There is an engine-label conflict at this point in the path, so pause, recheck the earlier diagnostic path, and avoid guessing before relying on that pin-to-pin check. If the resistance is less than 3 ohms, continue. If it is not less than 3 ohms, repair the circuit. Then check VREF for a short to ground by measuring C1652 pin 3 to ground. If resistance is greater than 10,000 ohms, move to the sensor return circuit. If it is not greater than 10,000 ohms, repair the circuit. For the return circuit, measure C1652 pin 2 to C1233E pin 112. If resistance is less than 3 ohms, the path calls for installing a new engine oil pressure sensor, clearing the codes, and testing the system for normal operation. If it is not less than 3 ohms, repair the circuit. If the low engine oil pressure warning is still always on afterward, stop and continue with the appropriate engine oil pressure diagnosis.
Verify the repair
Keep verification separate from the circuit testing. Once the circuit repair or sensor path is completed, clear the DTCs and test the system for normal operation. Confirm the low oil pressure warning behaves correctly and confirm P0521 stays gone. The takeaway is simple: do not condemn the sensor until the scan data, warning display operation, module self-tests, and the VREF, signal, and return circuits have all led you there. For more diagnostic training, visit stepdiagnostics.com.
Final check
P0521 is often best approached as a sensor-circuit and warning-display diagnostic, not as an automatic parts call.
For more guided automotive diagnostics, visit STEP Diagnostics.