What this code means
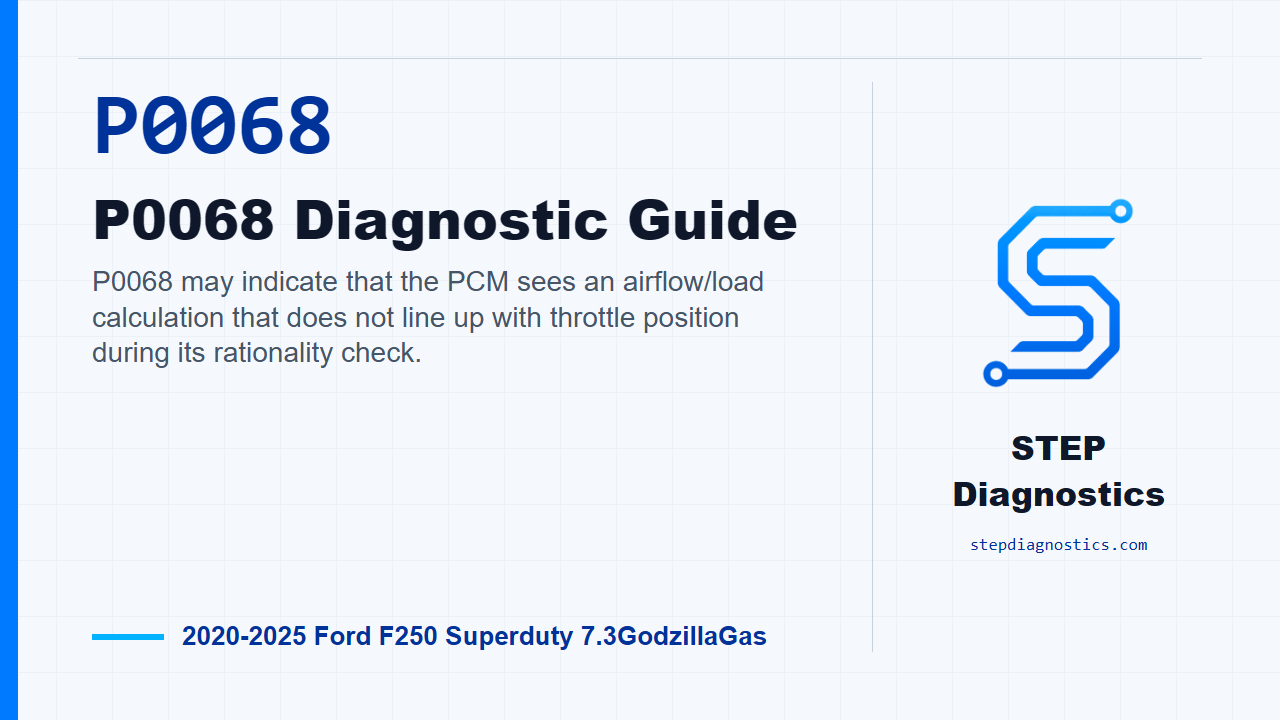
P0068 may indicate that the PCM sees an airflow/load calculation that does not line up with throttle position during its rationality check.
What the vehicle may do
- The vehicle may turn on the check engine light.
- It can have idle quality concerns, hesitation, or reduced power symptoms.
- Some vehicles may have little noticeable driveability change aside from the stored code.
Possible fault areas
- Possible intake air leaks or restrictions.
- Possible PCV system leaks, restrictions, or sealing concerns.
- Possible crankcase pressure sensor circuit or sensor concern.
- Possible engine gasket, oil cap, oil level indicator seal, or related crankcase sealing issue.
- Possible PCM concern after the rest of the diagnostic path is supported.
Diagnostic path
What P0068 is telling you
P0068 on this 7.3L Super Duty is a rationality code. In plain terms, the PCM may be seeing an airflow and load calculation that does not line up with throttle position. The truck may have a check engine light, and it can have idle quality issues, hesitation, reduced power, or very little noticeable change besides the stored code. Broadly, think in terms of possible unmetered air, intake or PCV system leakage, crankcase ventilation sealing issues, crankcase pressure sensor circuit concerns, and only after the diagnostic path supports it, a possible sensor or control-side concern. If other codes are present, check what they mean first so you are not chasing P0068 with another fault still active.
Start with the basic code check
Start with the basic system checks. Confirm whether P0068 is present, and look for any related air, PCV, crankcase pressure, or communication faults at the same time. For this P0068 path, once the code is confirmed, move into the leak and airflow inspection before touching the electrical checks.
If there are symptoms without a code
If you are dealing with symptoms but no active code, do the PCV visual inspection before going deeper. Check the PCV valve, hoses, and connections for damage, leaks, or restrictions. Check the crankcase for missing, damaged, or leaking gaskets, seals, or engine sealing components. Make sure the PCV valve maintenance is current, the correct PCV valve is installed if that information is available, the valve is clean, and the fresh air tube and related hoses are clean and routed correctly. If you find a concern, repair it as necessary and verify the symptom is gone. If nothing shows up there, move to the PCV system check.
Check for air and PCV leaks first
Now check for leaks and restrictions. Look over vacuum lines, intake air system lines, and PCV system lines for anything disconnected, damaged, or restricted. Check crankcase sealing: missing, damaged, or leaking gaskets, seals, and engine sealing components. Pay attention to the PCV hose O-ring, the oil level indicator and its O-ring, the oil cap, valve cover sealing, and any oil tank vent or seal if equipped. Also check for air leaks between the throttle body and intake valves, make sure the intake throttle plate is not sticking or binding, and verify the PCV valve is the correct part number. If you find a concern, repair it as necessary. Then keep verification separate: clear the PCM DTCs and repeat the self-test. If no concern shows up on this P0068 path, go to the crankcase pressure sensor PID check.
Check the crankcase pressure sensor PID
Start the engine, get into the PCM data, and monitor the CRNKCAS_P_V (V) PID. You are looking for it to be between 3.3 V - 4.3 V. If it is in that range, do not condemn the circuit yet; move to the intermittent check. If it is not in that range, continue with voltage and circuit testing at the crankcase pressure sensor.
Check sensor supply voltage
With the ignition off, disconnect the crankcase pressure sensor connector. Turn the ignition on and check voltage at the sensor. The expected range here is between 4.5 to 5.5V. If the voltage is in range, continue with the open-circuit check. If it is not in range, stop this P0068 path and move into the appropriate circuit diagnosis instead of guessing.
Check for an open circuit
Turn the ignition off and disconnect the PCM connector. Now check the circuit for an open. The resistance should be less than 5 Ω. If it is less than 5 Ω, continue to the short-to-ground check. If it is not less than 5 Ω, repair the open circuit, then clear the PCM DTCs and repeat the self-test.
Check for a short to ground
With the ignition still off, check for a short to ground. The resistance should be greater than 10000 Ω. If it is greater than 10000 Ω, move on to the short-to-voltage check. If it is not greater than 10000 Ω, repair the short circuit, then clear the PCM DTCs and repeat the self-test.
Check for a short to voltage
Turn the ignition on and check whether any voltage is present on the circuit being tested. If voltage is present, repair the short circuit, then clear the PCM DTCs and repeat the self-test. If no voltage is present on this P0068 path, install a new crankcase pressure sensor, then clear the PCM DTCs and repeat the self-test.
Check for an intermittent concern
If the PID was in range earlier, or after reconnecting for an intermittent check, turn the ignition off, connect the crankcase pressure sensor connector, and connect the PCM connector. Start the engine, monitor the CRNKCAS_P_V (V) PID, and wiggle the harness from the component back to the PCM. If the PID suddenly changes, repair the concern found in the harness or connection area, then clear the PCM DTCs and repeat the self-test. If there is no sudden voltage change and the concern will not duplicate, pause, recheck the earlier diagnostic path, and avoid guessing.
PCV system check when the path sends you there
When the diagnostic path sends you to the PCV system check, start the engine and let it reach normal operating temperature. Disconnect the intake air system crankcase ventilation hose from the air cleaner outlet, then connect a vacuum gauge to that hose and check whether any vacuum is present. Do not leave the gauge connected too long: disconnect the vacuum gauge after 20 seconds or when 30.00 kpa (9 in-Hg) vacuum is reached, to avoid component damage. If vacuum is present on the non-P0068 branches, the next move depends on the code family being diagnosed. If no vacuum is present, check for PCV leaks or restrictions around areas like the oil cap, PCV valve, hoses, cut grommets, valve cover bolt torque, or gasket leakage, and repair as necessary.
Verify the repair
Keep the final check simple. After any repair made during this path, clear the PCM DTCs and repeat the self-test. The takeaway is this: P0068 is not just a throttle code or just a sensor code. Prove the intake and PCV sealing first, then use the crankcase pressure sensor data and circuit checks to decide where the fault really is. For more diagnostic training, visit stepdiagnostics.com.
Final check
P0068 often needs a disciplined air-leak and sensor-circuit diagnosis instead of jumping straight to a part.
For more guided automotive diagnostics, visit STEP Diagnostics.