An EVAP fault is not automatically a loose fuel cap or a failed canister. On an Accord, the engine controller can identify an electrical problem, an unexpected purge-flow response, or a ventilation problem. Those findings lead to different tests even though they concern the same vapor-control system.
This introduction covers the 2010-2017 Honda Accord 2.4 Gas vehicle family. The operating examples and diagnostic distinctions below were reviewed against a 2017 Accord Sedan 2.4-liter configuration. The range includes different model generations; it does not mean identical emissions equipment, component locations, wiring, or test procedures. Confirm the actual vehicle and emissions specification before using its service information.
What EVAP does
Gasoline produces vapor in the fuel tank. The evaporative-emissions system stores that vapor in a canister and later feeds it into the engine to be burned, reducing its escape into the atmosphere. EVAP is the vapor-handling side of the fuel system, not the pressurized liquid-fuel delivery circuit.
For the reviewed 2017 configuration, think of three connected functions: storage, controlled purge, and ventilation. The controller also checks system behavior using fuel-tank-pressure feedback. A fault in one function can affect the pressure response used to evaluate another, which is why a code alone does not identify the failed part.
How the components work together
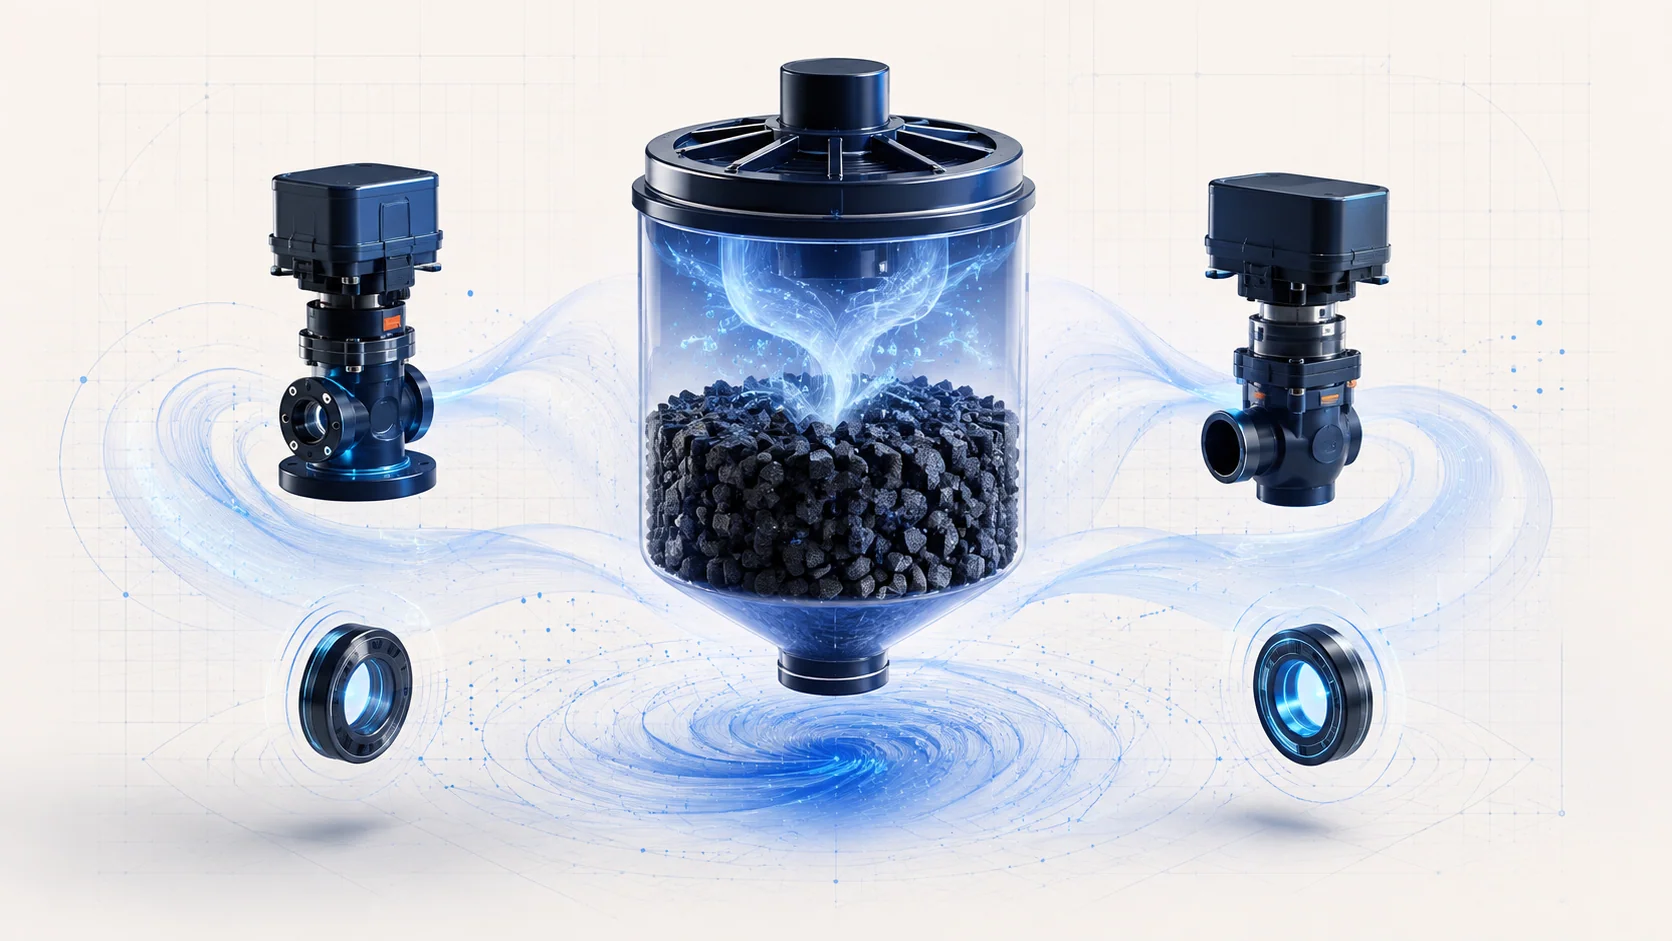
The canister receives vapor from the tank. During purge, fresh air passes through the canister and carries stored vapor toward the intake manifold. Intake vacuum provides the draw; the powertrain control module (PCM) controls the purge valve to regulate how much vapor enters the engine. In the reviewed configuration, purge depends on operating conditions, including engine warmth, rather than being an unrestricted connection whenever the engine runs.
The vent shut valve controls the canister's connection to outside air. On the reviewed 2017 system it is normally open, allowing air to enter through the canister as tank pressure falls. During an eligible leak check, the PCM closes this path and observes fuel tank pressure (FTP). A closed vent during a commanded test is therefore not the same as a vent that cannot reopen when required.
The FTP sensor reports the pressure response. It does not directly measure fuel-vapor flow or label a particular hose as blocked. A questionable reading can reflect actual trapped pressure or vacuum, a restricted passage associated with the sensor, or a sensor-related fault. Diagnosis has to distinguish the physical condition from the measurement.
Four codes, three different diagnostic questions
Use the linked STEP guides to move from this overview to the relevant code path. Their vehicle-profile range is not permission to use one year's connector details or test values on another year.
| STEP guide | What the finding points toward | What it does not prove |
|---|---|---|
| P0497 - low purge flow | The expected purge response was not obtained; investigate the flow path, purge-valve response, and pressure feedback. | That the purge valve alone is defective. |
| P145C - purge flow malfunction | Stored companion codes and captured operating data determine the directed purge-flow troubleshooting route. | A standalone instruction to replace the canister or valve. |
| P0498 - vent shut valve circuit low voltage | An electrical circuit problem involving the valve, its supply, connections, or control path. | That the vent passage is mechanically blocked. |
| P2422 - vent shut valve stuck closed malfunction | The ventilation and pressure response need investigation, including restrictions and valve operation. | That the valve named in the code must be the failed component. |
P145C deserves particular care: the reviewed source routes diagnosis according to other purge-flow codes and the captured conditions. When it appears alone, it still requires the directed purge-flow checks; it is not a shortcut around them. Read the applicable code-combination instructions before selecting a test.
Symptoms and failure categories
The immediate clue may be an emissions warning or stored code with little obvious change in how the car drives. Do not use normal drivability as evidence that EVAP is healthy. An intermittent problem may also pass a test in the workshop after having failed under the recorded conditions.
Keep the fault categories separate:
- Flow path: a poorly connected, damaged, or restricted purge line can prevent the expected response even when the valve receives a command.
- Ventilation: restrictions in vent hoses, passages, or the canister can resemble a closed vent valve. The reviewed P2422 path also considers valve corrosion and operation.
- Electrical control: loss of supply, an open or short in the control path, poor terminals, or an electrical valve fault belong in circuit diagnosis.
- Pressure feedback: the sensor and its associated vent or pressure passages must be evaluated before a pressure reading is treated as proof of a blocked system.
Fuel odor or visible liquid fuel calls for a safety assessment before testing, regardless of which code is stored. Do not assume an odor belongs to these four code paths or overlook a separate fuel leak.
A practical diagnostic strategy
Start by saving the complete code list, pending and confirmed status, freeze-frame information, and any available snapshot. Record the complaint and whether the fault is current or intermittent. Clearing data too early removes conditions that may be needed to reproduce it. Check current service information and applicable bulletins before choosing the test route.
Next, decide which question you are answering. For P0498, prove the electrical supply and control circuit using the correct vehicle procedure. For a purge-flow complaint, inspect the line and distinguish valve response from restrictions elsewhere in the path. For P2422, establish whether the pressure signal and ventilation behavior are plausible before condemning the vent valve. Companion codes can change which path comes first.
Compare the command with the observed response. A commanded valve state is not proof that the valve moved or that the whole connected passage can flow. Likewise, an abnormal FTP reading is not enough to decide between a restriction and a measurement problem. The reviewed procedures isolate sections and check responses under defined conditions; preserve that logic without improvising a universal test setup.
If the required fault cannot be reproduced, treat the result as inconclusive for a parts decision. Review the captured conditions and related connectors instead of forcing an intermittent complaint down a failure branch that has not been demonstrated.
Repair categories and safe working boundaries
Repairs may involve restoring a line connection, correcting a proven restriction, repairing an identified electrical fault, or replacing a valve, sensor, or canister whose failure has been established. A PCM or software decision belongs at the appropriate end of the prescribed diagnostic path, not at the beginning.
Work away from cigarettes, sparks, and flames; fuel vapor can ignite. Use suitable eye protection, provide ventilation when an engine-running test is required, and keep clear of hot and moving parts. Securely support the vehicle before working underneath it. Stop if you lack the equipment or training needed for the applicable procedure.
Use the specified equipment and limits for any pressure or vacuum test. This overview supplies no substitute pressure setting, hose connection, or electrical jumper arrangement. Follow the correct shutdown and connector-handling instructions before circuit work; do not damage terminals or puncture insulation to obtain a reading.
Verify the repair, not just the warning light
Restore every disturbed connection and component, then complete the applicable post-repair steps. Depending on the procedure, these can include reset or relearn operations and a commanded EVAP check or an on-board monitor evaluation. Use the instructions for the actual vehicle and scan tool.
Confirm that the relevant test has completed and passed, and check for returning or additional codes. A cleared warning light or a monitor that has not completed is not a successful repair verification. The goal is to demonstrate the corrected flow, ventilation, electrical control, or pressure response that the original diagnosis identified.