What this code means
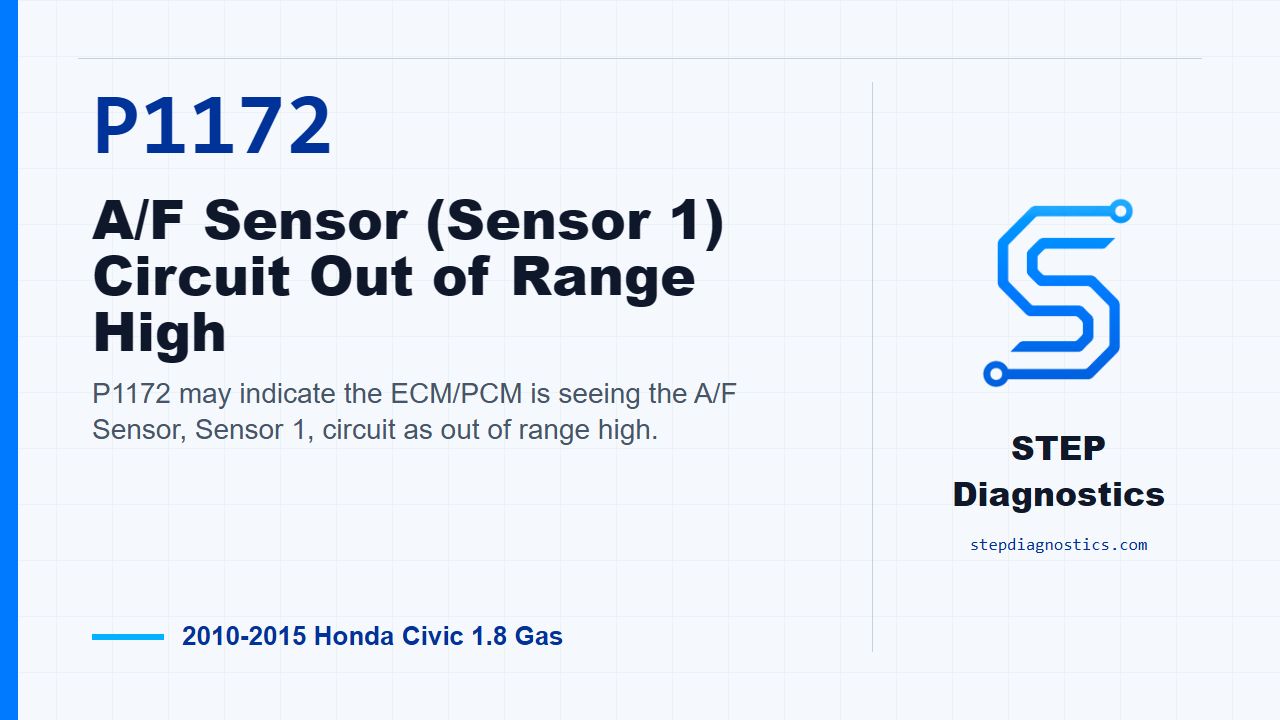
P1172 may indicate the ECM/PCM is seeing the A/F Sensor, Sensor 1, circuit as out of range high.
What the vehicle may do
- The vehicle may have a check engine light.
- The vehicle can sometimes drive normally while the monitor still detects a fault.
- Driveability symptoms may vary depending on when the sensor signal concern occurs.
Possible fault areas
- Possible A/F Sensor, Sensor 1, performance concern.
- Possible poor connection or loose terminal at the A/F sensor.
- Possible poor connection or loose terminal at the ECM/PCM.
Diagnostic path
Opening context
On this 2010 to 2015 Honda Civic with the 1.8 gas engine, P1172 is pointing at the A/F Sensor, Sensor 1, circuit being out of range high. In plain language, the ECM/PCM is seeing a front air-fuel sensor signal that may not make sense for the operating conditions. The vehicle may have a check engine light, and it can sometimes drive normally while the monitor still fails. Broadly, you’re thinking about a possible A/F sensor performance issue, a connector or terminal problem at the sensor, or an ECM/PCM-side connection concern. Before getting into the test, record the freeze data and any on-board snapshot, and review the basic troubleshooting information so you know what conditions the car saw when it set the code.
Problem verification
Start by turning the ignition switch to ON (II), then clear the DTC with the HDS. Start the engine and bring it up to temperature by holding engine speed at 3,000 rpm with no load. For an automatic, that means P or N. For a manual, neutral. Hold it there until the radiator fan comes on, then let the engine idle. Now monitor the OBD status for P1172 with the HDS. This is a performance and plausibility check, so the scan tool result is what guides the next move.
Interpreting the first OBD status result
If the HDS shows FAILED during that problem verification, the diagnostic path calls for replacing A/F Sensor, Sensor 1, and then moving into verification. If the HDS shows PASSED, treat it as an intermittent failure. The system is OK at this time, so check for poor connections or loose terminals at A/F Sensor, Sensor 1, and at the ECM/PCM. If the status is still EXECUTING, keep driving until the monitor gives you a result. If it shows OUT OF CONDITION, the test conditions were not met, so go back through the warm-up and idle setup and recheck instead of guessing.
Repair verification setup
Keep verification separate from the initial check. Turn the ignition switch to LOCK (0), reconnect all connectors, then turn the ignition switch back to ON (II). Reset the ECM/PCM with the HDS, then do the ECM/PCM idle learn procedure. Those setup steps need to be completed before you judge the repair with the monitor result.
Repair verification monitor
Start the engine again and repeat the same no-load warm-up: hold engine speed at 3,000 rpm with no load, with the automatic in P or N or the manual in neutral, until the radiator fan comes on, then let it idle. Monitor the OBD status for P1172 with the HDS and wait for the monitor result.
Interpreting verification
If the HDS shows PASSED, troubleshooting for P1172 is complete. If other pending or confirmed codes are present, check what they mean next. If P1172 shows FAILED, go back to the beginning and recheck the earlier diagnostic path. If the status is EXECUTING, keep idling until a result comes on. If it shows OUT OF CONDITION, meet the test condition and check the OBD status again. The key is not to call the repair good until the monitor actually passes.
Closing takeaway
For P1172, let the HDS monitor drive the decision. Reproduce the no-load warm-up condition, follow the OBD status result, keep intermittent connector checks separate from a confirmed failed monitor, and verify the repair before moving on. For more diagnostic training, visit stepdiagnostics.com.
Final check
P1172 is best approached as a sensor performance plausibility fault where the scan tool monitor result may determine whether to verify a hard failure, look for an intermittent connection issue, or rer
For more guided automotive diagnostics, visit STEP Diagnostics.