What this code means
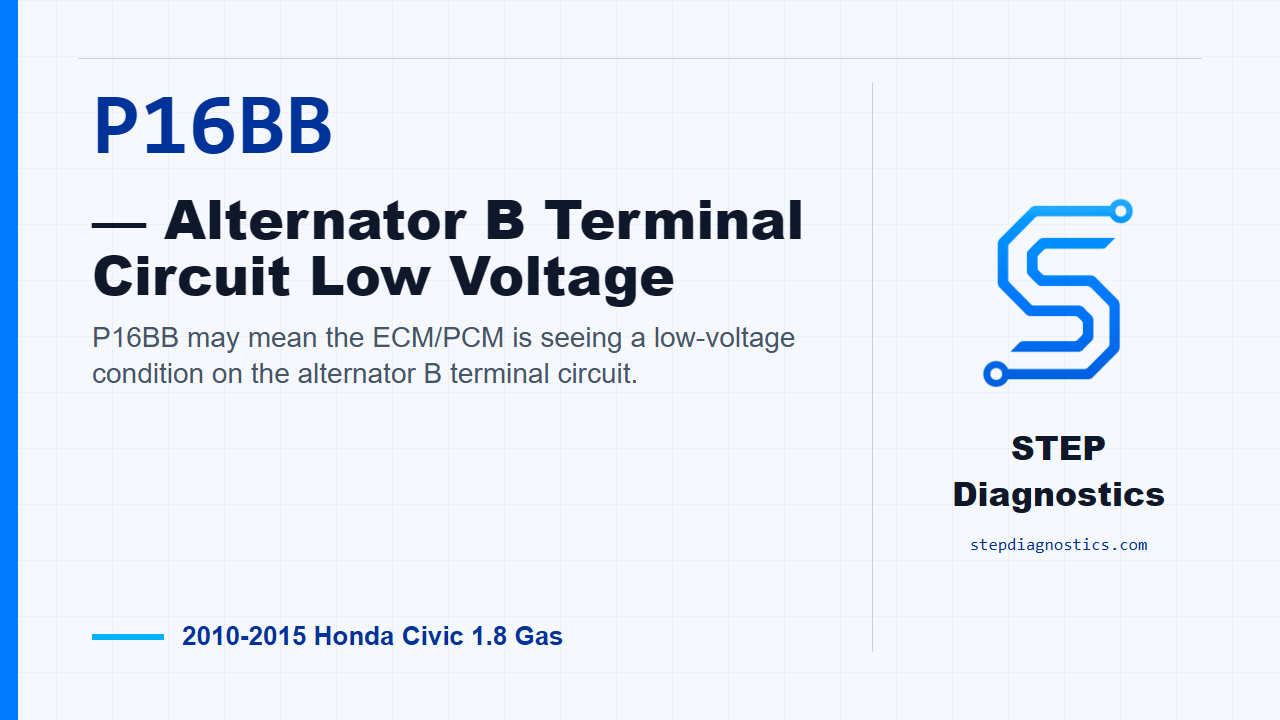
P16BB may mean the ECM/PCM is seeing a low-voltage condition on the alternator B terminal circuit.
What the vehicle may do
- The vehicle may show charging-system warning behavior.
- Electrical symptoms may be more noticeable with several loads turned on.
- The code can be intermittent if the connection or circuit fault comes and goes.
Possible fault areas
- Possible alternator B terminal connection issue.
- Possible +B line connection issue at the under-hood fuse/relay box.
- Possible open in the +B wire between the alternator and under-hood fuse/relay box.
- Possible battery performance concern.
- Possible alternator fault after the circuit checks pass.
Diagnostic path
Code overview
For this Civic, P16BB is an alternator B terminal circuit low-voltage code. In plain terms, the ECM/PCM may be seeing the alternator output side lower than expected. The vehicle may show charging-system symptoms, especially with electrical loads on, but this can also be intermittent. Broadly, the fault area can include the alternator B terminal connection, the +B line through the under-hood fuse/relay box, wiring in that circuit, battery performance, or the alternator itself. Before clearing anything, save the freeze data and any on-board snapshot so you know the conditions the car was in when the fault set.
Duplicate the fault first
Start by verifying the problem. Turn the ignition switch to ON (II), clear the DTC with the HDS, then start the engine. Load the charging system with the A/C on, temperature control at maximum cool, blower fan at maximum speed, headlights on high beam, and the rear window defogger on. Hold the engine speed at 2,000 rpm, with an A/T in P or N, or an M/T in neutral, for 1 minute. Then check for Pending or Confirmed DTCs with the HDS. If P16BB comes back, the failure is duplicated and you move into circuit checks. If it does not come back, treat it as intermittent and check for poor connections or loose terminals at the alternator and under-hood fuse box, and also check battery performance.
Check the +B terminal connections
With the fault duplicated, inspect the +B line connections. Check for poor connections or loose terminals at the alternator and at the under-hood fuse/relay box. If the connections and terminals are OK, continue to the harness open check. If they are not OK, repair the connection or terminal issue, then go to repair verification.
Check the +B line for an open
Next, check for an open in the wire between the alternator and the under-hood fuse/relay box at the engine harness. If the harness is OK, the path calls for replacing the alternator, then verifying the repair. If the harness is not OK, repair the open in the +B wire between the alternator and the under-hood fuse/relay box, then verify the repair.
Verify the repair
Keep verification separate from the testing steps. Turn the ignition switch to ON (II), reset the ECM/PCM with the HDS, and do the ECM/PCM idle learn procedure. Start the engine and repeat the same loaded operating check: A/C on, temperature control at maximum cool, blower fan at maximum speed, headlights on high beam, and rear window defogger on. Hold the engine speed at 2,000 rpm, with an A/T in P or N, or an M/T in neutral, for 1 minute. Then check for Pending or Confirmed DTCs with the HDS. If P16BB is still indicated, recheck for poor connections or loose terminals at the alternator and under-hood fuse/relay box, then go back to the beginning of the diagnostic path. If P16BB is not indicated, the troubleshooting is complete. If other codes are present, check what they mean next.
Takeaway
The key on P16BB is not to jump straight to the alternator. First duplicate the fault under load, then prove the +B terminal connections and the +B wire path before making the alternator call. For more diagnostic training, visit stepdiagnostics.com.
Final check
Verify the code under load, check the +B connections and wiring path, then verify the repair under the same conditions.
For more guided automotive diagnostics, visit STEP Diagnostics.