What this code means
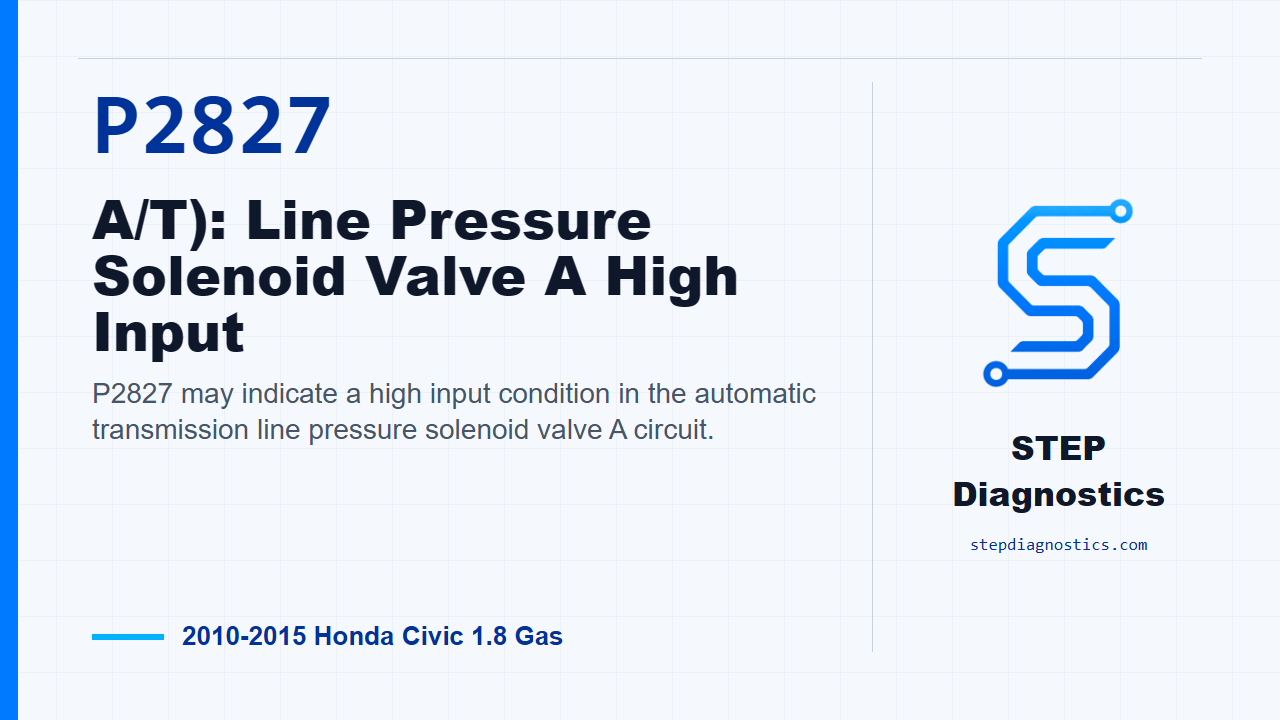
P2827 may indicate a high input condition in the automatic transmission line pressure solenoid valve A circuit.
What the vehicle may do
- The vehicle may have abnormal shift feel or other line-pressure-related shifting symptoms.
- The condition can be intermittent if the code does not reset during verification.
Possible fault areas
- Possible electrical feed or fuse circuit issue
- Possible open circuit or poor terminal connection
- Possible line pressure solenoid valve A electrical fault
- Possible PCM software or PCM-related issue after wiring and solenoid checks pass
Diagnostic path
Opening context
On this Civic, P2827 means the PCM is seeing a high input problem in the automatic transmission line pressure solenoid valve A circuit. In plain terms, the control side for that solenoid may not be behaving electrically the way the PCM expects. The driver may notice abnormal shifting or line-pressure-related shift feel, but the key point here is that this diagnostic path treats P2827 as an electrical circuit problem. Possible areas include the ignition feed through the fuse, the solenoid and its wiring, connector or terminal issues, and, after the circuit checks out, PCM software or PCM substitution checks. Before testing, record the freeze data and any on-board snapshot with the HDS. Also keep this in mind: this code is caused by an electrical circuit problem and cannot be caused by a mechanical problem in the transmission.
Duplicate the fault first
Start by proving the fault is active. Turn the ignition switch to ON (II), clear the DTC with the HDS, then start the engine in P and wait for at least 1 second. Now check for pending or confirmed codes with the HDS and see whether P2827 comes back. If P2827 is indicated, the failure is duplicated and you move into circuit testing. If it is not indicated, treat it as intermittent for now; the system is OK at this time, so check for poor connections or loose terminals between line pressure solenoid valve A and the PCM.
Check the fuse feed
Next, check fuse No. B7, rated at 15 A, in the under-dash fuse and relay box. If the fuse is OK, reinstall the fuse and continue. If the fuse is not OK, replace the fuse and recheck. If it blows again, repair a short to ground on the No. B7 (15 A) fuse circuit, then recheck before going farther.
Check the IG1_MISS_SOL feed for an open
Now check the ignition feed side of the solenoid circuit. Turn the ignition switch to LOCK (0), jump the SCS line with the HDS, and disconnect PCM connector A, the 49P connector. Turn the ignition switch back to ON (II). Measure voltage from PCM connector A No. 1, the BLU wire, to body ground. The circuit being checked is IG1_MISS_SOL. If you have battery voltage there, that wire is OK and you continue. If you do not have battery voltage, repair an open in the IG1_MISS_SOL wire between the PCM and the No. B7 (15 A) fuse in the under-dash fuse and relay box, then go to repair verification.
Check line pressure solenoid valve A resistance
With the ignition switch back at LOCK (0), disconnect the line pressure solenoid valve A 2P connector. With PCM connector A still disconnected, measure resistance directly across the solenoid connector: terminal No. 1 to terminal No. 2. You are checking the PLA and GND sides of the solenoid. The expected resistance is 13.8-17.1 Ω. If the reading is in that range, line pressure solenoid valve A is OK and you continue. If it is not in that range, replace line pressure solenoid valve A, then verify the repair.
Check the PLA wire back to the PCM
Next, check the control wire for an open. Jump the SCS line with the HDS and disconnect PCM connector B, the 49P connector. With the ignition at LOCK (0), the line pressure solenoid valve A 2P connector disconnected, PCM connector A disconnected, and PCM connector B disconnected, check continuity on the PLA circuit. Check between line pressure solenoid valve A 2P connector No. 1, the YEL wire, and PCM connector B No. 30, also the YEL wire. If there is continuity, the PLA wire is OK. At that point, update the PCM if it does not have the latest software, or substitute a known-good PCM, then verify the repair. If there is no continuity, repair an open in the PLA wire between line pressure solenoid valve A and the PCM, then verify the repair.
Verify the repair and close
For repair verification, reconnect all connectors. Turn the ignition switch to ON (II), clear the DTC with the HDS, start the engine in P, and wait for at least 1 second. Then monitor the OBD STATUS for P2827 in the HDS DTC menu. If the status shows PASSED, troubleshooting is complete. If a PCM was substituted, replace the original PCM, then check for other codes after troubleshooting; if other pending or confirmed codes are present, check what they mean first. If the status shows FAILED, go back to the beginning and recheck the diagnostic path. If the PCM was updated, substitute a known-good PCM and check the OBD STATUS again. If the status shows NOT COMPLETED, meet the test condition and check the OBD STATUS again. The takeaway: stay electrical on this one, prove the fuse feed, prove solenoid resistance, prove the PLA wire, and only then move into PCM software or known-good PCM checks. For more diagnostic training, visit stepdiagnostics.com.
Final check
P2827 is often approached as an electrical circuit diagnosis: verify the fault, check the fuse feed, test the solenoid and wiring, then verify the repair.
For more guided automotive diagnostics, visit STEP Diagnostics.