What this code means
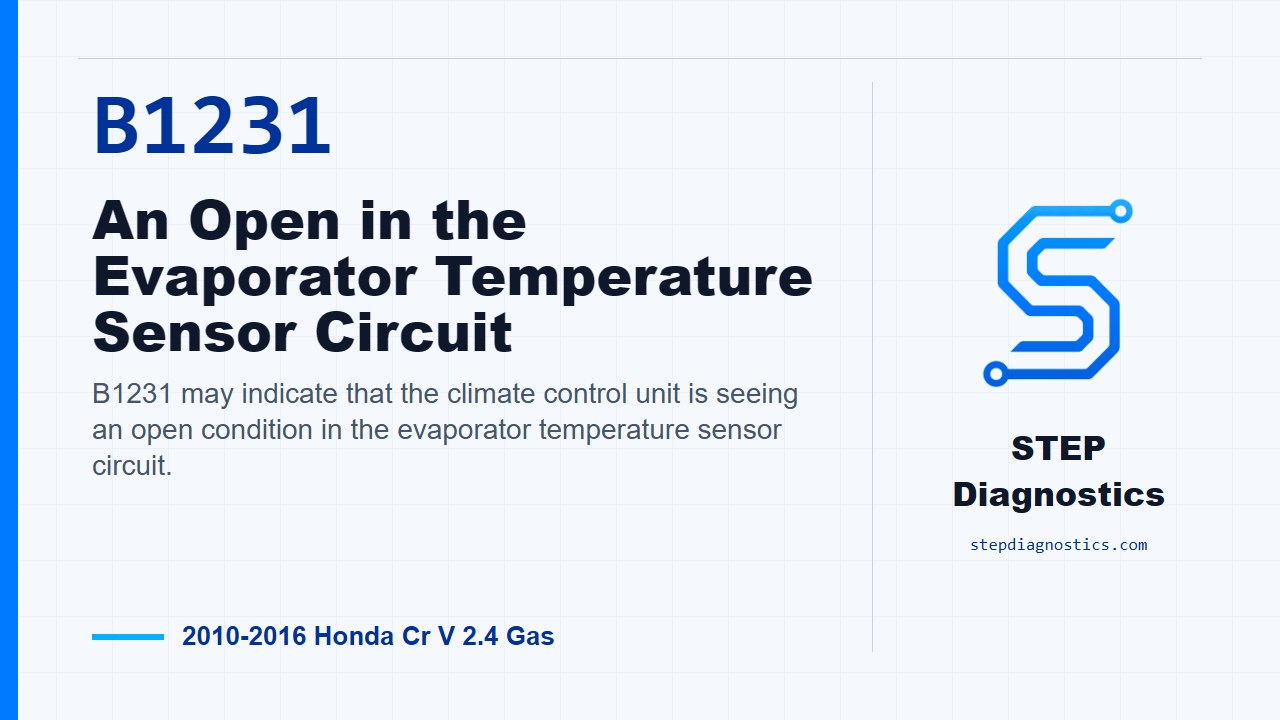
B1231 may indicate that the climate control unit is seeing an open condition in the evaporator temperature sensor circuit.
What the vehicle may do
- The air conditioning may operate incorrectly or inconsistently.
- Climate control response can be affected because evaporator temperature information may not be reliable.
Possible fault areas
- Possible open wiring between the climate control unit and evaporator temperature sensor.
- Possible short between related sensor signal and reference circuits.
- Possible loose wires or poor connections in the evaporator temperature sensor circuit.
- Possible evaporator temperature sensor concern.
- Possible climate control unit concern.
Diagnostic path
Opening context
On this 2010 to 2016 Honda CR-V with the 2.4 gas engine, B1231 points to an open in the evaporator temperature sensor circuit for the climate control unit. In plain terms, the control unit may not be seeing the evaporator temperature signal the way it expects. The customer may notice the A/C operation acting wrong or inconsistent, and the fault area can be the evaporator temperature sensor circuit, the sensor itself, connector condition, or the climate control unit. The diagnosis is a circuit path: first prove the code is current, then check the two sensor wires for opens, check for a short between the TEVA and SENSOR 5V lines, and only then judge the sensor and control unit.
Confirm the fault is current
Start by clearing the DTC with the HDS. Turn the vehicle to OFF, LOCK mode, then back to ON mode. Run the self-diagnostic with the HDS or through the climate control unit, then check for codes again. If B1231, or 09, comes right back, continue with the circuit checks. If it does not come back, treat it as an intermittent. In that case, concentrate on loose wires or poor connections in the evaporator temperature sensor circuit before going any deeper.
Check the TEVA wire for an open
Next, turn the vehicle back to OFF, LOCK mode. Disconnect the climate control unit 32P connector and the evaporator temperature sensor 2P connector. Check continuity from climate control unit 32P connector No. 18 to evaporator temperature sensor 2P connector No. 1. If you have continuity, the TEVA wire is not open, so move on. If you do not have continuity, repair the open in the wire between the climate control unit and the evaporator temperature sensor.
Check the sensor common wire for an open
With the same connectors still disconnected and the vehicle still OFF, LOCK mode, check continuity from climate control unit 32P connector No. 23 to evaporator temperature sensor 2P connector No. 2. If continuity is present, the SENSOR COM, or SENS-COM, wire is OK and you continue to the short check. If continuity is not present, repair the open in the wire between the climate control unit and the evaporator temperature sensor.
Check for a short between TEVA and SENSOR 5V
Now check whether the TEVA line is shorted to the SENSOR 5V, or S5V, line. Keep the vehicle OFF, LOCK mode, with the climate control unit 32P connector and evaporator temperature sensor 2P connector disconnected. Check continuity between climate control unit 32P connector No. 17 and climate control unit 32P connector No. 18. If there is continuity here, repair the short in the wires between the climate control unit and the evaporator temperature sensor. If there is no continuity, the TEVA wire to SENSOR 5V, S5V, wire is not shorted, so move to the evaporator temperature sensor check.
Judge the sensor, then the control unit
At this point, test the evaporator temperature sensor. The detailed sensor test is not included here, so do not guess at the result. If the evaporator temperature sensor tests OK, the diagnostic path points to replacing the climate control unit. If the evaporator temperature sensor does not test OK, replace the evaporator temperature sensor.
Verify and close
Keep verification separate from the circuit testing. After the repair, go back to the same confirmation routine: clear the DTC with the HDS, cycle the vehicle OFF, LOCK mode and then ON mode, run the self-diagnostic, and confirm B1231 does not return. The key takeaway is simple: prove the code is current, check both sensor circuit legs, rule out the TEVA-to-5V short, and only then make the sensor-versus-control-unit call. For more diagnostic training, visit stepdiagnostics.com.
Final check
This code is often approached as a sensor circuit diagnosis: confirm the code is current, check the wiring paths, rule out a short, then evaluate the sensor result before deciding where the fault is.
For more guided automotive diagnostics, visit STEP Diagnostics.