What this code means
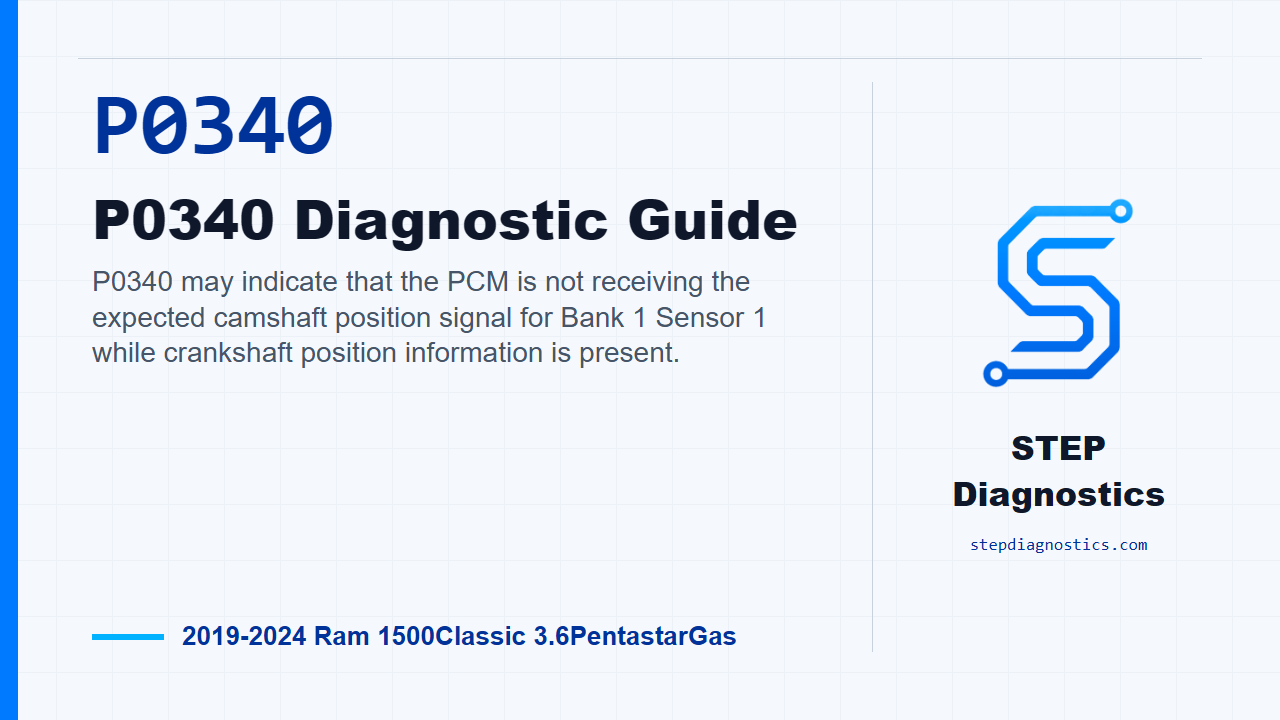
P0340 may indicate that the PCM is not receiving the expected camshaft position signal for Bank 1 Sensor 1 while crankshaft position information is present.
What the vehicle may do
- The MIL may illuminate.
- The engine may crank, idle, or run with an intermittent cam signal concern.
- The vehicle may have symptoms that come and go if the signal loss is intermittent.
Possible fault areas
- Possible oil level, oil condition, oil pressure, or oil filter concerns.
- Possible 5-Volt supply, sensor ground, signal circuit, connector, or terminal concerns.
- Possible camshaft position sensor, tone wheel, oil control valve, cam phaser, timing-drive, cylinder head oiling, or PCM-related concerns.
Diagnostic path
Opening context
On this 2019 to 2024 Ram 1500 Classic with the 3.6 Pentastar, P0340 is a camshaft position sensor circuit fault for Bank 1 Sensor 1. In plain language, the PCM may be seeing crankshaft position information, but it is not seeing the camshaft signal it expects. The truck may have an illuminated MIL, and depending on when the signal drops out, it may crank, run rough, or act intermittent. The broad fault areas can include oil condition or pressure, the cam sensor power, ground, or signal circuits, connector issues, the sensor and tone wheel relationship, VVT oil control, cam phaser or timing-drive concerns, and in rare paths the PCM. The monitor is active while cranking and running, with battery voltage above approximately 11.0 volts. During cranking, the code can set after at least 2.5 seconds with crank signal present and no cam signal. With the engine running, it can set if the cam signal is lost for at least 0.4 seconds while crank signal is present.
Start with oil and code status
Start with the basic system checks and follow a structured diagnostic approach. First, key off and check the engine oil level and condition. Look for low oil, dirty, contaminated, aerated, or deteriorated oil, wrong viscosity, oil pressure concerns, or an oil filter that does not meet the required specification. If the oil condition or level is wrong, correct it, start the engine and let it idle for 2 - 3 minutes, then erase the code and drive it to see if P0340 returns. If the code comes back, continue the diagnostic path. Next, key on, read and record the codes, capture the freeze-frame information, then idle the engine, or crank it if it will not start. Try to reproduce the captured conditions and check whether P0340 is active or pending. If other 5-Volt Reference, oil pump, or oil pressure related codes are active or pending, diagnose those first before continuing. Then check whether a related cam sensor code on the other bank is also active, because that changes which electrical path you take next. And when the engine is running, stay clear of the fan, belts, and pulleys; no loose clothing and no hands near moving parts.
If the related cam sensor path is active: check 5-Volt supply and ground
If the path sends you into the shared cam sensor supply and ground checks, remember this fault can be intermittent. Wiggle the harness and connectors while you test, because a momentary dropout may be the whole problem. Key off, disconnect CMP Sensor 1, key on, and measure the F856 5-Volt Supply at the CMP Sensor 1 connector. The expected range is between 4.8 and 5.2 volts. If it is not in that range, repair the F856 5-Volt Supply circuit for an open or shorted circuit, then verify the repair. If the supply is correct, key off, disconnect PCM C2, and check the K900 Sensor Ground circuit. Do not probe the PCM harness connectors. Use the GPEC Diagnostic Adaptor 10436 for this part of the test. The ground circuit resistance should be below 3.0 Ohms between the CMP Sensor 1 connector and the adaptor. If it is not, repair the K900 Sensor Ground circuit for an open or high resistance, then verify the repair.
Sensor swap check on that path
If the 5-Volt supply and sensor ground check good, swap CMP Sensor 1 with the cam sensor on the opposite bank. While it is apart, inspect the camshaft magnetic tone wheel for damage and repair any problem found. Reconnect PCM C2 and the CMP Sensor 1 connector, erase the codes, then idle the engine, or crank it if it will not start. Reproduce the captured conditions and read the codes again. If the cam sensor fault moves to the opposite bank, replace the faulty camshaft position sensor. Any time a repair or replacement is made to a CMP sensor, CKP sensor, flywheel, valvetrain, timing chain, or gears, perform the Cam/Crank Relearn with the scan tool before final verification.
If the path goes to the Bank 1 Sensor 1 signal circuit
If the related cam sensor path is not active, move into the K44 CMP 1/1 signal circuit checks. Again, treat it like an intermittent and move the harness and connectors while testing. With the CMP Sensor 1 connector disconnected, measure the K44 signal circuit voltage at the sensor connector. If it is above 5.2 volts, repair the K44 signal circuit for a short to voltage and verify the repair. If it is not above 5.2 volts, key off, disconnect PCM C2, and check the K44 signal circuit for a short to ground. If there is continuity to ground, repair that short and verify the repair. If there is no short to ground, check whether K44 is shorted to the K900 Sensor Ground circuit at the CMP Sensor 1 connector. If continuity is present between those circuits, repair that short and verify the repair. If those checks pass, use the GPEC Diagnostic Adaptor 10436 and measure K44 resistance between the CMP Sensor 1 connector and the adaptor. It should be below 3.0 Ohms. If it is not, repair the K44 signal circuit for an open or high resistance and verify the repair.
Oil pressure and oil control valve checks
When the signal circuit checks pass, move to oil pressure and mechanical control. Start the engine and let it reach operating temperature. Test drive under the captured conditions and watch engine oil pressure on the scan tool. If checking manually, shut the engine off, remove the oil filter cap, install Adapter, Late Version 3.6L Oil Pressure Test 2021500090 to the oil filter cap, install an oil pressure gauge, then restart and monitor pressure while operating the vehicle. The oil pressure reading should be stable and above 16.0 psi. If it goes below 16.0 psi or oscillates excessively, it can delay cam phaser movement enough to set a slow-response or intermittent cam sensor fault, so repair the engine oiling or mechanical condition and verify the repair. If oil pressure is stable and above 16.0 psi, key off and remove the VVT Intake Solenoid 1/2. Inspect the spring-loaded spool valve in the oil control valve. Push it against the return spring with a small punch and release it. At rest, the spool should be flush with the surface, move freely without dragging or sticking, and return to the flush position. If it does not, replace the Camshaft 1/2 Oil Control Valve, perform the Cam/Crank Relearn, and verify the repair. If the oil control valve passes, swap the CMP sensors bank-to-bank again, erase the codes, idle or crank as needed, and read codes. If the fault moves to the opposite bank, replace the faulty camshaft position sensor, perform the Cam/Crank Relearn, and verify the repair.
Tone wheel, cylinder head, timing chain, and phaser checks
If the fault does not move with the sensor, inspect the mechanical pieces that create or control the cam signal. Turn the engine off, remove the cylinder head cover, and inspect the camshaft sensor tone wheel for looseness or damage. Use Check Tool, Tone Wheel Right 2027902090, to check tone wheel alignment. If a tone wheel issue is found, replace the camshaft assembly, perform the Cam/Crank Relearn, and verify the repair. If the tone wheel checks out, inspect the cylinder head near the front for missing or damaged oil galley plugs or screws, verify the oil galley plugs are torqued to specification, inspect the timing chain for broken links or damaged pins, and check the timing chain tensioners for proper operation. If any of those problems are found, make the appropriate repair, perform the Cam/Crank Relearn, and verify the repair. If that also checks out, check the cam phaser and camshaft assembly. The cam phaser should return to the lock pin when the engine is off. Put a wrench on the camshaft flat behind the phaser and try to move the camshaft back and forth. If movement is found between the camshaft and phaser, the path calls for cam phaser replacement. If movement is not found at that point, the path calls for cam phaser and camshaft assembly replacement. In either case, perform the Cam/Crank Relearn afterward, then move into repair verification.
Verification after that repair path
Now keep verification separate from testing. Erase the codes and test drive the vehicle under the captured conditions. If P0340 does not return, the repair is complete; finish by verifying the repair. If it does return, inspect the related PCM and component connections. Perform any applicable service bulletins, disconnect the PCM connectors, related in-line connectors if equipped, and related component connectors. Look for poor connector installation, damaged locks, corrosion, water intrusion, seal damage, bent terminals, overheated terminals, pushed-back terminals, spread terminals, and poor terminal tension. Repair anything found, reconnect everything fully, make sure locks are engaged, erase the code, operate the vehicle under the monitor conditions, and read codes again. If the code stays gone, the wiring or poor connection problem has been repaired. If it returns, replace the PCM and retest. If replacing the PCM clears the fault, verify the repair. If the cam sensor fault still returns after PCM replacement, the path calls for replacement of the cylinder head assembly, timing chain, and tensioners, followed by Cam/Crank Relearn and repair verification.
Alternate path when the earlier sensor swap does not move the fault
If the earlier sensor exchange did not move the fault to the opposite bank, the path shifts to another oil pressure and mechanical check. Bring the engine to operating temperature, check oil pressure at idle and while driving under the captured conditions, and monitor it on the scan tool. If checking manually, use Adapter, Late Version 3.6L Oil Pressure Test 2021500090 at the oil filter cap with an oil pressure gauge. If that adapter is not available, monitor oil pressure on the scan tool. The pressure should be stable and above 16.0 psi. If it is not, repair the engine oiling or mechanical condition and verify the repair. If oil pressure passes, inspect the cylinder head oil galley plugs, timing chain links and pins, and timing chain tensioners. Repair any issue found, perform the Cam/Crank Relearn when required, and verify the repair. If no issue is found, inspect the related PCM and component connections the same way: connector fit, locks, corrosion, water intrusion, seals, bent or pushed-back terminals, spread terminals, overheating, and terminal tension. Repair any problem found and verify. If the code still returns, replace the PCM and retest. If PCM replacement fixes it, verify the repair. If the cam sensor fault returns after PCM replacement on this branch, replace the cylinder head assembly, timing chain, and tensioners, then perform the Cam/Crank Relearn and verify the repair.
If P0340 is not active during testing
If P0340 is not active or pending when you start testing, handle it like an intermittent. Key off, disconnect the harness connectors at the PCM and cam sensor, and inspect for wire chafing or rub-through, spread terminals, pushed-out terminals, bent terminals, water in the connector cavities, and corrosion. Check the cam sensor mounting area for debris, damage, or a loose sensor. Remove the cam sensor and inspect the sensor tip for damage or debris. Rotate the engine and, if possible, inspect the tone wheel for damage. Reinstall the cam sensor and make sure it is properly installed and torqued to specification. If a problem is found, repair it and verify. If no problem is found, check the vehicle repair history for prior cam sensor faults. If the previous fault was on the same bank, continue with the oil pressure and mechanical checks. If the previous fault was on the opposite bank, replace the cam sensor, perform the Cam/Crank Relearn, and verify the repair. If there is no repair history, exchange the cam sensor with the opposite bank and clear the codes. A poor connection at the cam sensor or PCM terminals, or a poor signal between the cam sensor and tone wheel, may be enough to set this code, and unplugging and reconnecting connectors or repositioning the sensor may correct it. Confirm the code does not return, then complete repair verification.
Closing takeaway
The takeaway on P0340 is to prove the signal path before condemning parts: oil and pressure first, then active-code status, then 5-Volt supply, ground, signal integrity, sensor swap results, and finally the mechanical timing and phaser checks. Verify the repair under the same conditions that set the fault, and make sure the code stays gone. For more diagnostic training, visit stepdiagnostics.com.
Final check
P0340 is often best approached by proving oil condition and pressure, then testing the cam sensor circuits and connector integrity, then moving into sensor swap and mechanical cam timing checks only a
For more guided automotive diagnostics, visit STEP Diagnostics.