What this code means
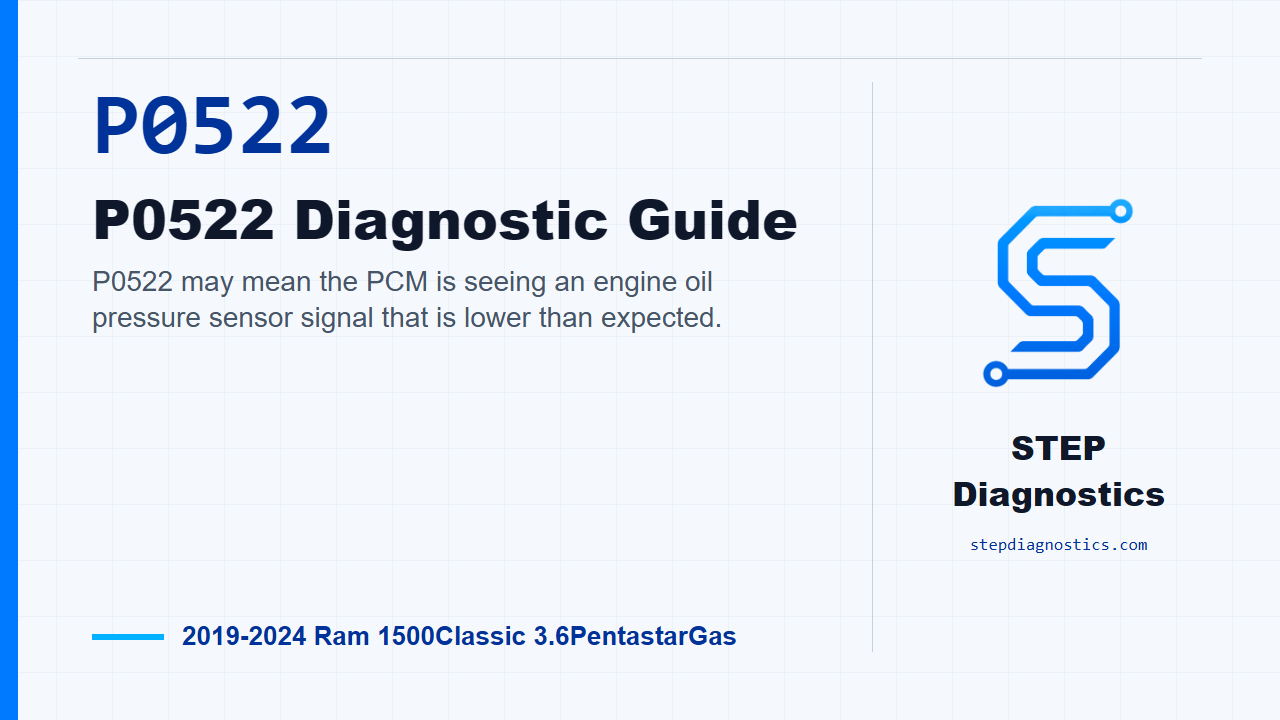
P0522 may mean the PCM is seeing an engine oil pressure sensor signal that is lower than expected.
What the vehicle may do
- The MIL may illuminate.
- The vehicle may show oil pressure display or warning behavior depending on how the system responds.
Possible fault areas
- Possible 5-volt supply concern.
- Possible oil pressure sensor signal circuit concern.
- Possible sensor ground relationship concern.
- Possible connector or terminal concern.
- Possible engine oil pressure sensor concern.
- Possible PCM concern.
Diagnostic path
Set up the diagnostic path
P0522 on this Ram 1500 Classic is an engine oil pressure sensor circuit low fault. In plain terms, the PCM is seeing the oil pressure sensor signal lower than expected. The driver may see the MIL illuminate, and depending on the vehicle behavior, there may be possible oil pressure display or warning concerns. Broadly, this can involve the sensor signal circuit, the 5-volt supply, sensor ground relationship, connector condition, the engine oil pressure sensor, or the PCM. Start with the basic system checks, then reproduce the operating conditions instead of jumping straight to parts.
Confirm the code is active
First, use the scan tool to read codes in all ECUs and record the codes and environmental data. Save the scan report and the related recorded data. Clear the codes, turn the ignition off for a minimum of 10.0 seconds, then turn the ignition back on. Operate the vehicle under the captured conditions that set the fault, then read codes again. If P0522 does not return, treat it as an intermittent condition. If it does return, continue with the circuit checks.
Check for shared reference issues
Before testing the oil pressure sensor circuit by itself, look at the recorded codes. If any 5-volt reference faults are present, diagnose those first, because a shared reference problem can mislead the rest of this test. If there are no 5-volt reference faults, move on to the oil pressure sensor connector.
Inspect the oil pressure sensor connection
With the ignition off, check the EOP sensor connector before unplugging it. Make sure it is fully seated and locked. Then disconnect it and inspect for pushed-out, damaged, or spread terminals. If you find a connector or terminal problem, repair it or reconnect and lock the connector correctly, then verify the repair and confirm the code stays gone. If the connector and terminals look good, continue to the 5-volt supply check.
Check the 5-volt supply
With the EOP sensor connector disconnected, measure the voltage on the F855 5-Volt Supply circuit at the sensor harness connector. The expected range is between 4.9 and 5.1 volts. If the voltage is not in that range, repair the F855 5-Volt Supply circuit for an open or a short to ground, then verify the repair and confirm the code stays gone. If the 5-volt supply is correct, keep moving down the signal circuit path.
Check the signal circuit for shorts
Next, disconnect the PCM C2 connector. Check continuity between ground and the EOP sensor G6 Pressure Signal circuit at the EOP sensor harness connector. If there is continuity, repair the G6 signal circuit for a short to ground, then verify the repair and confirm the code stays gone. If there is no continuity to ground, check continuity between the G6 Pressure Signal circuit and the K900 Sensor Ground circuit at the same sensor connector. If there is continuity there, repair the G6 signal circuit for a short to the K900 Sensor Ground circuit, then verify the repair and confirm the code stays gone. If both short checks pass, continue to the PCM signal-detection check.
Simulate the sensor signal
Reconnect the PCM C2 connector. At the EOP sensor harness connector, connect a fused jumper between the G6 Pressure Signal circuit and the F855 5-Volt Supply circuit. Turn the ignition on, then read and record codes with the scan tool. With the jumper in place, the PCM should detect the matching high-signal oil pressure sensor fault. If the scan tool shows that result, verify good pin-to-terminal contact at the sensor and PCM connectors. If no contact problem is found, replace the engine oil pressure sensor, then verify the repair and confirm the code stays gone. If the scan tool does not show the expected result, disconnect the jumper before continuing.
Inspect PCM and related connections
At this point, handle any applicable service bulletins and do a careful connection inspection. Disconnect the PCM connectors, any related in-line connectors if equipped, and the related component connectors. Inspect for connector fit, damaged locks, corrosion, water intrusion, seal damage, bent terminals, overheated or discolored terminals, pushed-back terminals, spread terminals, and poor terminal tension. Repair any condition you find. Then reconnect the PCM, in-line, and component connectors, making sure every connector is fully seated and locked. Clear the codes, operate the vehicle under the same monitored conditions, and read codes again.
Final decision and takeaway
If P0522 returns after those connection repairs and checks, replace and program the PCM, then verify the repair and confirm the code stays gone. If the code does not return, the wiring or poor connection problem has been corrected. The key on this one is to prove the code is current, protect yourself from shared 5-volt faults, verify the supply and signal circuits, and only condemn the sensor or PCM after the circuit response supports it. For more diagnostic training, visit stepdiagnostics.com.
Final check
Follow the circuit path in order and verify the repair after any correction.
For more guided automotive diagnostics, visit STEP Diagnostics.