What this code means
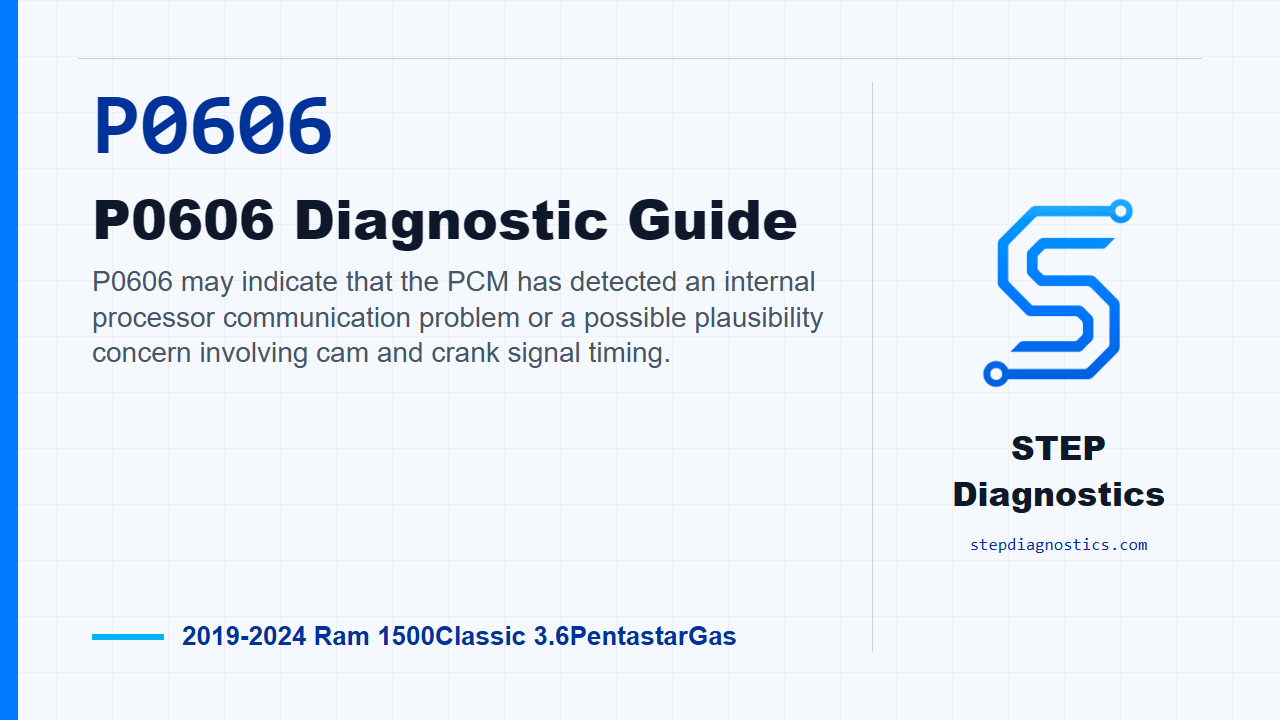
P0606 may indicate that the PCM has detected an internal processor communication problem or a possible plausibility concern involving cam and crank signal timing.
What the vehicle may do
- The MIL may illuminate.
- The ETC light may flash.
- Throttle input and vehicle speed can be limited.
Possible fault areas
- Possible PCM internal processing concern.
- Possible cam or crank sensor signal plausibility concern.
- Possible low system voltage concern.
- Possible harness, connector, terminal, corrosion, or water intrusion concern.
Diagnostic path
Opening context
This one is P0606 on a 2019 to 2024 Ram 1500 Classic with the 3.6 L Pentastar gas engine. In plain language, this code may mean the PCM is seeing an internal processor communication problem, or a plausibility problem tied into cam and crank signal timing. The truck may turn on the MIL, the ETC light may flash, and throttle input or vehicle speed can be limited. Broadly, keep the possible fault areas in mind: PCM internal processing, cam and crank sensor signal plausibility, low system voltage, and connector or terminal problems in the related harnesses.
Safety and starting point
Before getting into the code path, start with the basic pre-diagnostic checks. And any time the engine is running, stay out of the fan line, keep your hands away from belts, pulleys, and the fan, and do not wear loose clothing around moving parts.
Understand when the monitor runs
Treat the run conditions as the monitor gate. This fault is monitored with the engine running. The PCM sets P0606 when it recognizes an internal failure to communicate, or when the CMP and CKP sensor count periods are too short. So the diagnostic logic is not just, “bad module.” First prove whether the fault is active, then look for related cam, crank, or low-voltage issues before condemning anything.
Step 1: Check whether P0606 is active or pending
Turn the ignition on. Use the scan tool to erase the DTCs, then monitor the scan tool for at least two minutes. After that, cycle the ignition off and on several times, leaving the ignition on for at least 10 seconds each time. Start the engine, let it reach operating temperature, then read and record the DTCs. The question here is simple: did P0606 come back as active or pending? If it did, continue the diagnostic path. If it did not, the original condition is not present right now. At that point, treat it as an intermittent concern and inspect the related splices and connectors for water intrusion, corrosion, pushed-out or bent terminals, and correct pin tension.
Step 2: Check for related fault direction
Next, look at the DTCs you recorded. If there are active or pending cam sensor, crank sensor, or low system voltage codes, diagnose those applicable faults first. Those can point you toward the signal or voltage conditions that may be influencing this code. If those related faults are not active or pending, move on to the harness and connector inspection.
Step 3: Inspect related harness connections
Now disconnect all PCM harness connectors. If the vehicle has related in-line harness connections, disconnect those too. Also disconnect the related component connectors. Inspect the harness connectors, component connectors, and both male and female terminals. You are looking for poor connector installation, damaged locks, corrosion, water intrusion, weather seal damage where used, bent terminals, heat discoloration from a poor connection, terminals pushed back into the cavity, spread terminals, and poor terminal tension. Repair any conditions you find. Then reconnect the PCM connectors, any in-line connectors, and the related component connectors. Make sure every connector is fully seated and every lock is engaged.
Retest after connector work
After the connector inspection and any needed connection repairs, erase the DTCs with the scan tool. Test drive or operate the vehicle under the same type of conditions that allow the monitor to run, then read the DTCs again. If P0606 returns, the next supported action is to replace and program the PCM, then verify the repair. If the code does not return, the fault path points back to the poor connection you repaired, and you still finish with verification.
Verification and takeaway
Keep the verification separate from the testing. Once the repair direction is complete, verify the repair and confirm the code stays gone. The takeaway on P0606 is to prove the code is active, clear out related cam, crank, or low-voltage direction first, inspect the harness connections carefully, and only then move to the PCM path if the fault returns. For more diagnostic training, visit stepdiagnostics.com.
Final check
P0606 often needs a disciplined path: confirm whether it is active, address related signal or voltage faults first, inspect connections carefully, and verify the repair after the final action.
For more guided automotive diagnostics, visit STEP Diagnostics.