What this code means
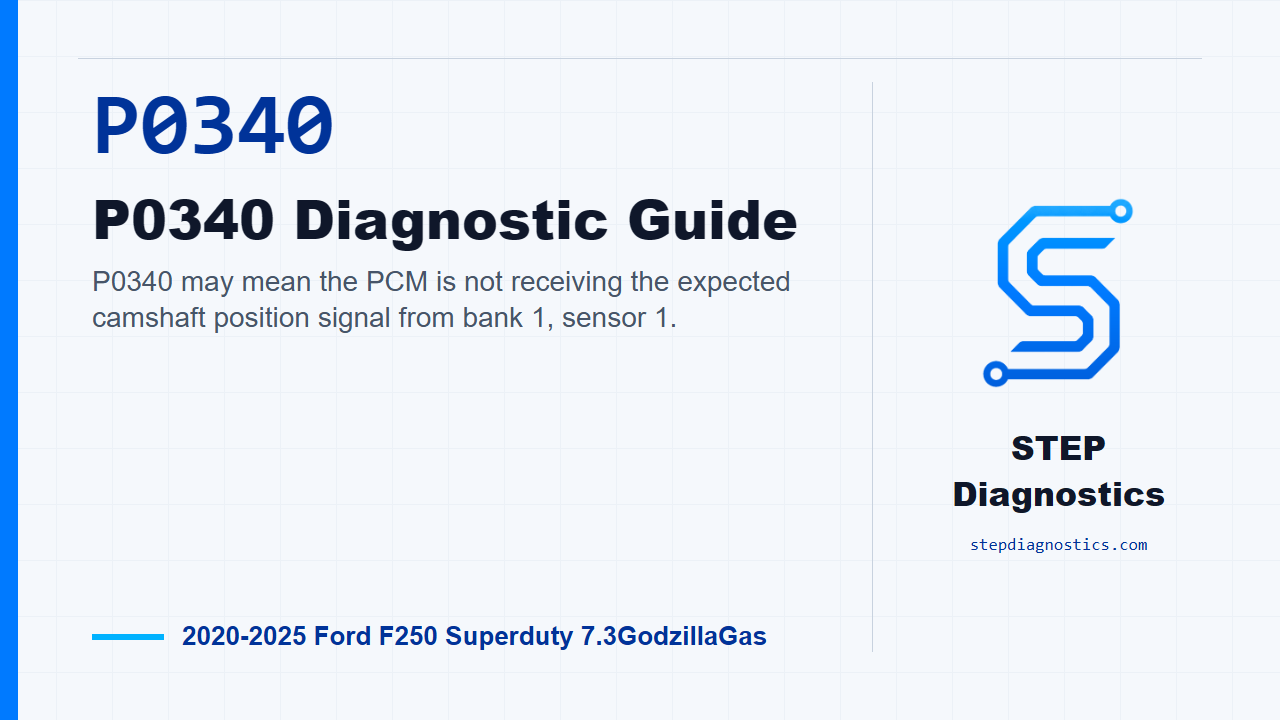
P0340 may mean the PCM is not receiving the expected camshaft position signal from bank 1, sensor 1.
What the vehicle may do
- The vehicle may have a no-start or crank-and-no-start condition.
- The engine may run with a cam sync or drivability concern.
- The check engine light may be on.
Possible fault areas
- Possible CMP sensor or connector concern.
- Possible wiring, shielding, routing, or corrosion concern.
- Possible electrical interference or generator noise concern.
- Possible power, reference, or signal circuit concern.
- Possible base engine timing, oil, or VCT-related concern.
Diagnostic path
Open: what P0340 means
On this 2020 to 2025 F-250 with the 7.3 gas engine, P0340 is a camshaft position sensor circuit code. In plain terms, the PCM may not be seeing the bank 1, sensor 1 cam signal the way it expects. The truck may have a no-start condition, a crank-and-no-start, or it may run with a cam sync or drivability concern. The broad areas I’m thinking about are the CMP sensor and connector, the wiring and shielding, electrical interference, power and reference circuits, and possible base engine or VCT-related issues like oil or timing concerns. Treat this as an electrical diagnosis first, but don’t ignore mechanical timing or oil-related symptoms if they’re present.
Start with the basic system checks
Start with the basic system checks and see what codes are actually present. For P0340, if the truck has a no-crank or no-start complaint along with the cam sensor circuit code, the path moves straight into checking voltage at the suspect CMP sensor. For other cases, continue with the harness inspection first. If there are symptoms but no codes, the same harness inspection is still the next useful step. If there are no codes and no related symptom to chase, don’t force this test path; follow a structured diagnostic approach for the symptom you do have.
Inspect the harness before testing deeper
With the ignition off, inspect the CMP harness. Look at routing, any alterations, shielding that doesn’t look right, and anything nearby that could induce electrical interference into the cam signal. Then inspect the CMP connector itself for damage or corrosion. If you find a harness or connector concern, repair it as needed, clear the PCM codes, and repeat the self-test. If the harness and connector look good, move on to trying to reproduce the code.
Clear the code and try to bring it back
Turn the ignition on, start the engine, and clear the code. Then raise engine speed to greater than 1,500 RPM for 10 seconds, and repeat that 3 times. After that, check whether the cam sensor circuit code comes back. If it does, continue to the generator noise check. If it does not return, and the vehicle still has symptoms without codes, move back to symptom-based diagnosis. For the cam signal family, also keep interference, ignition system noise, alternator noise, crank sensor concerns, and VCT-related oil or cam positioning issues in mind instead of treating every case as a bad sensor.
Check for generator electrical noise
Next, start the engine and listen for audible electrical noise from the generator. Shut the ignition off, disconnect the generator or regulator B+ connector, then restart the engine. With the engine running, listen for whether the noise stays steady, decreases, or increases. If the noise stays steady, keep going with the CMP circuit checks. If the noise drops off with the B+ connector disconnected, diagnose the noisy generator condition before continuing down the cam sensor path.
Check voltage at the suspect CMP sensor
Now diagnose the suspect CMP sensor indicated by the code. With the ignition off, reconnect the generator or regulator B+ connector, disconnect the CMP sensor connector, then turn the ignition on. Measure voltage between C1626 Pin 3 and C1626 Pin 2. The voltage needs to be greater than 10.5 V on the VBPWR circuit, or between 4.5 and 5.5 V on the VREF circuit, depending on the circuit being tested. If that voltage check passes, continue to the open-circuit check. If it does not pass, stop and diagnose the feed or reference circuit concern first.
Check the CMP circuits for an open
With the suspect CMP sensor still identified, disconnect the PCM connector and check circuit continuity. Measure resistance between C1626 Pin 1 and C175E Pin 25, and between C1626 Pin 2 and C175E Pin 46. The resistance should be less than 5 Ω. If both circuits are under that limit, keep going. If not, repair the open circuit, clear the PCM codes, and repeat the self-test.
Check the CMP circuits for shorts
Next, check the CMP circuits for a short. Include the check between C1626 Pin 1 and C1626 Pin 2, along with the other indicated circuit-to-circuit checks for the suspect CMP sensor. The resistances should be greater than 10K ohms. If they are, move to the short-to-voltage check. If any check fails, repair the short circuit, clear the PCM codes, and repeat the self-test.
Check for short to voltage
Turn the ignition on and check the CMP circuit at C1626 Pin 1 for unwanted voltage. If any voltage is present, repair the short circuit, clear the PCM codes, and repeat the self-test. If no voltage is present, reconnect the system and move to checking sensor operation.
Check CMP sensor operation
With the ignition off, reconnect the CMP sensor connector and the PCM connector. Start the engine, access the PCM data, and watch the SYNC PID. If the engine starts and the SYNC PID reads YES, continue to the final code check. If the engine does not start, or the SYNC PID does not read YES, install a new camshaft position sensor, clear the PCM codes, and repeat the self-test.
Verify the repair and confirm the code stays gone
For verification, check whether any codes are present. If codes are still present after the previous checks and the SYNC PID did read YES, install a new camshaft position sensor, clear the PCM codes, and repeat the self-test. If no codes are present, the system is operating correctly at this time. The original concern may have been caused by a loose or corroded connector. Clear the PCM codes, repeat the self-test, and make sure P0340 stays gone.
Close
The takeaway on P0340 is simple: prove the harness, prove the power and reference side, prove the signal circuits are not open or shorted, then use the SYNC PID and final code check to decide whether the CMP sensor is the remaining fault. For more diagnostic training, visit stepdiagnostics.com.
Final check
P0340 is often best handled by proving the circuit and signal path before condemning the sensor.
For more guided automotive diagnostics, visit STEP Diagnostics.