What this code means
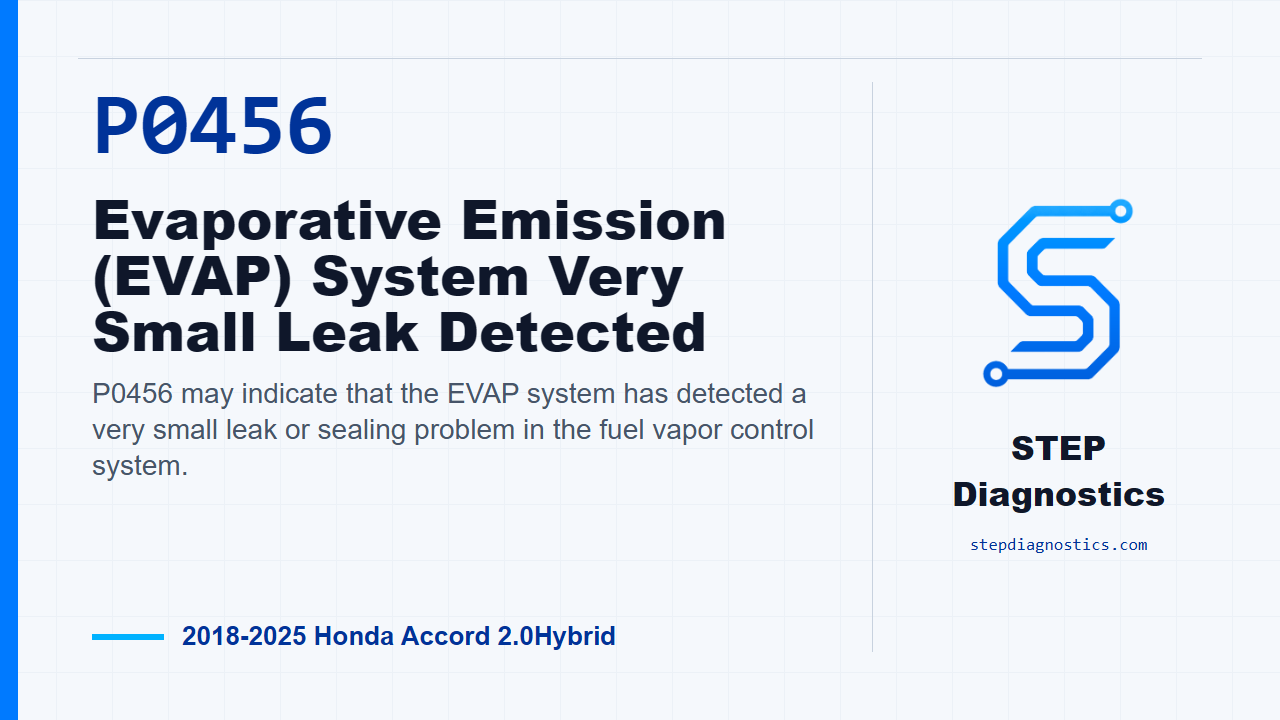
P0456 may indicate that the EVAP system has detected a very small leak or sealing problem in the fuel vapor control system.
What the vehicle may do
- The vehicle may drive normally.
- A warning light may be the only noticeable symptom.
- Fuel odor can sometimes be possible with EVAP sealing faults.
Possible fault areas
- Possible broad areas include purge control, EVAP hoses or pipes, the canister, the fuel tank sealing path, the main flap unit, and the EVAP leak check module area.
Diagnostic path
Opening context
On this 2018 to 2025 Honda Accord 2.0 Hybrid, P0456 is an EVAP very small leak code. In plain terms, the system may not be able to pull the EVAP side down below its expected reference pressure, so the PCM can store the code. The driver may not notice much beyond a warning light, but the fault area can be anywhere in the sealed EVAP path: purge control, purge plumbing, the leak check module side, the main flap unit, the fuel tank side, or the canister. The key is not to guess. Work the system in sections and let each pressure or vacuum check narrow the fault area.
Start by duplicating the failure
Before getting deep into the EVAP checks, be careful with the pressure and vacuum work on this system. The fuel system is only designed for the specified test conditions, and excessive pressure or vacuum can damage EVAP components or eventually damage the fuel tank. Have the specified Vacuum Pump/Gauge, 0-30 inHg Snap-on YA4000B or equivalent, commercially available, ready for the pressure and vacuum checks. Turn the vehicle to ON mode, then run the EVAP Leak Check Module Test with the HDS. If that test result is not OK, the failure is duplicated, and now you can move into section testing instead of chasing an intermittent condition blind.
Check the EVAP canister purge valve
Next, inspect the EVAP canister purge valve. Remove the purge valve for the inspection, then use a vacuum pump and gauge, 0-30 inHg, on the specified purge valve port. First check it for being stuck open by applying pressure to the port. For that part of the test, pressure should be held. Then check for a stuck-closed condition. Only do this after the stuck-open check is within specification. Connect the valve connector terminals to 12 volt battery terminals with jumper wires, then apply pressure to the same test port. In both purge valve closed-stuck checks, pressure should not be held. If the purge valve inspections are not all within specification, the problem is in the EVAP canister purge valve area. If all of those inspections are within specification, continue down the line.
Check the EVAP purge system for leakage
With the purge valve confirmed normal, move to the EVAP purge system leakage check. Disconnect the fuel purge pipe from the EVAP canister. Connect a hose to the fuel purge pipe, then connect the vacuum pump and gauge, 0-30 inHg, to that hose. Apply vacuum. The purge system should hold vacuum. If it does not, the fault is in the EVAP purge system. If it holds, keep moving through the EVAP sections in order.
Check the leak check module system side
Now inspect the leak check module system for leakage. Look for poor connection, leakage, or damage on the leak check module system components. The expected result is that the connections are OK, with no leakage and no damage. If that inspection is abnormal, the problem is in that leak check module system section. If it checks out, move to the blockage check. Disconnect the drain tube from the EVAP leak check module. Connect a hose to the drain tube, then connect the vacuum pump and gauge, 0-30 inHg, to the hose. Apply pressure and watch the gauge. For this blockage check, pressure should not be held. If pressure is held, that points to a problem in that leak check module system section.
Inspect the main flap unit
Next, check the main flap unit. Confirm the shut-off valve is closed, then inspect the flap seal and the mating surface of the shut-off valve for anything missing or damaged. The expected result is a closed shut-off valve with no missing or damaged seals. If that inspection is abnormal, the problem is in the main flap unit. If it is normal, continue to the fuel tank side leakage check.
Check the fuel tank system for leakage
For the fuel tank system leakage check, the main flap unit needs to be normal first. Disconnect the fuel vent tube from the EVAP canister. Connect a hose to the fuel vent tube, then connect the vacuum pump and gauge, 0-30 inHg, to that hose. Apply vacuum. The fuel tank system should hold vacuum. If it does not, the problem is in the fuel tank system. If it does hold, continue to the EVAP canister leakage check.
Check the EVAP canister for leakage
For the canister leakage check, disconnect the drain tube, the fuel vent tube, and the fuel purge pipe from the EVAP canister. Plug the drain tube port and the fuel vent tube port. Then connect a hose to the fuel purge pipe port, and connect the vacuum pump and gauge, 0-30 inHg, to the hose. Apply vacuum. The canister should hold vacuum. If it does not, the problem is in the EVAP canister.
Last remaining fault area
If every previous inspection item indicates a normal condition, the remaining fault area is the EVAP leak check module. At that point, the diagnostic path has ruled through the purge valve, purge system, leak check module plumbing checks, main flap unit, fuel tank system, and EVAP canister before calling the leak check module the cause.
Takeaway
The takeaway on P0456 is simple: duplicate the fault first, protect the EVAP system from excessive pressure or vacuum, then isolate the leak path one section at a time. Don’t jump to the canister or the leak check module until the earlier checks prove out. For more diagnostic training, visit stepdiagnostics.com.
Final check
P0456 is often best approached by duplicating the leak-check failure first, then testing each EVAP section in order instead of guessing at parts.
For more guided automotive diagnostics, visit STEP Diagnostics.