What this code means
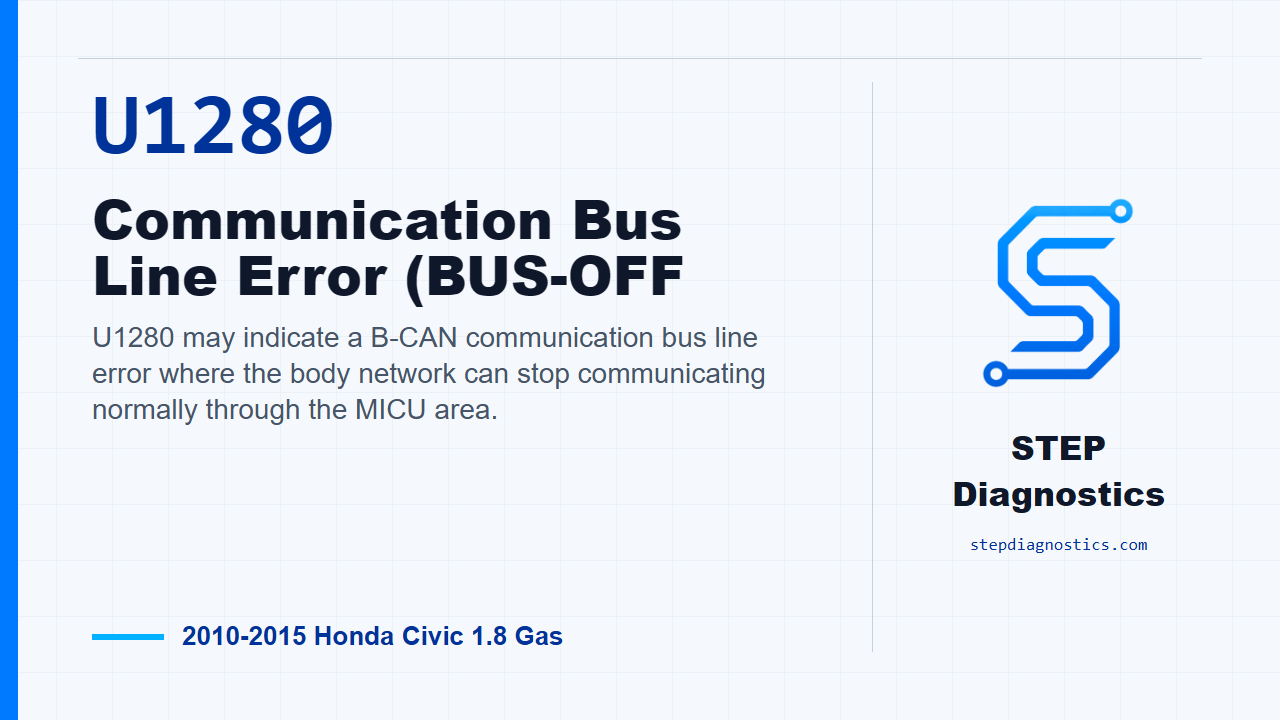
U1280 may indicate a B-CAN communication bus line error where the body network can stop communicating normally through the MICU area.
What the vehicle may do
- Body electrical features may act intermittently or stop responding.
- Warning messages or module communication problems may be present.
- The issue may be intermittent if the code does not return during verification.
Possible fault areas
- A connected B-CAN control unit may be affecting the bus.
- B-CAN wiring may have a short to ground or a short between the bus lines.
- Loose or poor connector contact may be involved.
- The MICU area may be involved after connected units and wiring checks are ruled out.
Diagnostic path
Set up the complaint
On this 2010 to 2015 Honda Civic with the 1.8 gas engine, U1280 is a communication bus line error on the B-CAN side of the body network, tied into the MICU in the under-dash fuse and relay box. In plain terms, the body network may be losing communication badly enough to go bus-off. Depending on the vehicle and what is active on that network, the customer may notice body electrical features acting up, warning messages, or intermittent module communication. The broad fault areas can include a connected B-CAN control unit, a shorted B-CAN wire, poor connector contact, or the MICU area itself. We’re going to keep the diagnosis controlled: first prove the code is current, then isolate whether a unit is pulling the bus down, then check the B-CAN wiring for shorts.
Verify U1280 first
Start by clearing the DTCs with the HDS. Cycle the ignition OFF and back ON — on a keyed car, go to LOCK (0) and then ON (II); on a push-button car, select OFF mode and then ON mode. After that, wait for at least 6 seconds and check DTCs again with the HDS. If U1280 does not come back, treat it as an intermittent condition for now. The system is OK at this time, so concentrate on loose or poor connections. If U1280 is indicated again, keep going with the B-CAN unit isolation.
Isolate the B-CAN units
Next, turn the ignition OFF. Disconnect the B-CAN related control units one at a time, clearing the code and rechecking after each unit is unplugged. The units involved are the gauge control module, immobilizer-keyless control unit, keyless access control unit, automatic lighting control unit or sensor, audio unit, climate control unit, multi-information display unit, and information display unit. The point is not to unplug everything at once. You’re looking for the one disconnected unit that causes U1280 not to reset. If that happens, replace the control unit that was disconnected when the code did not return. If U1280 is still indicated with each individual unit disconnected, leave those connectors disconnected and move into the wiring checks.
Check B-CAN to ground at connector K
With the ignition OFF, and with the appropriate control unit connectors still disconnected, disconnect under-dash fuse and relay box connectors K, M, and Q. First check connector K for a short to ground. On connector K, check B_CAN-L at No. 1, BLU, to body ground. Then check B_CAN-H at No. 2, PNK, to body ground. If either check shows continuity, repair a short to ground in the B_CAN wires. If there is no continuity, continue to connector M.
Check B-CAN to ground at connector M
Now perform the same short-to-ground check at connector M. Check B_CAN-L at connector M No. 1, BLU, to body ground. Then check B_CAN-H at connector M No. 2, PNK, to body ground. If there is continuity, repair a short to ground in the B_CAN wires. If there is no continuity, move on to connector Q.
Check B-CAN to ground at connector Q
At connector Q, check B_CAN-L at No. 6, BLU, to body ground. Then check B_CAN-H at No. 5, PNK, to body ground. Again, continuity here means the B_CAN wires are shorted to ground and need to be repaired. If there is no continuity, the next checks look for the two B-CAN lines shorted together.
Check B-CAN-L to B-CAN-H at connector K
Keep the same OFF-mode setup, with the same connectors disconnected. At connector K, check continuity between B_CAN-L at No. 1, BLU, and B_CAN-H at No. 2, PNK. If there is continuity between those two lines, repair a short in the B_CAN wires. If there is no continuity, continue to connector M.
Check B-CAN-L to B-CAN-H at connector M
At connector M, check continuity between B_CAN-L at No. 1, BLU, and B_CAN-H at No. 2, PNK. Continuity here means the B_CAN wires are shorted together and need repair. If there is no continuity, go to the same check at connector Q.
Check B-CAN-L to B-CAN-H at connector Q
At connector Q, check continuity between B_CAN-L at No. 6, BLU, and B_CAN-H at No. 5, PNK. If there is continuity, repair the short in the B-CAN wires. If there is no continuity after all of these checks, the diagnostic result is a faulty MICU, and the repair is to replace the under-dash fuse and relay box.
Multiple-code caution and final check
One caution: if the car has multiple network-related codes, do not treat U1280 in isolation. Work through the broader B-CAN diagnosis path first so you do not chase a symptom of a larger bus problem. After the repair, verify the repair and confirm U1280 stays gone under the same basic conditions used at the start: clear the code, cycle the ignition, wait for at least 6 seconds, and recheck with the HDS. The takeaway is simple: prove U1280 is current, isolate any B-CAN unit that pulls the network down, then test the bus wiring for shorts before condemning the MICU. For more diagnostic training, visit stepdiagnostics.com.
Final check
U1280 is best approached by proving the code is current, isolating connected B-CAN units, then checking the B-CAN wiring before calling the MICU faulty.
For more guided automotive diagnostics, visit STEP Diagnostics.