What this code means
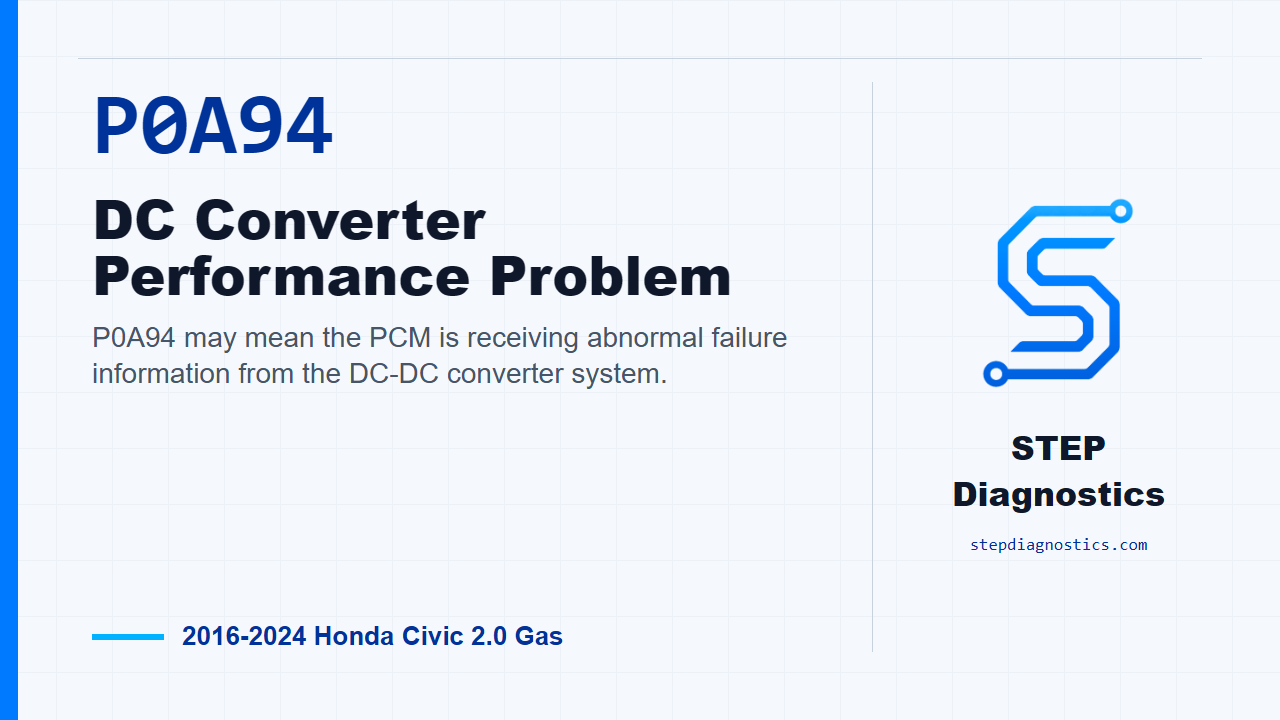
P0A94 may mean the PCM is receiving abnormal failure information from the DC-DC converter system.
What the vehicle may do
- The vehicle may turn on a warning light.
- Auto idle stop operation may be affected.
- Charging-related behavior may be noticed, depending on the fault.
Possible fault areas
- Possible DC-DC converter concern.
- Possible power or ground circuit concern.
- Possible status or output circuit concern.
- Possible external circuit or aftermarket load concern.
- Possible related component or PCM concern after other checks are normal.
Diagnostic path
Opening and setup
P0A94 on this Civic is a DC-DC converter performance problem. In plain terms, the PCM may be seeing failure information from the DC-DC converter and setting the code when that information looks abnormal. The vehicle may show charging-related behavior, auto idle stop concerns, or a warning light, depending on how the fault shows up. The broad areas to keep in mind are the DC-DC converter, its power and ground circuits, its status and output circuits, related external loads or wiring, and, after the rest of the path checks out, the PCM. Start with the basic system checks and follow a structured diagnostic approach. If other DC-DC converter codes or indicated systems are present, handle those first before chasing P0A94.
Confirm the scan-data path
Next, look at the HDS value for DC-DC Converter Cst Error. That value decides which inspection path applies: Malfunction sends you down path A, and Normal sends you down path B. To confirm the failure, test-drive the vehicle under the auto idle stop operating condition, and let the engine stop using auto idle stop. The HDS data list items to keep in view are DC-DC Converter Cst Error, Input Error 1, Input Error 2, Output Error 1, and Output Error 2. If the path does not line up with the scan data and the vehicle behavior, pause, recheck the earlier diagnostic path, and avoid guessing.
Protect the PCM before disconnecting
Before disconnecting the PCM connector, jump the SCS line with the HDS and wait more than 1 minute. After that, prepare for the DC_STS shorted-wire inspection by disconnecting DC-DC converter connector A, 3P, and PCM connector A, 50P.
Check the DC_STS circuit for a short to ground
With those connectors disconnected, inspect the DC_STS circuit for a short to ground using the normal open-and-shorted-wire checking method. The normal condition for this check is IG Mode OFF and Not shorted. If the result is abnormal, treat it as a circuit problem and stay on the circuit diagnosis before moving on.
Check DC-DC converter power and ground
Now move to the +B_DC/DC1, +B_DC/DC2, and GND circuit checks. Disconnect DC-DC converter connector B, 5P. With IG Mode OFF, +B_DC/DC1 should have 12 V battery voltage. +B_DC/DC2 should also have 12 V battery voltage. The ground open-wire check should be less than 1 Ω. If any of those are abnormal, there is a problem in that circuit. If the power supply inspection is abnormal, continue with the additional power supply inspection to locate the failure instead of condemning the converter too early.
Check the output circuit side
For the DC-DC converter output circuit inspection, first check whether any aftermarket parts are connected to the DCDC_OUT1 or DCDC_OUT2 circuits. Use this inspection only with the external circuit confirmed normal. Turn the vehicle to ON mode, then confirm the HDS values for DC-DC Converter Output Error 1 and Output Error 2. Normal means both values are Normal. If those output error values are abnormal, there is a problem with the DC-DC converter output circuit. If the DC-DC converter output circuit is normal, replace the DC-DC converter. This output-circuit inspection can be used early because it includes the listed inspection items, but if it fails, continue through the individual inspections to find exactly which item failed.
Check the internal-circuit logic
For the internal-circuit inspection, again make sure the external circuit is normal first. Turn the vehicle to ON mode and look at the HDS parameters for DC-DC Converter Cst Error, Input Error 1, Input Error 2, Output Error 1, and Output Error 2. The normal condition is all of those values reading Normal. Because there is no direct standalone test for the component itself, this part of the diagnosis works by checking the related components and interpreting the scan data. If the inspection result is normal, there is a problem with the DC-DC converter. If it is abnormal, there is a problem with other related components.
Use a known-good converter when required
If the diagnosis calls for a direct converter check, install a known-good DC-DC converter and try to reproduce the failure. Since there is no direct method to test that inspection item by itself, this comparison is the test. If the failure is reproduced, the problem is with other related components. If the symptom or DTC goes away, the DC-DC converter must be faulty.
Final PCM judgment and verification
Only after the other inspection items have indicated a normal condition do you move to the PCM judgment. At that point, the remaining PCM is determined to be the cause. Keep verification separate from the circuit and component testing: after the indicated repair is complete, verify the repair and confirm P0A94 stays gone. The takeaway is simple: let the HDS data choose the path, prove the power, ground, status, and output circuits first, and do not call the converter or PCM until the surrounding checks support it. For more diagnostic training, visit stepdiagnostics.com.
Final check
P0A94 is best approached by using scan data to choose the path, then proving the DC-DC converter circuits before making a component judgment.
For more guided automotive diagnostics, visit STEP Diagnostics.