What this code means
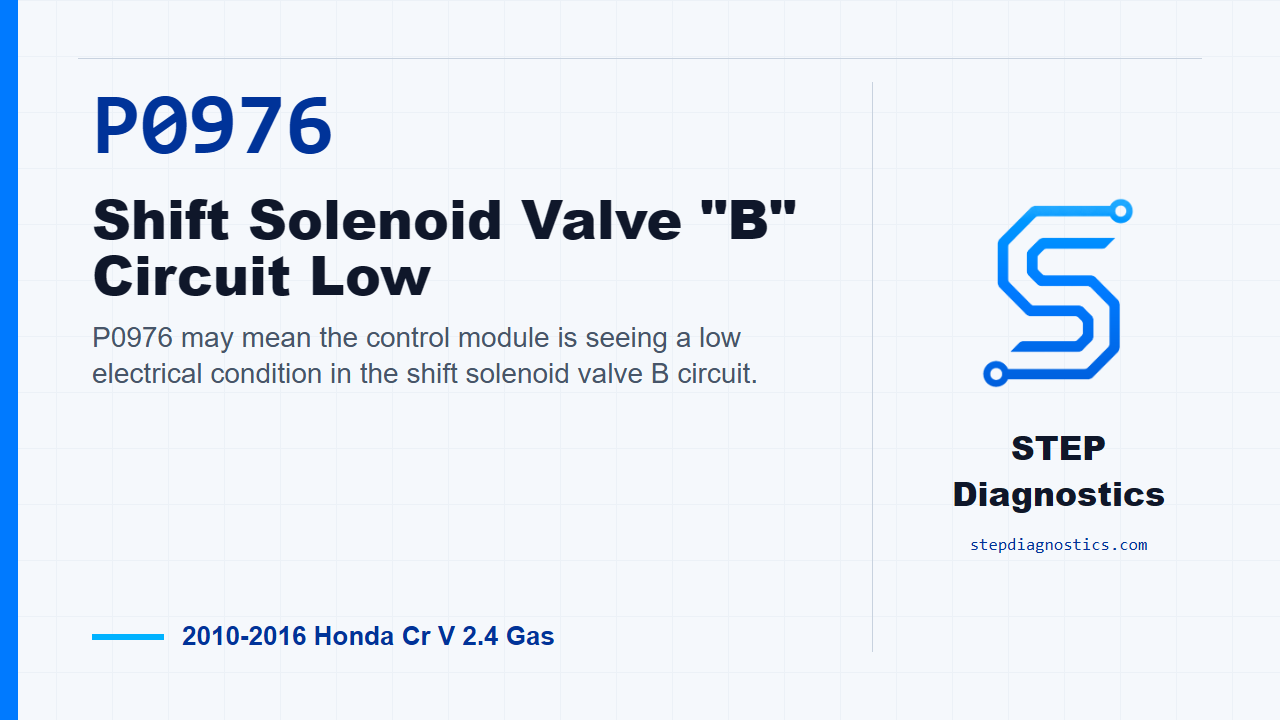
P0976 may mean the control module is seeing a low electrical condition in the shift solenoid valve B circuit.
What the vehicle may do
- The vehicle may have abnormal or harsh shifting.
- A warning light may be present.
- The transmission may not shift as smoothly as normal.
Possible fault areas
- Possible circuit or connector issues around shift solenoid valve B.
- Possible power feed or ground-side wiring concerns.
- Possible solenoid or control-module-side electrical concerns.
Diagnostic path
Opening context
P0976 on this Honda CR-V points to a low electrical condition in the shift solenoid valve B circuit, as seen by the ECM/PCM. The driver may notice abnormal shifting, a warning light, or the transmission may not feel like it is applying shifts normally. The broad areas to keep in mind are the solenoid circuit, power supply, wiring to ground, connector condition, the solenoid itself, and the PCM control side. Before getting deep into testing, start with the basic system checks. Also keep the diagnosis focused: this code is an electrical circuit problem, not a mechanical failure inside the transmission.
Verify the fault first
Start by duplicating the problem. Turn the vehicle to the ON mode, clear the code with the HDS, then start the engine and let it reach normal operating temperature, where the radiator fan comes on twice. Road test it in D position or D mode on a flat road at speeds about 37 mph (60 km/h) for at least 10 seconds. Then check the HDS for pending or confirmed P0976. If P0976 comes back, the failure is duplicated and you move into circuit testing. If it does not come back, treat it as intermittent for now. The system is OK at this time, so inspect for poor connections or loose terminals in the shift solenoid valve B circuit, and try to reproduce the captured operating conditions instead of guessing.
Check the IG1 FI-ECU power feed
Next, check the IG1 FI-ECU line. Turn the vehicle to OFF, jump the SCS line with the HDS, and wait more than 1 minute. Disconnect PCM connector A, the 51-pin connector. Turn the vehicle back to ON, and measure voltage from PCM connector A terminal No. 11 to body ground with connector A disconnected. You are looking for battery voltage. If battery voltage is present, the IG1 FI-ECU wire is OK, so continue to the solenoid circuit resistance check. If battery voltage is not present, check the No. B7 (7.5 A) fuse in the under-dash fuse and relay box. If the fuse is blown, replace it. If it blows again, repair the short in that fuse circuit. If the fuse is OK, repair the open in the IG1 FI-ECU wire between the PCM and the under-dash fuse and relay box.
Check shift solenoid valve B resistance from the PCM side
With the power feed checked, move to the shift solenoid valve B circuit check. Turn the vehicle OFF, jump the SCS line with the HDS, and wait more than 1 minute. Disconnect PCM connector C, the 51-pin connector. Measure resistance from PCM connector C terminal No. 19 to body ground with connector C disconnected. The expected resistance is 10.6-13.5 Ω. If the reading is in that range, shift solenoid valve B checks OK from this point in the circuit. At that point, update the PCM if it does not have the latest software, or substitute a known-good PCM, then recheck. If P0976 goes away after the PCM update, troubleshooting is complete. If P0976 goes away with the known-good PCM installed, replace the original PCM. If the resistance is not 10.6-13.5 Ω, keep going and isolate the short path.
Check the SOL B wire for a short to ground
Now isolate the SOL B line. Disconnect solenoid wire harness A, the 8-pin connector. With the vehicle OFF, solenoid wire harness A disconnected, and PCM connector C still disconnected, check continuity from PCM connector C terminal No. 19 to body ground. If there is continuity, repair the short to body ground in the SOL B wire between solenoid wire harness A and the PCM. If there is no continuity, the short is not on that section of the line, so move to the solenoid-side resistance check.
Check shift solenoid valve B internally
For the last circuit split, disconnect the shift solenoid valve B 2-pin connector. With solenoid wire harness A disconnected and the shift solenoid valve B connector disconnected, measure resistance from shift solenoid valve B connector terminal No. 1 to body ground. The expected value is again 10.6-13.5 Ω. If the resistance is in range, the solenoid itself is OK, so repair the short to body ground in the SHB+ wire between solenoid wire harness A and shift solenoid valve B. If the resistance is not in range, the fault is shift solenoid valve B, and the supported repair is to replace the lower valve body.
Verify the repair and closing takeaway
Keep verification separate from the circuit testing. After the repair path you followed is complete, recheck P0976 using the same kind of verification routine: clear the code, run the vehicle under the required operating conditions, and confirm the code stays gone. The takeaway is simple: do not treat P0976 like a transmission mechanical problem. Prove the power feed, prove the solenoid circuit resistance, isolate any short to ground, and only then make the repair the test path supports. For more diagnostic training, visit stepdiagnostics.com.
Final check
P0976 is best approached as an electrical circuit diagnosis, where each test narrows the fault area before any repair decision is made.
For more guided automotive diagnostics, visit STEP Diagnostics.