What this code means
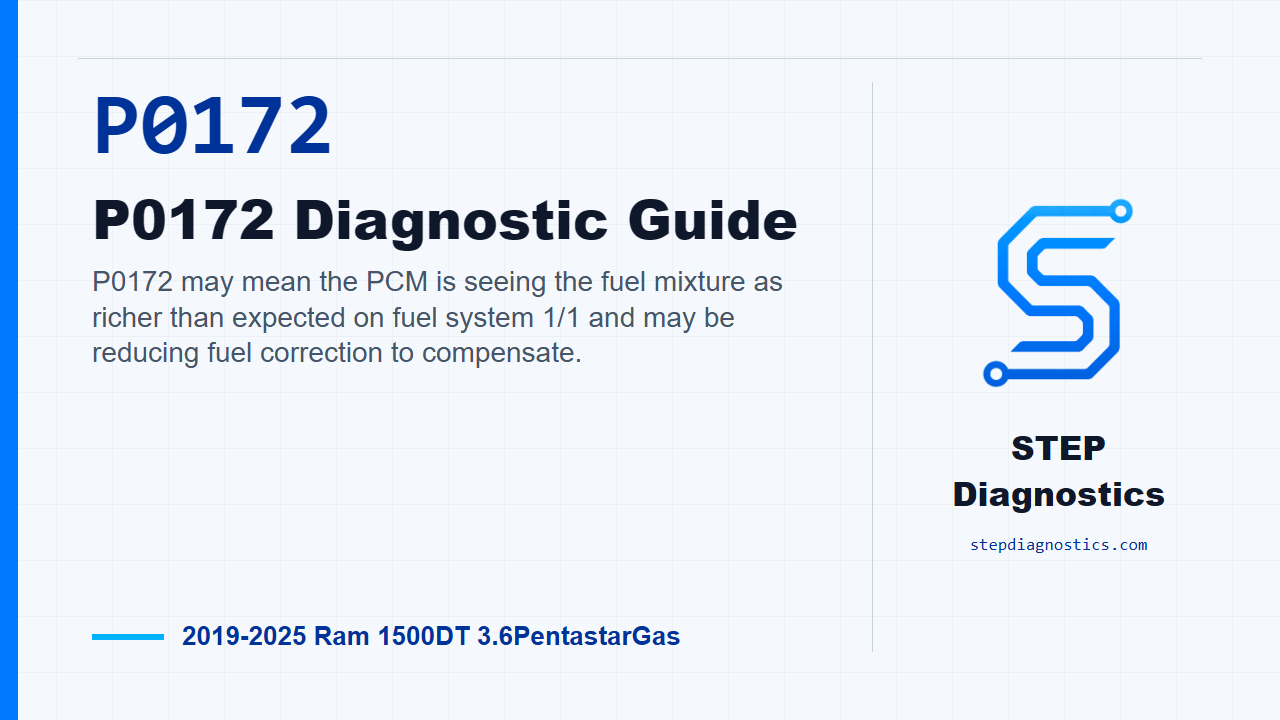
P0172 may mean the PCM is seeing the fuel mixture as richer than expected on fuel system 1/1 and may be reducing fuel correction to compensate.
What the vehicle may do
- The MIL may illuminate.
- The vehicle may have a fuel smell, rough running, reduced fuel economy, or other driveability symptoms.
- If equipped, stop/start can be disabled while this DTC is active.
Possible fault areas
- Possible fuel delivery or fuel quality concerns
- Possible injector leakage
- Possible purge solenoid leakage
- Possible intake or exhaust restriction
- Possible MAP sensor input concern
- Possible EGR internal leakage influence on fuel correction data fieldsafecard digits remaining 7845We need final only strict JSON. I accidentally included schema format and weird
Diagnostic path
Open on what P0172 means
On this Ram 1500 with the 3.6 Pentastar, P0172 is a rich fuel system fault for fuel system 1/1. In plain terms, the PCM may be seeing the mixture richer than expected and may be pulling fuel correction to compensate. This kind of rich-condition diagnostic matters because it can cause vehicle emissions to exceed 1.5 times any of the standards. The driver may notice a MIL, possible fuel smell, rough running, poor fuel economy, or the stop/start system may be disabled while the code is active. The broad fault areas can include fuel delivery or fuel quality, injector leakage, purge flow, restricted air or exhaust flow, MAP sensor input, EGR leakage, oxygen sensor wiring or sensor feedback, and in the final part of the path, the PCM itself. Start with the basic system checks and follow a structured diagnostic approach before getting deep into parts testing.
Understand the monitor logic
Before testing, keep the monitor gate separate from the fault testing. This diagnostic runs in closed-loop fuel control, with battery voltage above 11.0 volts, barometric pressure greater than 75 kPa, ambient temperature above -7°C (20°F), fuel level greater than 12%, and the other monitor gates satisfied. The failure logic is based on fuel correction: when the sum of short term and long term fuel corrections is less than a calibrated threshold, generally 67%, with 100% being nominal, the fail timer increments. After 30 seconds of fail time, the diagnostic fails.
Confirm the code is current
First, use the scan tool to read codes in all ECUs and record the data. Save the scan report and the related recorded data so you know what conditions were present. Then erase the codes, turn the ignition off for a minimum of 10.0 seconds, turn it back on, and operate the vehicle under the same type of conditions that set the code. Read codes again. If P0172 does not return, treat it as an intermittent condition. If it does return, keep going.
Check for other fuel or air handling concerns first
Next, look at the recorded codes. If any fuel or air handling system codes are active or pending, handle those concerns first. This rich fault can be caused by an oxygen sensor or wiring issue, but this path points you toward mechanical, fuel, or air handling problems before condemning the sensor side. If there are no other active or pending fuel or air handling concerns, continue with the rich-code path.
Check exhaust flow, then MAP operation
Start the engine and check for good exhaust flow at the tailpipe. Also inspect the exhaust system for damage that could create a restriction. If you find a restriction, make the appropriate repair and verify the repair. If exhaust flow checks out, move to MAP sensor operation and perform the MAP operation test. If that test finds a problem, repair it as needed and verify the repair. If not, keep moving down the path.
Test purge solenoid sealing
Now check the purge solenoid. Turn the ignition off, disconnect the hoses at the purge solenoid, and apply 5.0 in. Hg. to the ENGINE side of the solenoid with a hand vacuum pump. The solenoid should hold vacuum for a minimum of 15 seconds. If it does hold, reconnect the vacuum hoses and continue. If it does not hold, check the purge solenoid and PCM connector terminal contact first. If the connector contact is good, replacing the purge solenoid is supported by this path. After that, verify the repair and confirm the code stays gone.
Check fuel delivery, then pause at the unclear branch before mechanical checks
Next is the fuel delivery system test. If that test finds a problem, make the appropriate repair and verify the repair. If it does not, the next listed diagnostic area is engine mechanical, but the route into that step is not clearly defined. Do not guess your way through the branch. Pause, recheck the earlier diagnostic path, and make sure the diagnostic decision you are following is valid. When engine mechanical checks are being evaluated, the concerns named here are intake restriction, valve timing, compression, fuel contamination, and suspected injector leakage or abnormal spray pattern. For a suspected injector issue, remove the fuel rail with the injectors intact, energize the fuel pump to maintain rail pressure, check for leakage before actuating the suspect injector, then actuate it with the scan tool and compare the spray pattern to the others.
Check EGR influence on fuel correction
The next check is EGR operation. Turn the ignition off and block EGR flow to the engine. Turn the ignition on and monitor short term adaptive, then start the engine, let it idle, and monitor short term adaptive for up to five minutes. If short term adaptive increases with EGR flow blocked, replacing the EGR valve is supported by this path, followed by repair verification. If it does not increase, continue to the upstream oxygen sensor wiring check.
Check the 1/1 upstream oxygen sensor wiring carefully
Before going after the oxygen sensor circuit, remember the earlier caution: poor engine performance, fuel, or air handling issues are more likely on this fault, so those concerns need to be addressed first. For the wiring test, disconnect the upstream oxygen sensor connector and the PCM C2 connector. Do not probe the PCM harness connector directly. Probing it can damage the PCM terminals and create a poor terminal-to-pin connection. Use the GPEC Diagnostic Adapter 10436 when a PCM terminal has to be accessed. Check the upstream oxygen sensor circuits for a short to ground, and for an open or high resistance between the oxygen sensor connector and the PCM C2 connector. If wiring problems are found, repair them and verify the repair. If wiring checks good, continue.
Replace the upstream oxygen sensor only after the prior checks pass
At this point in the path, replacing the Bank 1 upstream oxygen sensor is supported. Replace the 1/1 upstream oxygen sensor, reconnect the oxygen sensor and PCM connectors, turn the ignition on, erase the codes, and operate the vehicle under the captured conditions or the monitor conditions that set P0172. If the code does not return, the oxygen sensor replacement repaired the fault. If P0172 does return, keep going to connection checks.
Inspect related connections before PCM replacement
For the final connection check, disconnect all PCM connectors, any related in-line connectors if equipped, and the related component connectors. Inspect connector fit, locks, corrosion, water intrusion, weather seals, bent terminals, overheated or discolored terminals, pushed-back terminals, spread terminals, and terminal tension. Repair anything you find. Then reconnect the PCM, in-line, and component connectors, making sure they are fully seated and the locks are engaged. Erase the codes, test drive or operate the vehicle under the monitor conditions, and read codes again. If P0172 does not return, the wiring or poor connection issue has been repaired. If it does return after this point, replacing and programming the PCM is supported by this diagnostic path.
Verify the repair
Keep verification separate from category testing. After any repair, run the vehicle back through the conditions that allowed the monitor to run, then confirm P0172 stays gone and the MIL does not come back for this fault. The takeaway is simple: do not jump straight to the oxygen sensor on a rich code. Confirm the code, rule out fuel and air handling causes, check purge, exhaust, MAP, fuel delivery, engine mechanical concerns, EGR influence, and wiring before the final sensor and PCM decisions. For more diagnostic training, visit stepdiagnostics.com.
Final check
P0172 is often...
For more guided automotive diagnostics, visit STEP Diagnostics.