What this code means
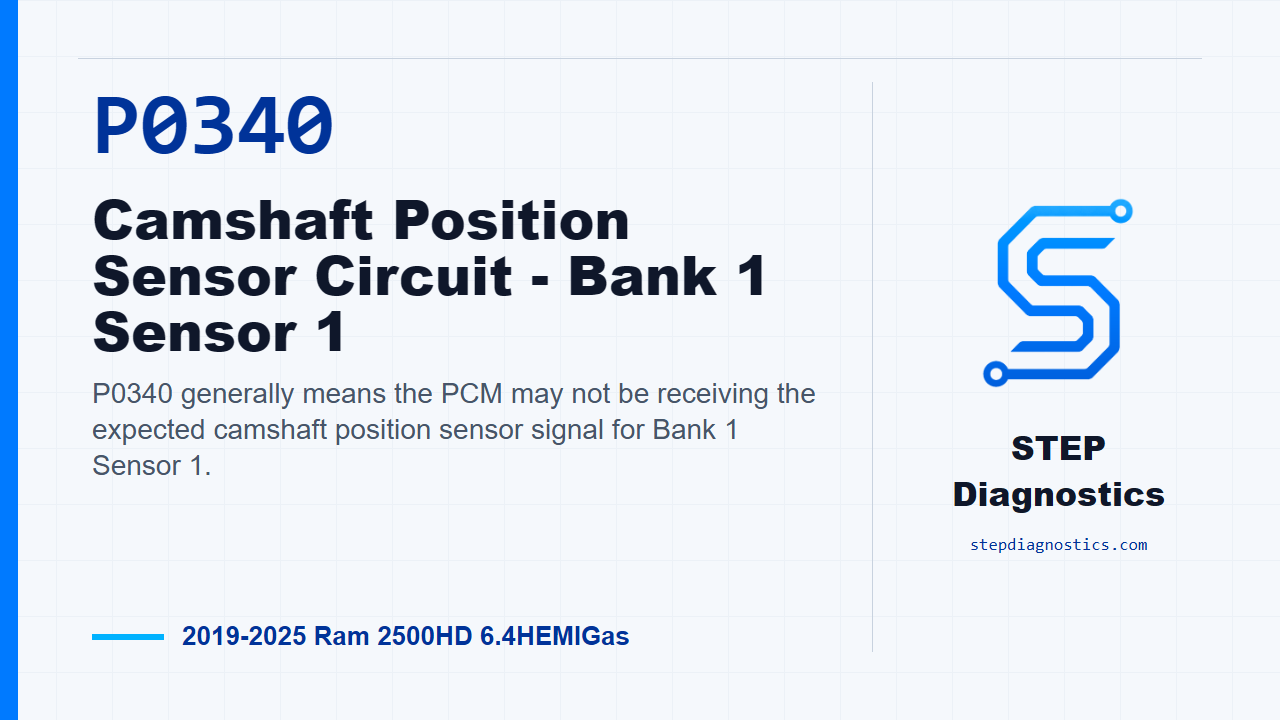
P0340 generally means the PCM may not be receiving the expected camshaft position sensor signal for Bank 1 Sensor 1.
What the vehicle may do
- The MIL may illuminate.
- The engine may still start, but starting can be slightly delayed while the PCM establishes engine position.
- The concern may be intermittent if the signal drops out only under certain conditions.
Possible fault areas
- Possible oil level, oil condition, or oiling system concerns that can affect cam phaser operation.
- Possible 5-volt supply, signal circuit, or sensor ground circuit problems.
- Possible connector, terminal, harness, or poor connection concerns at the cam sensor or PCM.
- Possible cam sensor mounting, debris, sensor damage, or target wheel concerns.
- Possible camshaft position sensor or PCM involvement after the required checks pass.
Diagnostic path
Opening and fault logic
On this Ram 2500HD with the 6.4 HEMI gas engine, P0340 is a camshaft position sensor circuit fault for Bank 1 Sensor 1. In plain terms, the PCM may not be seeing the cam signal it expects. The truck may still start, but it can have a slight delay while the PCM sorts out engine position from the remaining input, and the MIL can turn on. Broadly, this can be an oiling issue that affects cam phaser operation, a 5-volt supply, signal, or ground circuit problem, a connector or terminal issue, a sensor mounting or target wheel issue, the cam sensor itself, or in the end, a PCM concern. Treat the run conditions as monitor gates: this diagnostic runs continuously when battery voltage is above approximately 11.0 volts, and it runs while cranking and while the engine is running. The code sets if, during cranking, at least 2.5 seconds have elapsed with a crankshaft position signal present but no camshaft position signal. It can also set with the engine running if the camshaft position sensor signal is lost for at least 0.15 seconds while the crankshaft position signal is present.
Start with the basics and confirm the fault
Before getting deep into circuit testing, start with the basic system checks and follow a structured diagnostic approach. First, check for any service bulletins or PCM flash updates that apply to this code. If one applies, perform that repair, then verify the repair and confirm the code stays gone. If there are no applicable updates, pull codes from all electronic control units, record the code and environmental data, save the scan report, then erase the codes. Turn the ignition off for a minimum of 10.0 seconds, turn the ignition back on, and operate the vehicle under the same kind of captured conditions that set the fault. Then read codes again and see if P0340 returned.
If the code returns, clear the shared-circuit and oil checks first
If P0340 returns during the recheck, look at the recorded codes before going further. If any 5-volt reference codes are active or pending, diagnose those first, because a shared reference problem can mislead this test. If there are no active or pending 5-volt reference codes, check the engine oil level and condition before continuing. Look for low oil level, contaminated, dirty, aerated, or deteriorated oil, incorrect viscosity, oil pressure out of specification, or an oil filter that does not meet the required specification. Oiling problems can affect cam phaser operation and can lead you into a wrong diagnosis if they are skipped. If an oil or oiling issue is found, repair it as needed. If the oil level was low, top it off to the proper specification, start the engine and let it idle for 2 - 3 minutes, shut the engine off, turn the ignition on, erase the code, then start and drive the vehicle to verify the repair. If the code stays gone, that repair is complete. If it comes back, move into the cam sensor circuit testing.
If the code does not return, treat it like an intermittent
If P0340 does not return during the recheck, handle it like an intermittent signal loss. Turn the ignition off, disconnect the PCM and cam sensor connectors, and inspect the harness and terminals closely. Look for chafing, rub-through, pushed-out terminals, bent terminals, water, corrosion, and poor connector condition. Also inspect the cam sensor mounting area for debris, damage, or a loose sensor. Remove the cam sensor, inspect the sensor end for damage or debris, rotate the engine, and if possible inspect the target wheel for damage. Reinstall the cam sensor and make sure it is properly installed and torqued to the proper specification. If anything is found, repair it and verify the repair. If nothing is found, check whether the vehicle had a cam sensor related fault within the past 90 days. If it did, replace the cam sensor, perform the Cam/Crank Relearn with the scan tool, then verify the repair. If it did not, reconnect the harnesses and erase the code. For this intermittent path, a poor connection at one of the harness connectors is the likely explanation, so confirm the code does not return and verify the repair.
Check the 5-volt supply, then isolate the signal circuit
On the hard-fault path, start at the cam sensor feed. Turn the ignition off, disconnect the CMP harness connector, turn the ignition on, and measure the 5-Volt Supply circuit. It should be between 4.8 and 5.2 volts. If it is not in that range, repair the 5-Volt Supply circuit for an open or short, then verify the repair. If the 5-volt supply is correct, isolate the CMP signal circuit and check it for a short to another circuit at the PCM harness connector. Turn the ignition off, disconnect the PCM harness connector and every component that contains the signal circuit, while leaving in-line connectors connected. Use the circuit path to guide the isolation, connect the GPEC Diagnostic 10436 adapter to the proper PCM harness connector, put one DVOM lead on the signal circuit, and probe the other circuits at that connector with the other lead. With the circuit isolated, there should be no continuity between the signal circuit and any other circuit. If there is continuity, repair the short between the circuits that show continuity, then verify the repair. If there is no continuity, continue with the signal circuit ground check.
Test signal and ground circuit integrity
Next, check the CMP signal circuit for a short to ground. With the ignition off, disconnect the CMP harness connector and PCM harness connector, then check continuity between ground and the signal circuit at the CMP connector. If there is continuity, repair the signal circuit short to ground and verify the repair. If there is no continuity, check the CMP signal circuit for an open or high resistance. Do not probe the PCM harness connector directly, because that can damage the PCM terminals and create a poor terminal-to-pin connection. Use the GPEC Diagnostic adapter. Measure resistance in the signal circuit between the CMP connector and the PCM connector. The resistance should be below 3.0 Ohms. The GPEC Diagnostic Adapter can add up to 1.5 Ohms of resistance to the circuit, so keep that in mind while evaluating the reading. If the signal circuit is not below 3.0 Ohms, repair the signal circuit for an open or high resistance and verify the repair. If the signal circuit passes, check the CMP ground circuit the same way between the CMP connector and PCM connector. The ground circuit resistance should also be below 3.0 Ohms. If it is not, repair the ground circuit for an open or high resistance and verify the repair.
Inspect the mounting and target wheel before condemning parts
If the power, signal, and ground circuits pass, move back to the sensor’s physical relationship to the engine. Disconnect the battery ground cable, remove the CMP sensor, and inspect the sensor mounting location for damage or foreign material. Rotate the engine and, if possible, inspect the target wheel for damage. If you find a mounting problem, repair the mounting issue. If the tone wheel or pulse ring is loose or damaged, repair or replace it as necessary. After that kind of repair, perform the Cam/Crank Relearn with the scan tool and verify the repair. If no problem is found at the mounting area or target wheel, inspect the wiring and connectors between the camshaft position sensor and PCM for chafed, pierced, pinched, or partially broken wires, and for broken, bent, pushed-out, or corroded terminals. Then replace the camshaft position sensor, perform the Cam/Crank Relearn with the scan tool, turn the ignition on, erase the codes, and start the engine or crank the engine for ten seconds. If P0340 does not return, the cam sensor repair fixed the fault, and you still finish by verifying the repair.
Final connection check and repair verification
If P0340 returns after the cam sensor replacement and relearn, check the related PCM and component connections before moving further. Perform any applicable service bulletins. Disconnect the PCM connectors, related in-line connectors if equipped, and related component connectors. Inspect connector installation, locks, corrosion, water intrusion, weather seals, bent terminals, overheating from poor connection, pushed-back terminals, spread terminals, and terminal tension. Repair any conditions found, reconnect everything fully, make sure the locks are engaged, erase the codes, and operate the vehicle under the monitor conditions. If P0340 does not return, the wiring or poor connection problem has been repaired. If it does return after these checks, replace and program the PCM, then verify the repair. The takeaway here is simple: confirm the fault, rule out shared 5-volt and oiling issues, prove the CMP power, signal, and ground circuits, inspect the sensor-to-target relationship, and keep repair verification separate from the testing. For more diagnostic training, visit stepdiagnostics.com.
Final check
P0340 is often best approached by confirming the fault, checking shared power and oil-related influences, proving the sensor circuits, and then inspecting the sensor and target relationship before any
For more guided automotive diagnostics, visit STEP Diagnostics.