What this code means
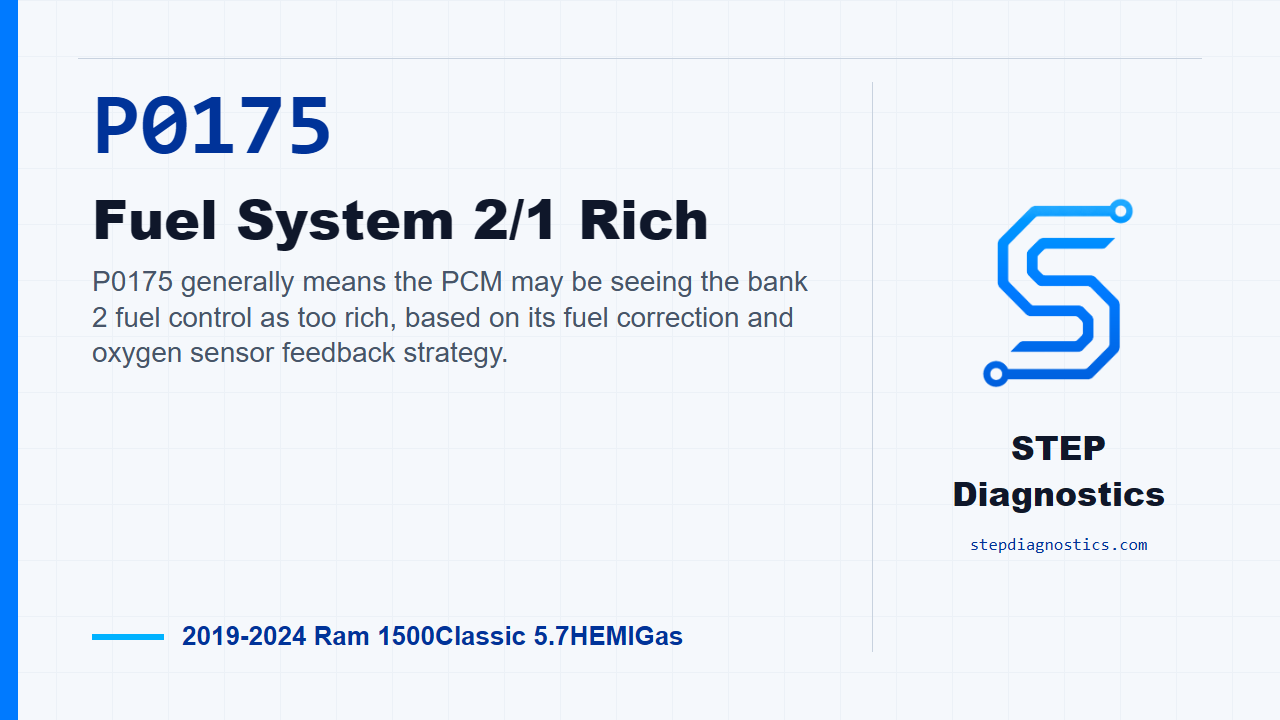
P0175 generally means the PCM may be seeing the bank 2 fuel control as too rich, based on its fuel correction and oxygen sensor feedback strategy.
What the vehicle may do
- The vehicle may have the MIL on.
- It may run rough or feel heavy under some conditions.
- Fuel economy may be reduced.
- The vehicle can also seem to drive normally even with the code stored.
Possible fault areas
- Possible air handling concerns
- Possible fuel delivery concerns
- Possible purge system concerns
- Possible oxygen sensor feedback or wiring concerns
- Possible engine mechanical concerns
- Possible PCM-related concern after other checks pass
Diagnostic path
Opening context
On this 2019 to 2024 Ram 1500 Classic with the 5.7 HEMI gas engine, P0175 means the PCM is seeing Fuel System 2/1 rich. In plain terms, that bank may be getting more fuel than the PCM expects, or the oxygen feedback may be reporting it that way. The truck may run rough, have reduced fuel economy, or show a check engine light, but it can also feel fairly normal. Broadly, this can involve air handling, fuel delivery, purge operation, oxygen sensor feedback, wiring, engine mechanical condition, or in rare cases PCM control. This monitor is watching a rich condition that could push emissions to 1.5 times any of the standards. It runs in closed loop with ambient or battery temperature above -6.7°C (20°F), and altitude below 2590.8 m (8500 ft). The code sets when the PCM fuel calculation stays below its calibrated rich limit for 30 seconds.
Confirm the fault and handle related concerns first
Start with the basic system checks, then start the engine and operate or road test the vehicle so you can reproduce the operating conditions. Use the scan tool to read and record the codes. If P0175 is active or pending, continue with this diagnostic path. If it is not active or pending, treat it as an intermittent condition and do not force a hard-fault diagnosis that is not there. Next, look for other fuel system, air handling, oxygen sensor, MAP sensor, injector, ignition, or drivability concerns. This rich code can be caused by an oxygen sensor or wiring issue, but this path treats mechanical, fuel, and air handling problems as more likely. If those other concerns are present, diagnose and repair them before continuing with the P0175 path.
Check exhaust flow, MAP operation, and purge sealing
If P0175 is the concern you are chasing, check the exhaust system next. Start the engine, make sure there is good flow at the tailpipe, and visually inspect for damage that could create a restriction. If you find a restriction, repair that concern and then verify the repair and confirm the code stays gone. If exhaust flow looks good, check MAP sensor operation using the MAP sensor operation test. If that test finds a problem, repair as needed and verify the repair. If the MAP test passes, move to the purge solenoid. Turn the ignition off, disconnect the hoses at the purge solenoid, and apply 5.0 in. Hg. to the ENGINE side of the solenoid with a hand vacuum pump. The solenoid should hold vacuum for a minimum of 15 seconds. If it holds, reconnect the vacuum hoses before continuing. If it does not hold, verify good pin-to-terminal contact at the evap purge solenoid and PCM connectors. If the connector contact checks out, replace the purge solenoid, then verify the repair and confirm the code stays gone.
Check fuel delivery and engine mechanical condition
After purge operation passes, check the fuel delivery system using the fuel delivery test. If that test finds a problem, repair the fuel delivery concern and verify the repair. If no fuel delivery problem is found, check engine mechanical operation. Keep the air induction system free from restrictions, confirm valve timing and compression are within specification, and make sure the fuel is not contaminated. If an injector is suspected of leaking or having an abnormal spray pattern, remove the fuel rail with the injectors intact, energize the fuel pump to maintain rail pressure, and check for leakage before actuating the suspect injector. Then actuate the suspect injector or injectors with the scan tool, inspect the spray pattern, and compare it with the others. If a mechanical or injector-related problem is found, repair it and verify the repair. If no mechanical problem is found, continue to the upstream oxygen sensor side of the diagnosis.
Check upstream oxygen sensor wiring and sensor operation
Now move into the upstream oxygen sensor wiring checks. Again, if the vehicle still has fuel, air handling, or drivability problems that have not been handled, stop and fix those first. Disconnect the upstream oxygen sensor connector and the PCM C2 connector. Do not probe the PCM harness connectors. Probing those connectors can damage the PCM terminals and create a poor terminal-to-pin connection. Use the GPEC Diagnostic Adaptor, 10436, for this diagnosis. Check the upstream oxygen sensor circuits between the oxygen sensor connector and PCM C2 for a short to ground, an open, or high resistance. If wiring problems are found, repair them and verify the repair. If the wiring checks good, perform the oxygen sensor operation test. If that test finds a problem, repair as needed and verify the repair. If no problem is found, continue to the connector inspection.
Inspect related connections and make the final call
For the final harness check, disconnect all PCM harness connectors, any related in-line connectors if equipped, and the related component connectors. Inspect the harness and component connectors, along with the male and female terminals, for poor installation, damaged locks, corrosion, signs of water intrusion, damaged weather seals, bent terminals, discoloration from overheating, pushed-back terminals, spread terminals, and poor terminal tension. Repair any conditions you find. Then reconnect the PCM connectors, in-line connectors, and component connectors, making sure everything is fully seated and locked. Clear the codes, operate or road test the vehicle under the operating conditions, and read the codes again. If P0175 does not return, the wiring or poor connection problem has been repaired. If P0175 does return after this path has been completed, the diagnostic path calls for replacing and programming the PCM, followed by repair verification.
Close
The key with P0175 is not to jump straight at the oxygen sensor. Confirm the code is active, handle other fuel and air handling concerns first, then work through exhaust flow, MAP operation, purge sealing, fuel delivery, mechanical checks, oxygen sensor wiring, oxygen sensor operation, and connector integrity in order. Verify the repair separately and make sure the code stays gone. For more diagnostic training, visit stepdiagnostics.com.
Final check
Work the rich condition in order and prove the basics before condemning a sensor or control module.
For more guided automotive diagnostics, visit STEP Diagnostics.