What this code means
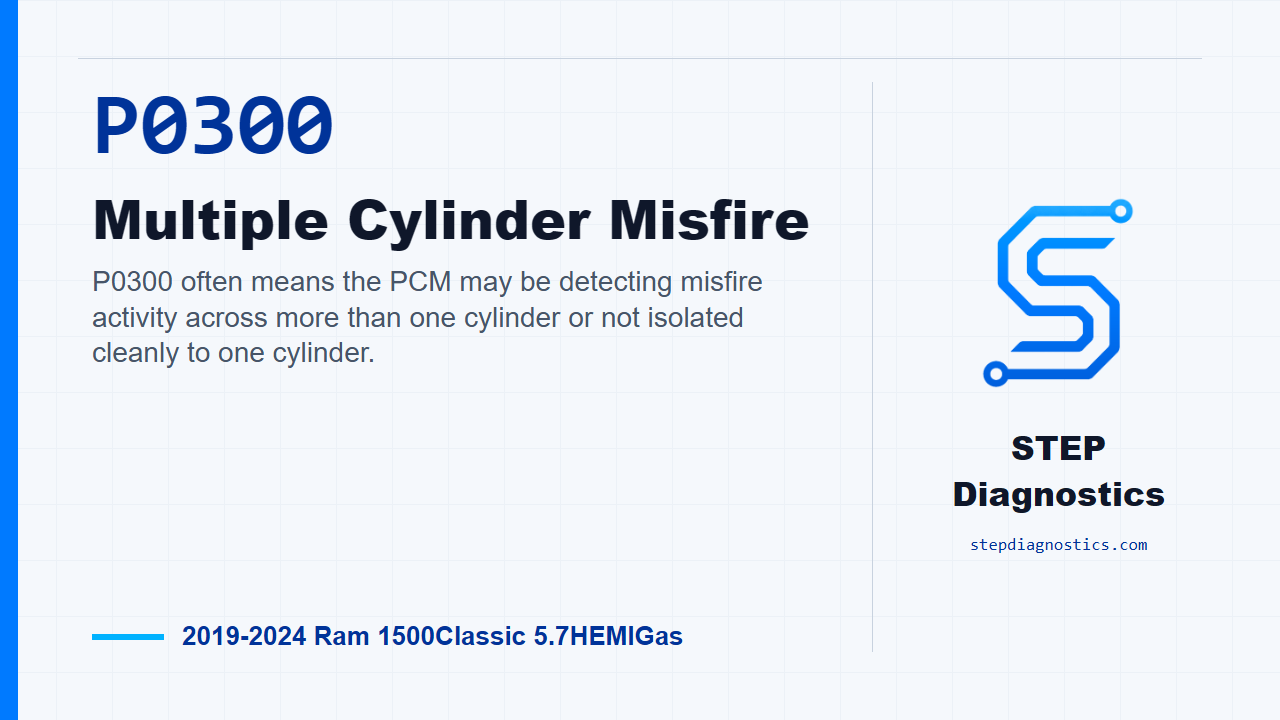
P0300 often means the PCM may be detecting misfire activity across more than one cylinder or not isolated cleanly to one cylinder.
What the vehicle may do
- The engine may run rough, hesitate, or feel down on power.
- The MIL may illuminate or flash during a more severe misfire.
- If equipped, stop/start may be disabled while this code is active.
Possible fault areas
- Possible fuel quality, fuel delivery, or injector faults.
- Possible ignition coil or spark plug faults.
- Possible intake leak, intake restriction, or exhaust restriction.
- Possible oiling, cam timing, carbon, compression, valvetrain, or internal engine concerns.
- Possible wiring, connector, crankshaft speed sensing, or PCM-related concerns.
Diagnostic path
Open on what P0300 means
On this Ram 1500 Classic with the 5.7 HEMI, P0300 is a multiple-cylinder misfire code. The PCM may be seeing uneven crankshaft speed, not just one clean cylinder fault. The truck may run rough, lose power, flash the MIL under a severe misfire, or disable stop/start while the code is active. Broadly, think fuel quality or delivery, ignition, air leaks, exhaust restriction, oil pressure or cam timing control, injector issues, carbon, compression, valvetrain, coolant getting into a cylinder, wiring, or the PCM. The job is to narrow that down without guessing.
Know when the misfire monitor can run
Before chasing the fault, keep the monitor gates in mind. This misfire monitor runs with fuel level above 12%, battery voltage above 10.9 volts, ambient temperature above -23°C (-9.4°F), and coolant temperature at engine start above -7°C (19.4°F). If the start engine temperature is below threshold, the monitor is enabled when engine temperature reaches 21°C (69.8°F). Engine speed also needs to be between approximately 400 rpm and 6200 rpm. Treat these as enable conditions, not as causes by themselves.
Confirm the misfire is active
Start with the basic system checks, then turn the ignition on and pull every stored and pending code with the scan tool. Save the captured operating data. Then drive the truck under those same conditions and watch when the misfire shows up. While it is acting up, watch the downstream O2 sensors and the misfire monitor so you know which cylinders are being counted. If there are no excessive misfires happening now, treat this as an intermittent condition instead of forcing the rest of the path.
Handle other active clues first
If other active or pending codes point at fuel, ignition, air handling, variable valve timing, or valve lift, work those first. If those areas do not have active or pending codes, continue with the P0300 path. Remember, anything that changes crankshaft speed can set this code, and a misfire count is not always proof that a single component has failed.
Do the broad inspection before testing parts
Now make the visual and mechanical checks. Look for belt wear, pulley misalignment or binding accessories, poor sensor mounting, connector or terminal problems at the crank, cam, MAP, throttle body, injectors, coils, and PCM power or grounds. Also check for vacuum leaks, intake or exhaust restriction, internal engine problems, moisture on ignition parts, insufficient or poor fuel, and operating load issues like bogging or towing overload. If you find a real problem here, repair it and verify the repair before moving deeper.
Check oil condition and oil pressure
Next, shut the ignition off and check the oiling side. Low oil, aerated oil, dirty or contaminated oil, the wrong filter, or the wrong viscosity can affect cam control and valve operation. If any of that is present, correct the oiling or mechanical condition and verify the repair. If the oil looks right, check oil pressure with the proper adapter and gauge at the oil filter cap, or use the scan tool reading if the adapter is not available. Let the engine idle and confirm the reading is stable and above 14.0 psi. If oil pressure is below 14 psi or is oscillating heavily, cam phaser movement can be delayed enough to cause a misfire.
Check airflow, exhaust, and fuel quality
With oil pressure passing, move to breathing and fuel. Inspect the intake plumbing for restriction, check the air filter for heavy debris, and check the engine for vacuum leaks. A vacuum leak can affect one cylinder or several, depending on where it is. Then inspect the exhaust for physical damage that could restrict flow, idle the engine, and check flow at the tailpipe. After that, check the fuel for water, wrong fuel type, old or contaminated fuel, or low fuel, and check the ethanol level. If the fuel is bad, replace the fuel and flush or clean the fuel system if needed, then verify the repair.
Check fuel delivery and injector balance logic
If fuel quality is okay, move into fuel delivery. A base fuel pressure problem that is too high or too low tends to affect multiple cylinders and usually shows up through most operating conditions. Once base delivery passes, check the injectors on the cylinders that were actually misfiring. Bring fuel pressure up, command those injectors with the scan tool, and compare the pressure drop against two or three known-good cylinders. Cycle the ignition if needed to build maximum rail pressure. After each injector actuation, start the engine to clear fuel from the cylinder; skipping that can damage the engine. If a misfiring cylinder has too little pressure drop, check for debris in the rail or injector. If the drop is too large, suspect a fouled or faulty injector, then verify after repair.
Check spark, plugs, and compression
If the injector pressure drop matches the known-good cylinders, move to ignition. Pull the coils from the misfiring cylinders, reconnect the coil harness, disconnect that cylinder’s fuel injector, install a spark tester, and crank the engine. You want a crisp blue spark that can jump the tester gap. If spark is good, inspect the spark plugs for oil or coolant signs, cracks, carbon tracking, fouling from oil, coolant, or excess fuel, gap out of spec, or a loose or broken electrode. If those faults are present, replace the affected spark plug, and if oil or coolant is in the cylinder, find and repair that cause. If the plugs do not show the listed faults, run a compression test on all cylinders and compare good cylinders to the misfiring cylinders. If compression is not within specification, use a cylinder leak-down test to separate valvetrain from combustion chamber problems, then repair and verify.
See whether the misfire follows the plug, then address carbon
If compression is within specification, swap the suspect spark plug with a known-good cylinder. If access makes that impractical, replace the plugs. Restart the engine and watch the misfire monitor. If the misfire moves to the previously good cylinder, or goes away after plug replacement, replace the spark plugs and verify. If it does not move and does not go away, de-carbon the valves and combustion chambers using Mopar Combustion cleaner. After driving and clearing the cleaner from the engine, clear the codes, drive the captured conditions again, and watch the misfire monitor. If the misfire does not return, the carbon cleaning repaired the fault. If it does return, continue to the connection and circuit side.
If spark is missing, test coil power and control
If the spark test failed, test the coil feed first. Ignition off, disconnect the coil connector, turn the ignition on, command the ASD relay with the scan tool, and probe the ASD relay output at the coil connector with a 12-volt test light connected to ground. The light should illuminate brightly. If it does not, repair the open or short to ground in the ASD relay output circuit between the power distribution center and the coil connector, stop all actuations, and verify the repair. Keep clear of the fan, pulleys, and belts while the engine is operating, and do not wear loose clothing around them.
Test the coil driver circuit
If the coil feed is good, check the coil control circuit. Connect a 12-volt test light to a 12 volt source, probe the coil control circuit at the coil connector, and crank the engine for 5.0 seconds. If the test light blinks brightly, the driver is being commanded and the path supports replacing the ignition coil, then verifying the repair. If the light stays on constantly, check the coil control circuit for a short to ground. Ignition off, disconnect PCM C2, install the GPEC Diagnostic 10436 adapter, and check continuity from ground to the coil control circuit. Do not probe the PCM harness connectors; that can damage the terminals and create poor pin contact. If continuity to ground is present, repair the short to ground and verify. If there is no continuity, continue to the final connection checks.
Check for an open or high resistance
If the coil control test light stayed off constantly while cranking, check the coil control circuit for an open. With ignition off and PCM C2 disconnected, measure resistance between the coil connector and the GPEC adapter. The resistance should be below 3.0 Ohms. If it is not below 3.0 Ohms, repair the open or high resistance in the coil control circuit and verify the repair. If it is below 3.0 Ohms, keep moving to the final connector and PCM decision point.
Final connector check and repair verification
Before condemning the PCM, handle any applicable updates, then inspect the PCM connectors, related in-line connectors, component connectors, and the terminal fit. Look for poor seating, damaged locks, corrosion, water intrusion, weather seal damage, bent terminals, heat discoloration from poor contact, pushed-back terminals, spread terminals, and weak terminal tension. Repair any connector or terminal problem you find, reconnect everything fully, make sure the locks are engaged, clear the codes, and operate the vehicle under the monitor conditions. If P0300 returns after that, the path supports PCM replacement. If it does not return, verify the repair and confirm the code stays gone.
Takeaway and CTA
The key with P0300 is to follow the misfire data, prove the basic mechanical, fuel, air, oiling, ignition, and circuit checks in order, and leave PCM replacement for the end of the path. For more diagnostic training, visit stepdiagnostics.com.
Final check
P0300 is best diagnosed by confirming when the misfire is active, identifying which cylinders are counting, and testing the broad systems in order before condemning a module.
For more guided automotive diagnostics, visit STEP Diagnostics.