What this code means
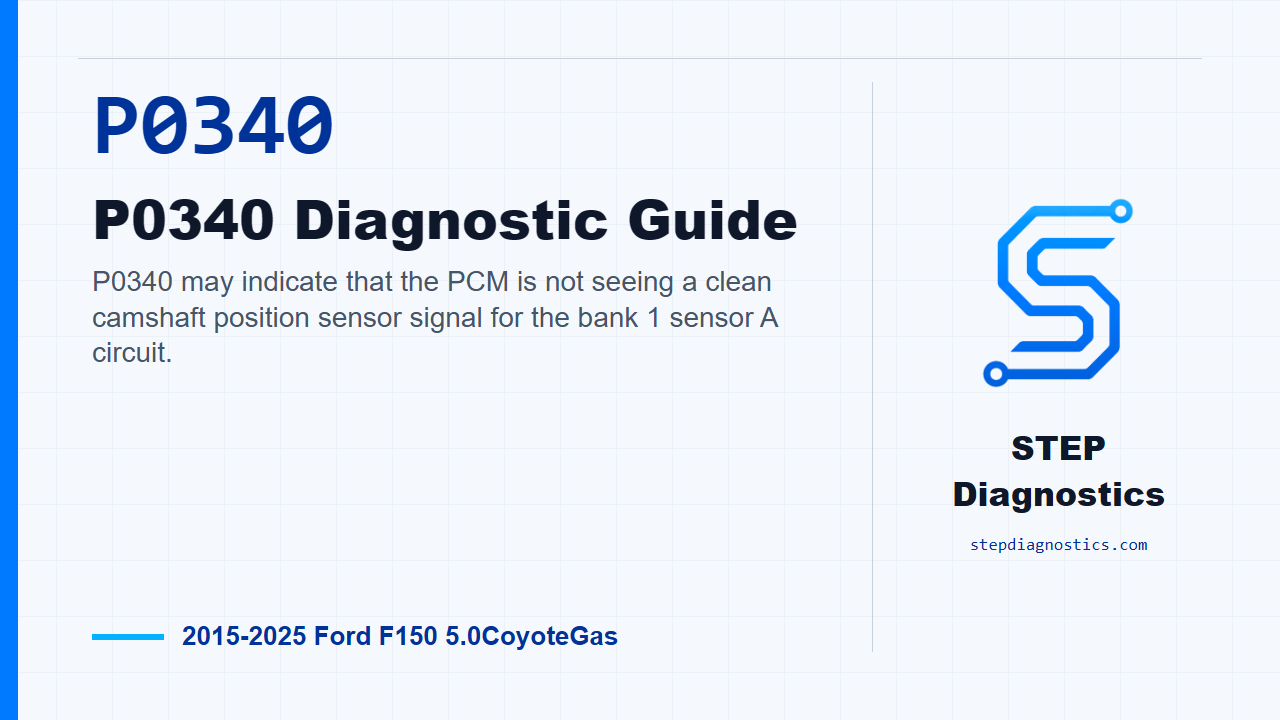
P0340 may indicate that the PCM is not seeing a clean camshaft position sensor signal for the bank 1 sensor A circuit.
What the vehicle may do
- The vehicle may run rough or intermittently lose cam sync.
- The engine may crank without starting.
- The check engine light may come on, and the concern can be intermittent.
Possible fault areas
- Possible wiring, connector, shielding, or electrical interference concerns.
- Possible CMP sensor circuit or sensor signal concerns.
- Possible VCT oil flow, cam timing, phaser, or sprocket concerns.
- Possible generator electrical noise or other signal interference.
- Possible PCM-side concern.
Diagnostic path
Opening context
On this 2015 to 2025 F-150 with the 5.0 Coyote, P0340 points us at the camshaft position sensor A circuit on bank 1. In plain terms, the PCM may not be seeing a clean cam sensor signal. The truck may run rough, may crank without starting, or may set the check engine light intermittently. The fault area can be wiring, connector condition, shielding or electrical interference, the CMP sensor signal path, VCT oil or cam timing concerns, generator noise, or a possible control-side issue. We’re going to keep the diagnosis organized and prove the circuit before calling a sensor.
Start with code direction
Start with the basic system checks, then check for codes. If P0340 or a related CMP code is present with a no-crank or no-start complaint, move straight to the CMP sensor voltage check. For the rest, continue with the harness inspection. If the code is not present but the symptom is still there, the same harness inspection is still the next useful step. If there is no code and no matching symptom, do not force this path; continue with the symptom-based diagnosis that fits the complaint.
Inspect the harness and connector first
With the ignition off, inspect the CMP harness carefully. Look for poor routing, altered wiring, missing or incorrect shielding, and any place the harness could be picking up interference from another system. Check the CMP connector for damage or corrosion. If you find a concern, repair it as needed, clear the PCM codes, and repeat the self-test. If the harness and connector look clean, move on and try to make the fault return.
Try to retrieve the fault under repeatable conditions
Turn the ignition on, start the engine, then raise engine speed to greater than 1,500 RPM for 10 seconds. Repeat that 3 times. If the CMP-related code comes back, continue to the generator noise check. If it does not return, do not keep guessing at the circuit; follow the no-code or symptom-based path that fits the complaint. Also keep in mind that ignition noise, generator noise, radio-frequency interference, and crank sensor concerns can affect this kind of signal. On VCT-equipped engines, oil level, oil filter condition, oil contamination, and VCT system concerns can also create cam positioning problems.
Check for generator electrical noise
Start the engine and listen for audible electrical noise from the generator. Then turn the ignition off, disconnect the generator or regulator B+ connector, restart the engine, and listen again. If the noise stays steady with B+ disconnected, keep going with the CMP circuit tests. If the noise changes, decreases, or increases, handle the generator noise concern before continuing this CMP diagnosis. A generator or regulator that is electrically noisy is expected to get quieter when that B+ connector is disconnected.
Check CMP sensor voltage
Now test the suspect CMP sensor indicated by the code. With the ignition off, reconnect the generator or regulator B+ connector, disconnect the CMP sensor connector, then turn the ignition on. For the 5.0L 32V Ti-VCT setup, the voltage check is between Pin 1 and Pin 2 at the CMP connectors C1180, C1626, C1654, and C1627, using the connector that matches the suspect sensor. The circuit passes this step if voltage is greater than 10.5 V on the VBPWR circuit, or if voltage is between 4.5 and 5.5 V on the VREF circuit. If it passes, move to the open-circuit check. If it does not, diagnose the power or reference-voltage feed before going farther.
Check the CMP circuits for an open
With the suspect CMP connector still identified, disconnect the PCM connector and check continuity through the CMP circuits. On the 5.0L 32V Ti-VCT path, the checks are C1180 Pin 3 to C1381E Pin 53, and C1180 Pin 2 to C1381E Pin 57; C1626 Pin 3 to C1381E Pin 54, and C1626 Pin 2 to C1381E Pin 57; C1654 Pin 3 to C1381E Pin 52, and C1654 Pin 2 to C1381E Pin 57; and C1627 Pin 3 to C1381E Pin 51, and C1627 Pin 2 to C1381E Pin 57. Resistance should be less than 5 Ω. If it is, continue to the short check. If it is not, repair the open circuit, clear the PCM codes, and repeat the self-test.
Check the CMP circuit for shorts
Next, check the CMP circuit for a short. On the 5.0L 32V Ti-VCT path, measure between Pin 3 and Pin 2 at C1180, C1626, C1654, and C1627, again using the suspect sensor circuit. The resistances should be greater than 10K ohms. If they are, continue to the short-to-voltage check. If they are not, repair the short circuit, clear the PCM codes, and repeat the self-test. Do not infer any lead pairing that is not positively identified during the test.
Check the CMP circuit for short to voltage
Now turn the ignition on and check the CMP signal circuit for a short to voltage. The listed positive-lead points for the 5.0L 32V Ti-VCT path are C1180 Pin 3, C1626 Pin 3, C1654 Pin 3, and C1627 Pin 3. If any voltage is present, repair the short circuit, clear the PCM codes, and repeat the self-test. If no voltage is present, move on to the CMP sensor operation check. Again, do not infer a missing meter lead location; confirm the circuit before continuing.
Check CMP sensor operation
Reconnect the CMP sensor connector and the PCM connector. Start the engine, access the PCM data, and monitor the SYNC PID. If the engine starts and SYNC reads YES, go to the final code check. If the engine does not start, or SYNC does not read YES, install a new camshaft position sensor, clear the PCM codes, and repeat the self-test.
Verify the repair
Keep verification separate from the circuit testing. Check for codes again. If any codes are present at this point, install a new camshaft position sensor, clear the PCM codes, and repeat the self-test. If no codes are present, the system is operating correctly at this time. The concern may have been caused by a loose or corroded connector, so clear the PCM codes and repeat the self-test to confirm the code stays gone.
Closing takeaway
The takeaway on P0340 is simple: prove the harness, interference, power, continuity, shorts, and sync signal in order before replacing anything. For more diagnostic training, visit stepdiagnostics.com.
Final check
P0340 is often best approached as a signal integrity diagnosis: confirm the fault, inspect the harness, check interference, prove the circuit, then verify the repair.
For more guided automotive diagnostics, visit STEP Diagnostics.